The Apple /// is so rare and hard to come by, that it never even made it to my wish list. I figured if anything, I’d sooner get my hands on a Twentieth Anniversary Macintosh or a Lisa before I got an Apple ///. Although they’re really expensive when posted, I see TAMs and Lisas on eBay all the time. I can count on one hand the amount of Apple ///s I’ve seen on eBay. Not to mention they were all close to $1000. There’s one on eBay right now with a Buy-It-Now price of $875 without a monitor. Granted, it has a Profile drive. You can get a Profile for $200 bucks, so they’re asking for close to $700 bucks for the base unit.
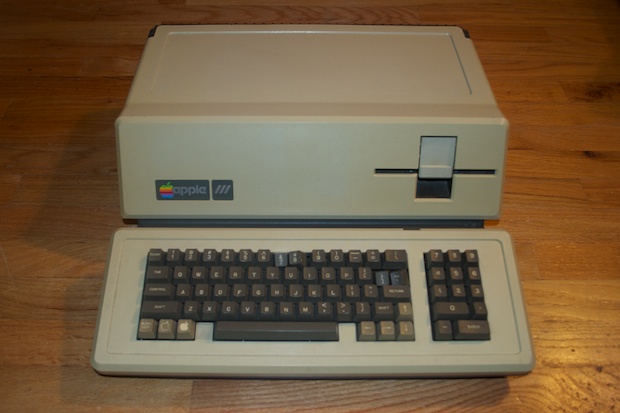
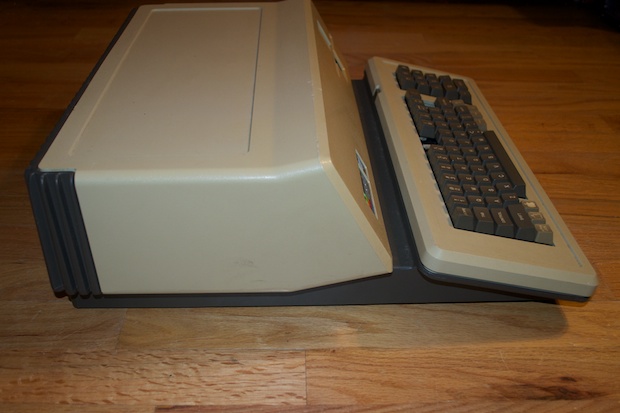
I was very happy to score this original Apple /// with matching Apple Monitor /// for only $411 bucks. It’s my most expensive vintage Apple purchase to date, but it was so worth it for such a rare machine. Apple only made 65,000 of them before discontinuing it.
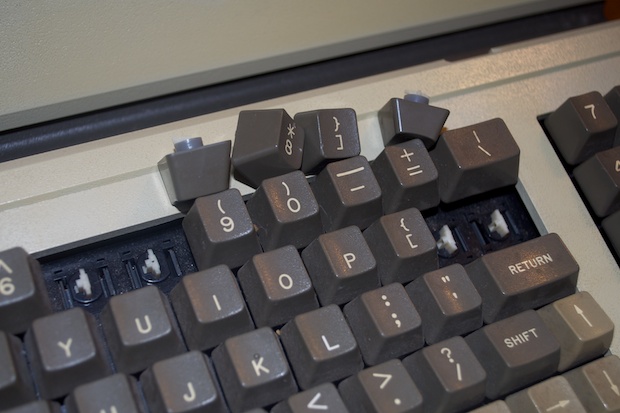
The seller advertised the unit as having two damaged keys. They had both broken off at the post. The seller included them in the auction. I figured it was an easy fix.
Unfortunately, 2 additional keys were damaged in transit.
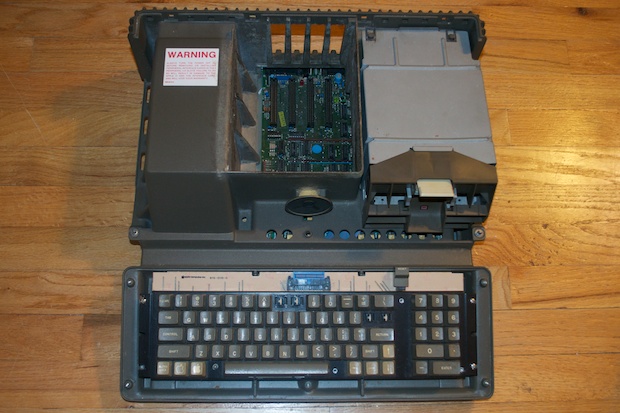
The unit itself is in great shape.
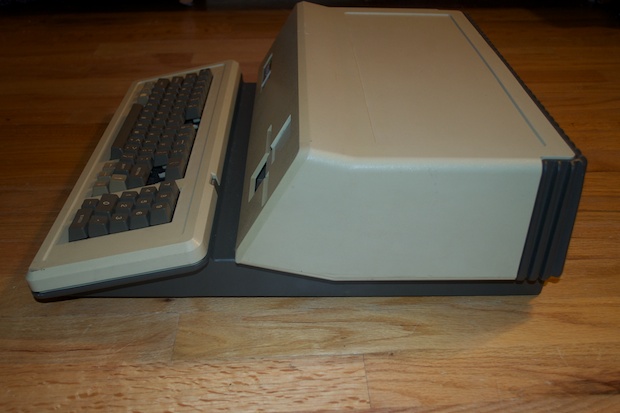
I can’t believe how heavy it is. I had no idea the Apple /// was this heavy. I always though that the dark grey material was just plastic, but it’s not. It’s all metal.
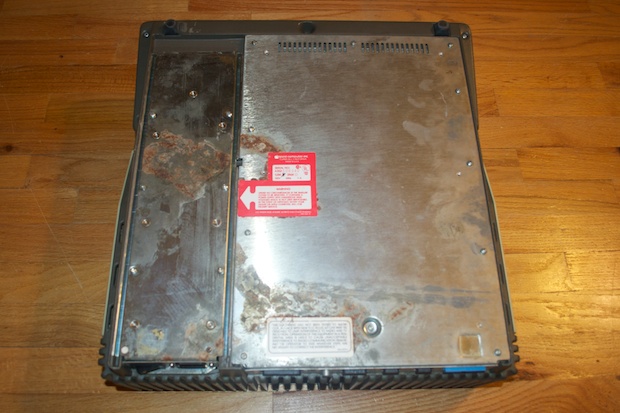
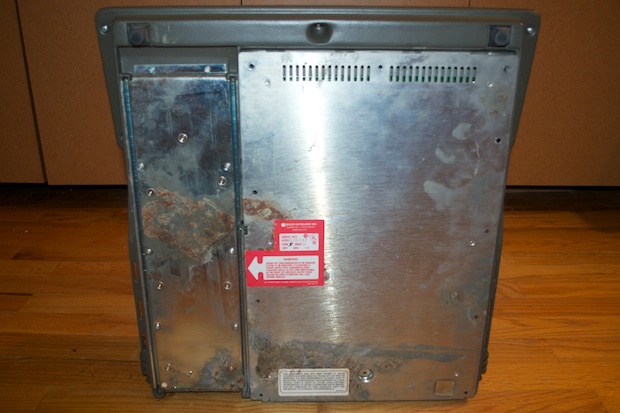
The bottom is a little rusty, but no big deal.
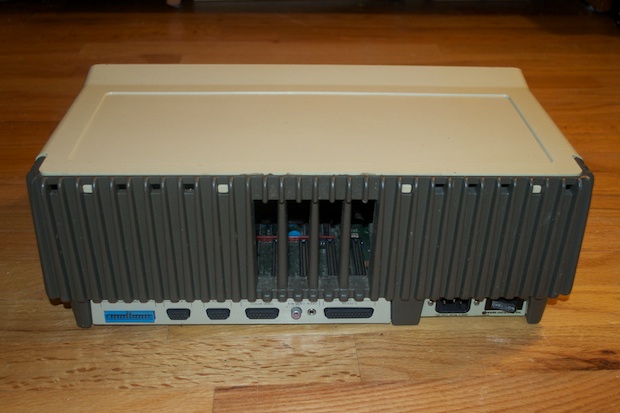
I had removed the plastic covers to take a peek inside. It’s not super filthy, but it could use a light cleaning.
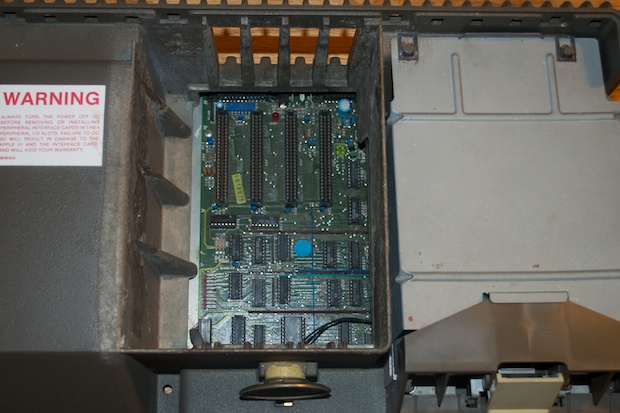
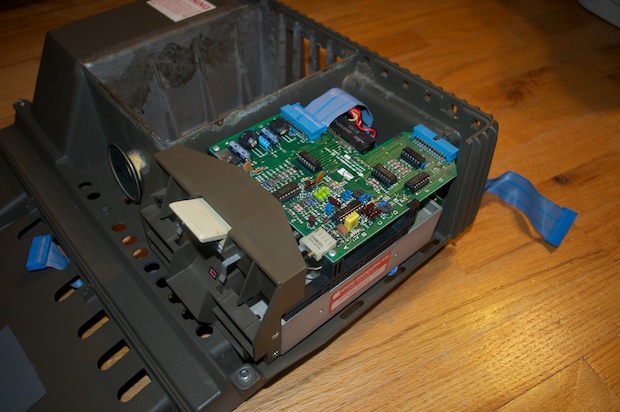
The logicboard is surprisingly clean. I was expecting to see 3 inches of dust. The seller said he’d had the machine in storage for the past 20 years. I think it’s safe to say it was put away in a box and not just sitting on a shelf in the garage. I’ve seen some
nasty looking boards. This looks pretty clean. It doesn’t have any spider webs or dead bugs like I’ve seen in other machines that have been put away in storage for decades.
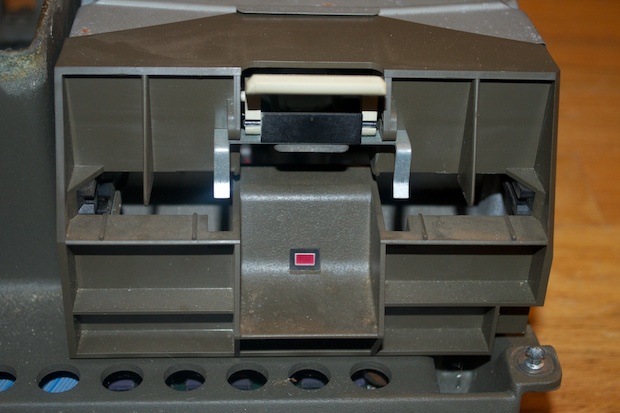
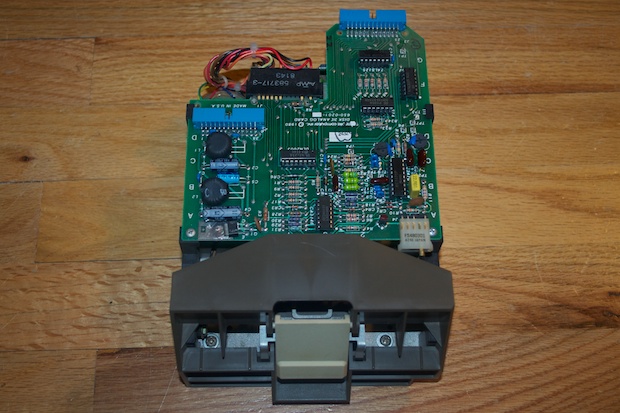
The drive could definitely use a little cleaning. It’s pretty dusty.
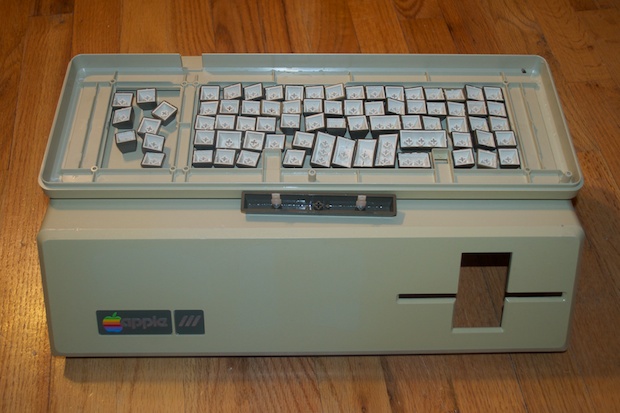
I’m going to take all the keys off and clean them in the sink. They’re pretty dirty in-between. I can only image what it looks like underneath.
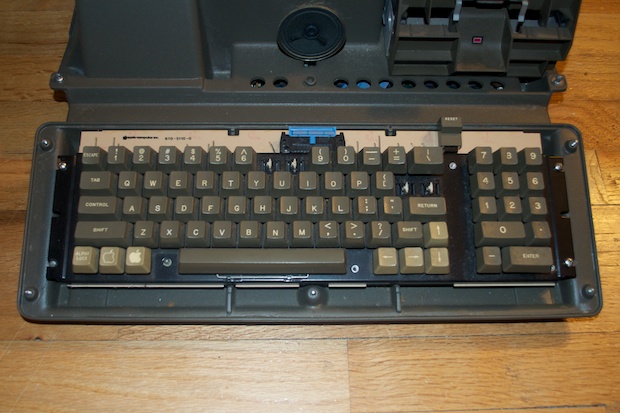
To remove the keyboard, it’s just a matter of taking out the 4 screws that hold it in and disconnecting the ribbon cable.
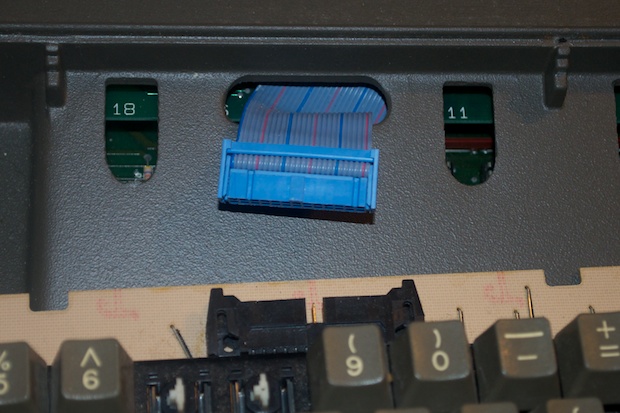
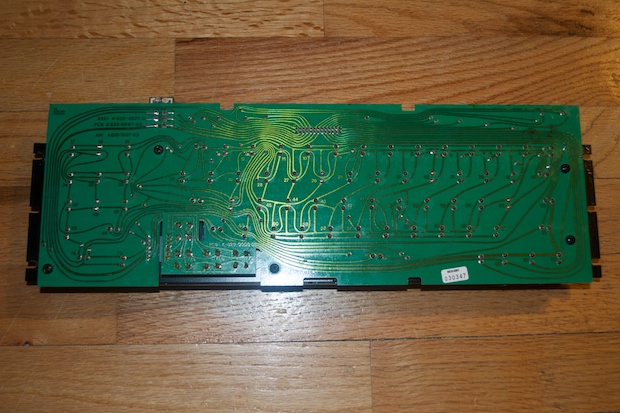
You have to love the old-school hand-drawn traces on vintage boards. It was definitely an art form. You just don’t see those thick, curvy lines anymore.
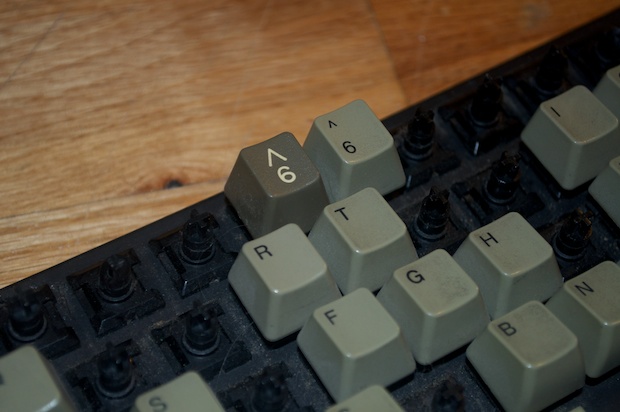
I have an old Apple IIe keyboard that was
damaged in shipping. The Apple /// key cap fits nicely on the post and sit at the same height. I figured I could unsolder 4 of the key mechanisms and use them to repair the broken ones on the Apple ///.
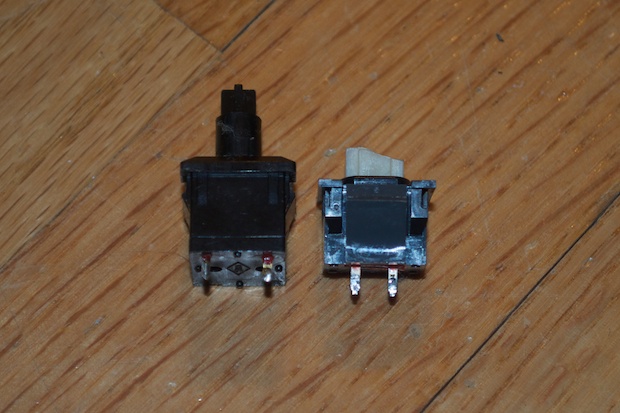
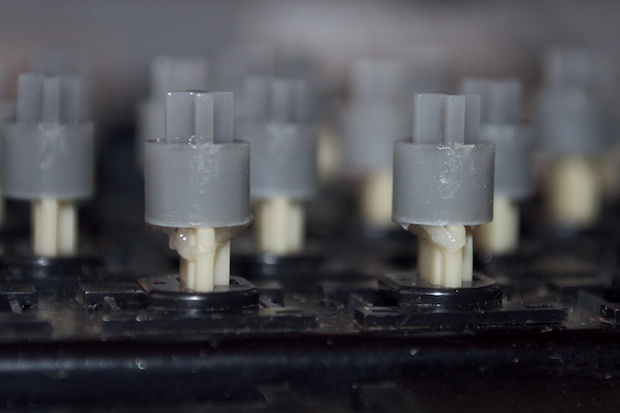
Unfortunately, after unsoldering one of them, it was apparent that it wasn’t going to fit. The pin spacing between the two is totally different. Bummer. I’ll either have to try and glue them, or buy some new ones.
I’m going to try and just glue the tops back on for now. If they don’t look right or break right off again, then I’ll have to bite the bullet and buy new key mechanisms. I found a guy who has them, but they’re pretty pricey.
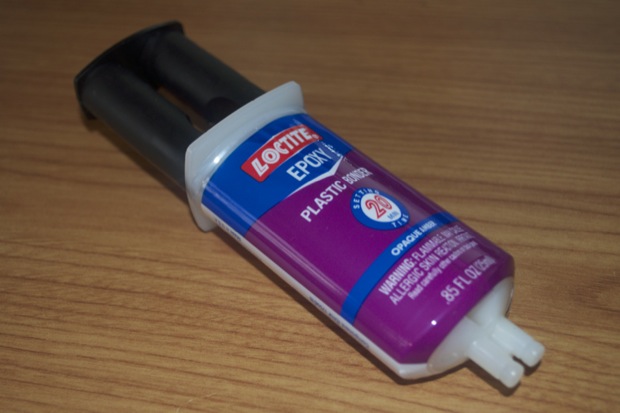
I grabbed some super-strong plastic epoxy. This stuff is rated for 3450 psi, so it should hold pretty well.
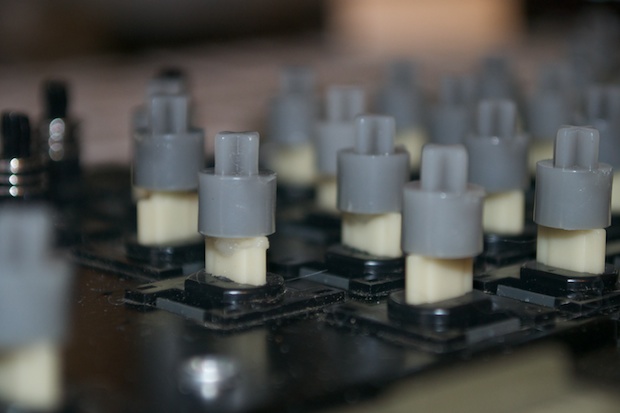
I then glued the posts back on.
While the epoxy on the keyboard cures, I can go ahead and clean the rest of the machine.
To get to the logicboard, you just have to take out all the screws from the panel on the right.
Disconnect the power supply from the board....
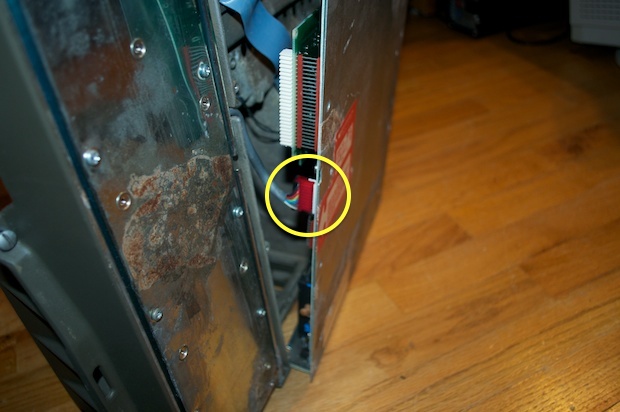
...and swing the board out. You just have to then disconnect the keyboard, floppy drive, and speaker.
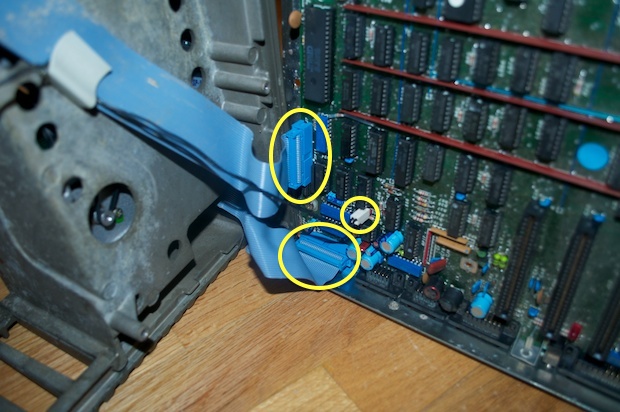
And there it is. It’s huge!
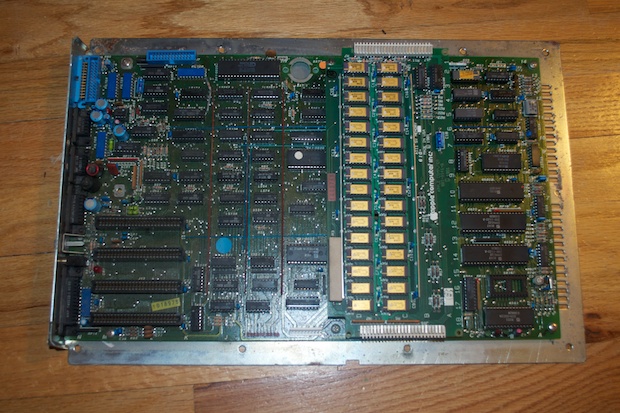
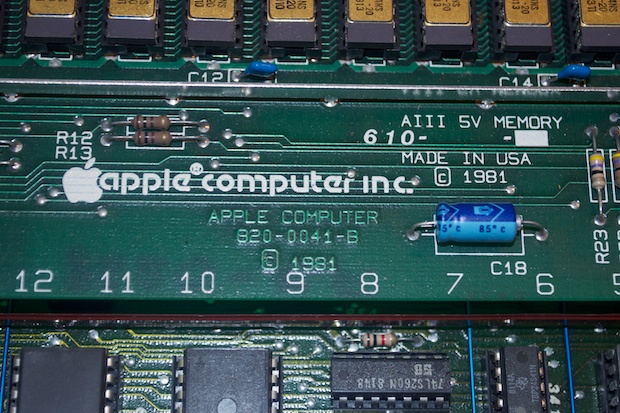
The board is dated 1981.
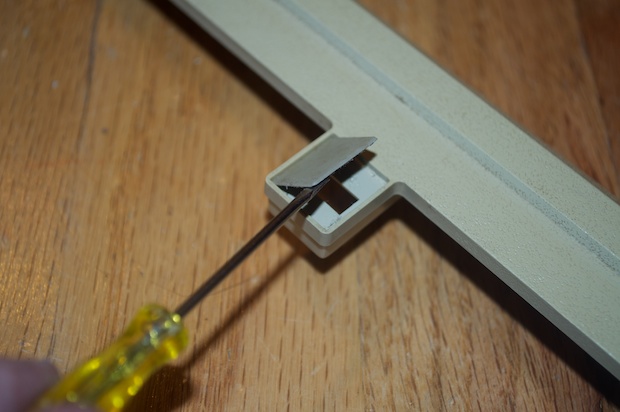
Moving on to the floppy drive, just push these retaining clips back with a flathead screwdriver.

The metal shield can then be removed.
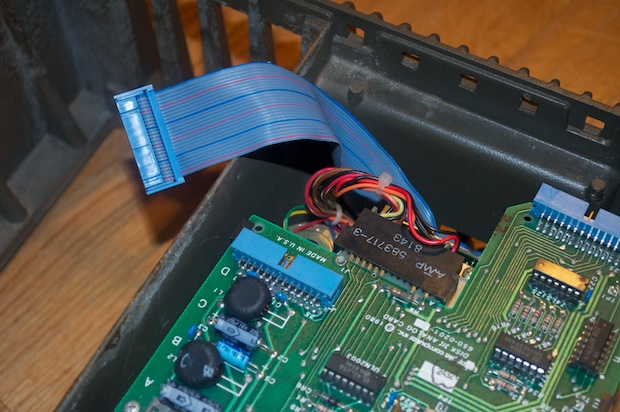
Disconnect the ribbon cable.
Remove the two screws from the front.
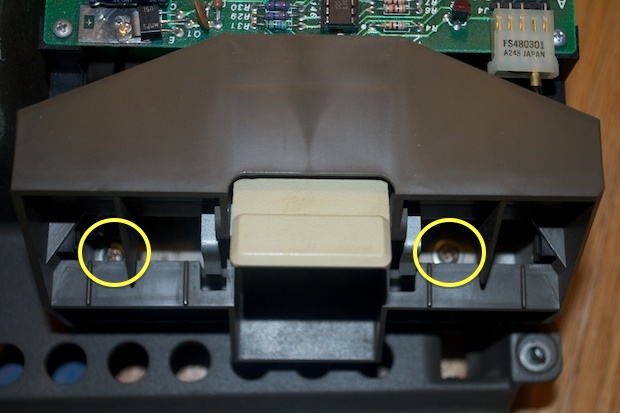
The drive can then be lifted out.
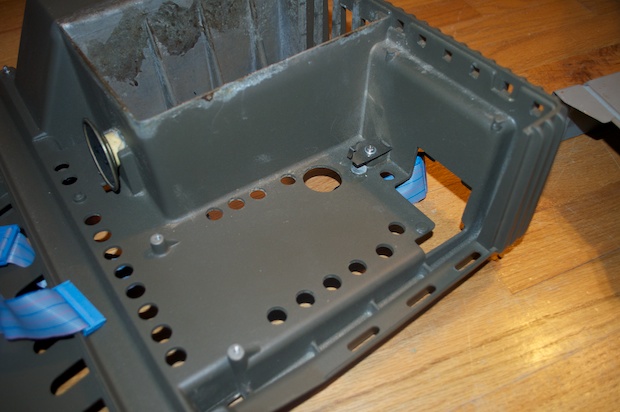
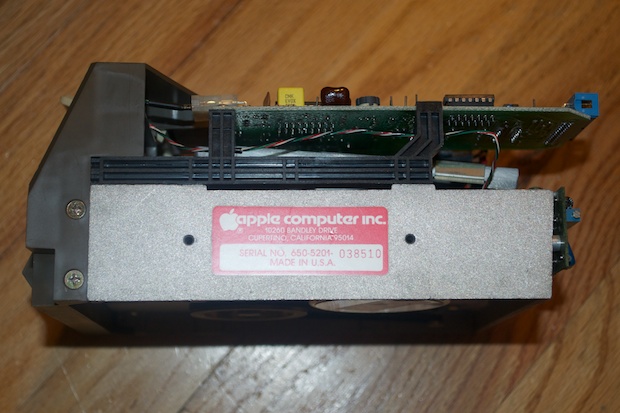
It’s a pretty big drive. It’s way bigger than the drives in the
DuoDisk. I though they would have been pretty close, if not interchangeable. If this drive ever dies, I imagine it’ll be pretty hard to source another one. I don’t think I’ve ever seen an external Apple Disk /// for sale on eBay.
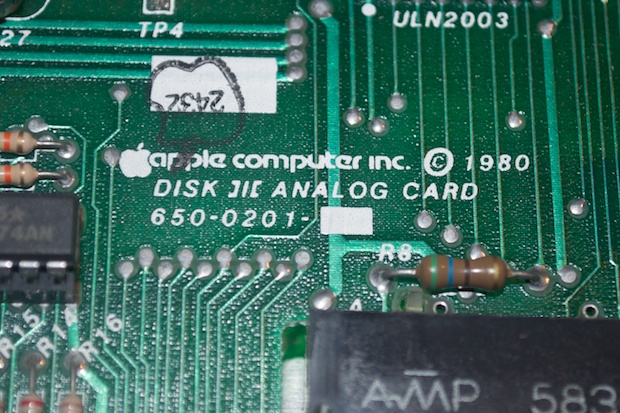
It’s dated 1980, older than the Apple /// logicboard. Weird.
Not much to see on the bottom.

As well as the sides, just a label.
As far as the plastic covers, they could benefit from a good cleaning in the sink. I removed the little sticker that covers the ON LED. I didn’t want it to get wet.
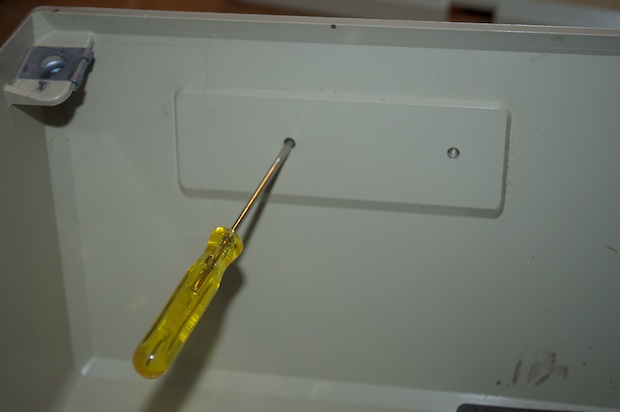
As far as removing the case badges, I usually remove those when I’m cleaning a unit, but they’re really glued in. I was afraid that if I pushed any harder with the screwdriver I’d dent the front. They showed no signs of coming-out. Once the weather gets a little warmer, I’m going to give the plastics the retr0brite treatment. I’m not going to want to remove the case badges twice. I think I’ll just leave them in for now, and deal with taking them out later.
After I popped off all the keys, it was clear as to just how filthy it was.
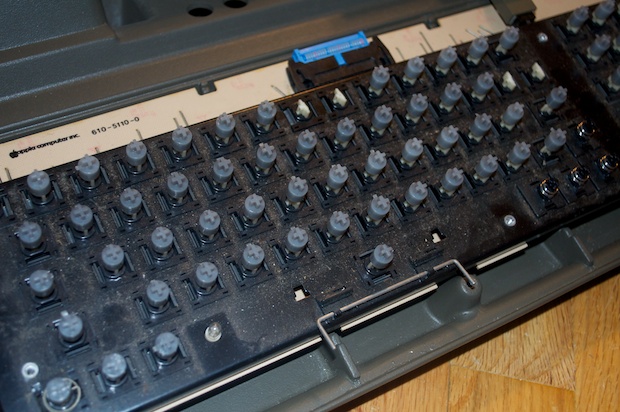
I gave it the one-two with some rubbing alcohol and a soft cloth. It’s not perfect, but it’s much better. I might give it another wipe down before I put it all back together. But for now, at least it’s not a health hazard.

With the plastics liberated, I took them to the sink for a proper washing.
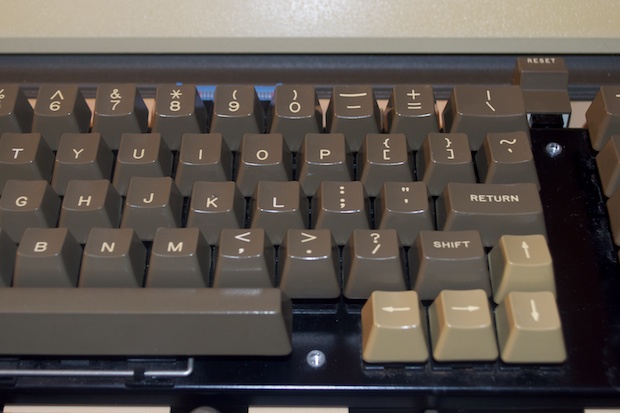
After everything was clean and dry, I put it all back together. The epoxy on the keyboard had a good 24 hours to dry. The keys came out great. You’d never know they were ever broken.
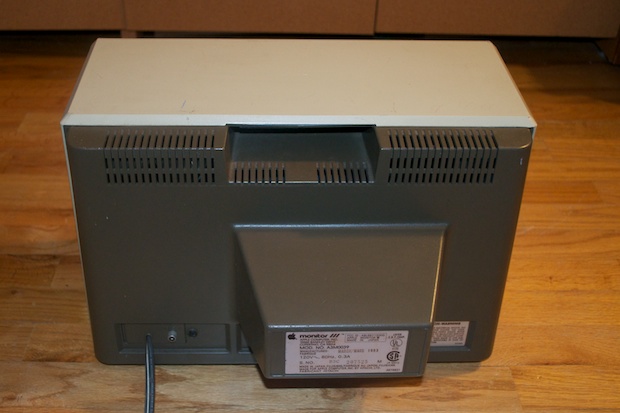
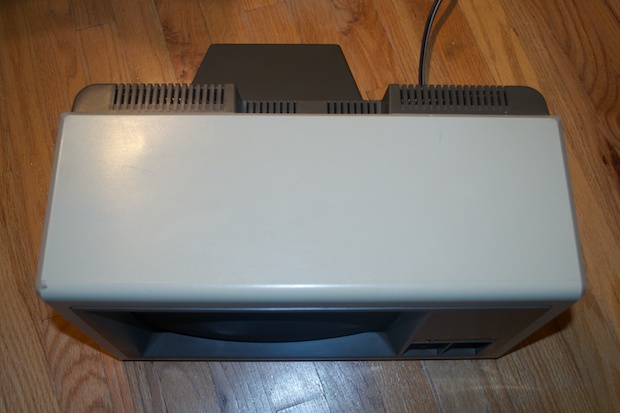
Now for the Monitor ///. It’s in pretty good shape considering it’s age. It does have a few dings and dents. I’m afraid it hasn’t faired as well as it’s counterpart.
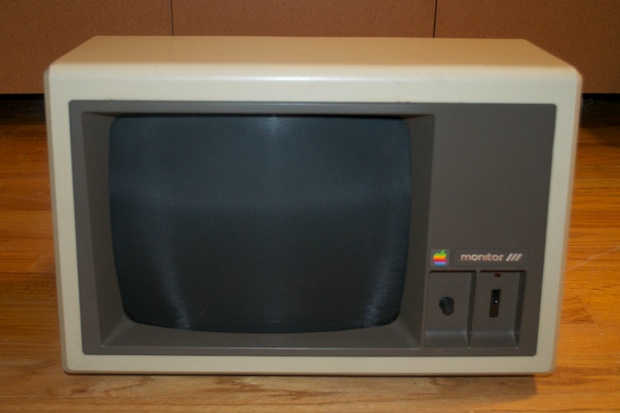
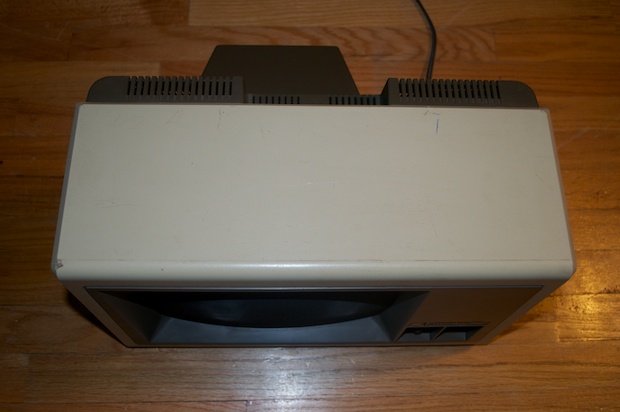
The top needs a good cleaning. There’s all kinds of marks on it. The front left-hand corner has a big ding in it. Looks like it kissed the concrete at some point.
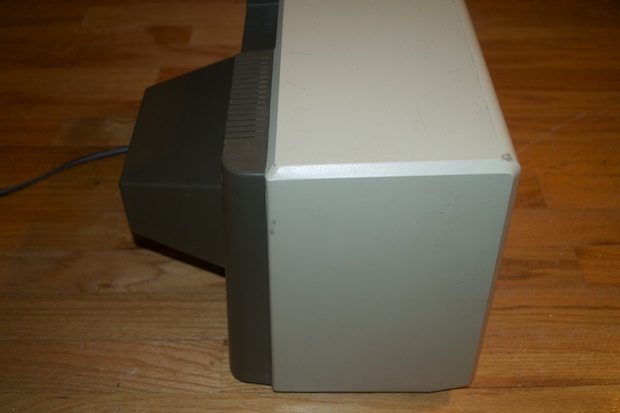
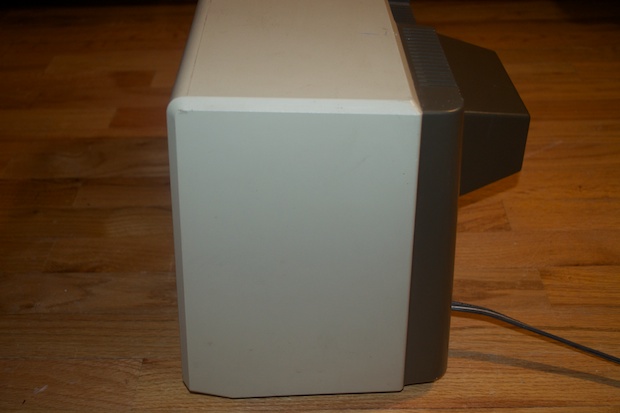
The sides aren’t as bad. They’ll just need a light cleaning.
The back isn’t so bad.
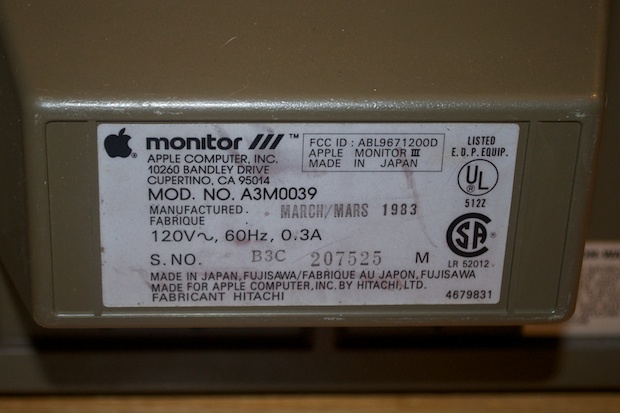
It’s dated 1983.
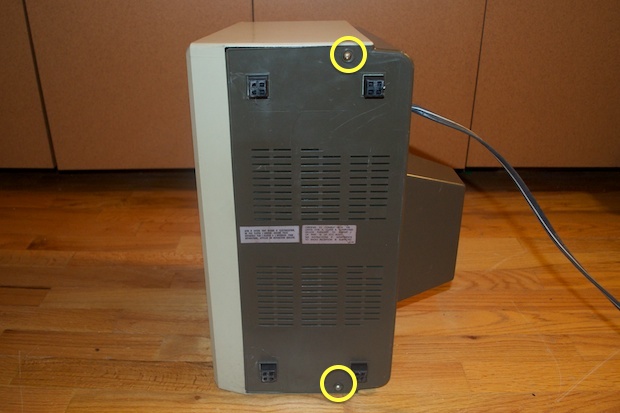
To get inside, just take these 2 screws out...
...along with the one in the handle.
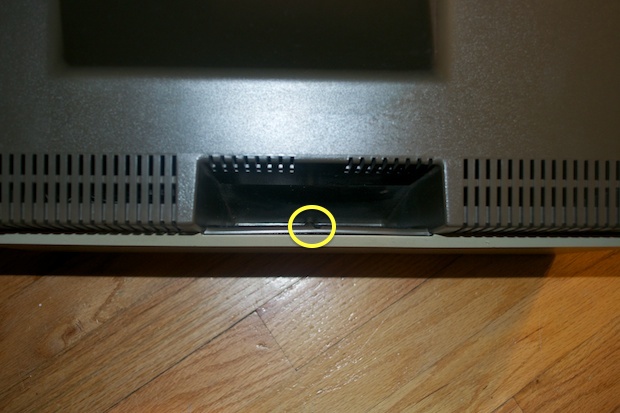
Finally, the one on the Video In panel.
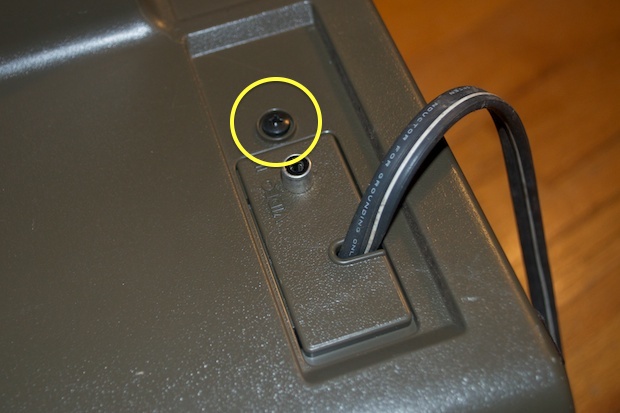
The back cover will then just slide off.
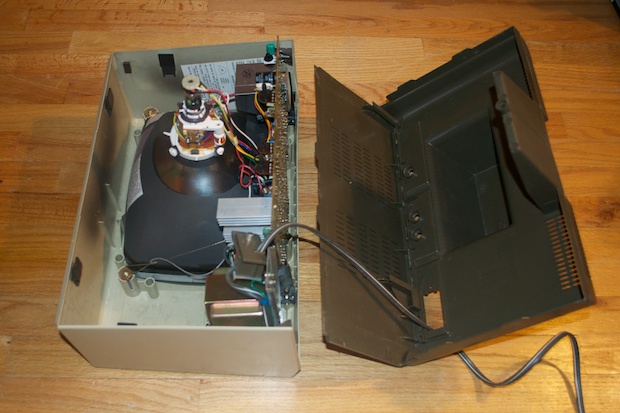
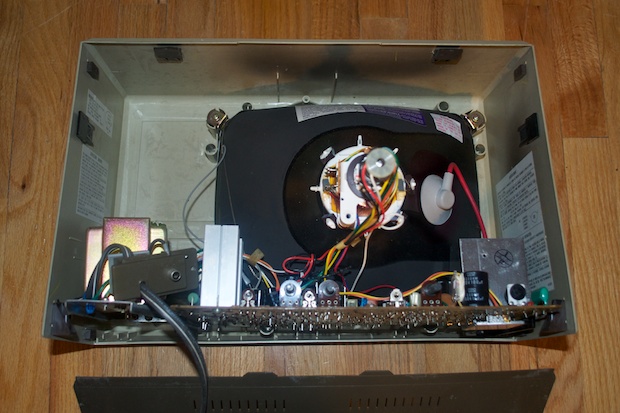
Man, if every there was a list of things I don’t want to have to do twice, taking this thing apart would be on it. What a piece of junk. This thing is so cheaply made. The only thing holding the logicboard in place are two plastic rails. The logic board slides down the rails, and the back cover slides on the ends of those. Everything has to be lined up just right in order to get the rear cover back on. The whole things feels all loose and rickety. I’m not going to bother taking all the guts out to wash the plastics, just to take it all out again in the Spring to retr0brite it. I think I’ll just clean it with a rag for now and worry about the rest in the Spring.
I put it all back together and cleaned it with a damp rag. It came out better than I had expected. Some of the marks (looks like crayon) would’t come off with the alcohol. I’ve found that erasing marks like this is pretty easy.

Those clickable white erasers work wonders.
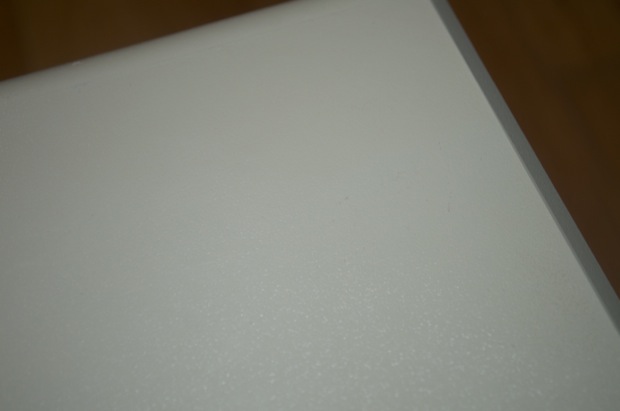
Not bad. Not bad at all.
That ding on the bottom-left corner really bothers me though. I might sand and Bondo it, but I don’t know if it’s worth all the trouble. Although vintage Apple gear on eBay is extortionate, monitors are usually pretty cheap. I’ve seen Monitor ///s on eBay for as low as $30 bucks. It’s not a priority, but I might just keep my eye out for one in better condition.
All in all, I’m thrilled with this unit. Money well spent. I’ll just have to keep my eye out for a Profile Drive now that I have a reason to buy one. In the past, I thought it was a “Lisa thing”. Not having a Lisa, I never bothered buying one. That’s all changed now!