I needed to throw some System 7 images onto floppies the other day. Since I was already doing something on the Color Classic, I opted to fire up the Classic. I needed a machine that could write to 1.44Mb floppies. I was pretty sure that the hard drive in that machine had given up the ghost a while ago. I just haven’t had the chance to crack it open and swap the drive. With that said, I hooked up my M2115 to it since it’s bootable and it held the System 7 images that I needed.
I powered on the Classic and was very surprised to hear a garbled startup tone followed by a checkerboard. This machine has been a solid performer
since I got it. It’s one of my cleanest machines. Since it’s a good 5 years younger than my Plus or SE, I didn’t think it was in any danger of leaking caps any time soon. I guess you just never know.
This weekend I had the chance to open the machine up and inspect the board. What a mess! Caps leaking everywhere!
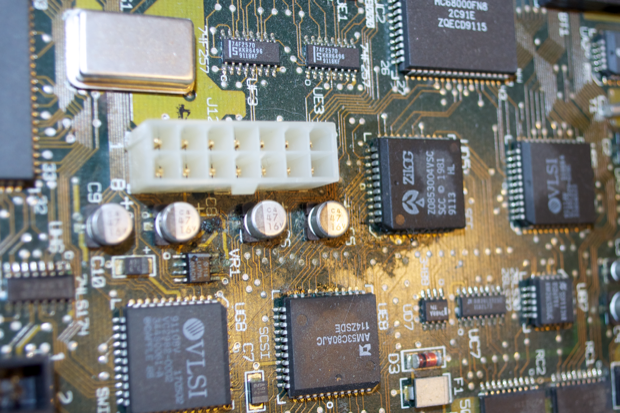
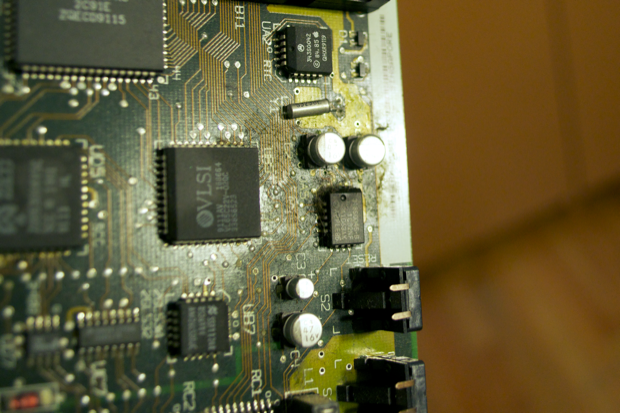
It looks like all 7 of the 47 µF caps have leaked. I took some Q-tips soaked in isopropyl alcohol and cleaned off all the gunk. I also replaced the PRAM battery that was dead. (I could have sworn I swapped that out when I got the machine a year and a half ago.) I put the machine back together and fired it up.
At first the machine just gave me a flashing floppy icon, but I figured that was due to the hard drive. I was beginning to wonder if the hard drive was really dead after all or if it was due to the leaky caps, but I could only get it to boot off a floppy. So I’m thinking it’s really dead.
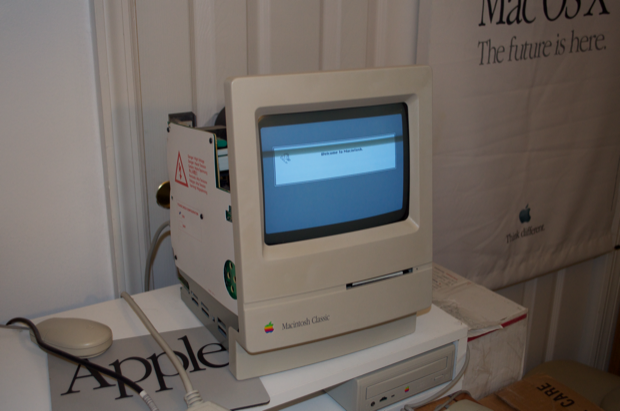
It seemed to take forever for it to boot off the System 7.5.3 startup disk that I used. I thought it had hung, but I just left it and eventually it got to the Finder. Once it did, a prompt was displayed asking me if I was sure that I wanted to rebuild the desktop. It was when I went to click “Yes” that I realized the keyboard and mouse do not work. Hum, looks like this is going to take more than a Q-tip to fix.
I powered cycled the machine once more and it displayed the checkerboard again. It looks like I’m going to have to replace all 8 caps after all. I immediately hopped online and ordered new caps.
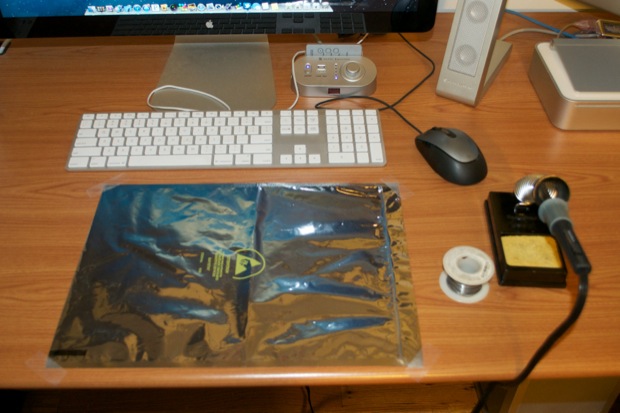
Let’s get it started: Soldering Iron station: check!
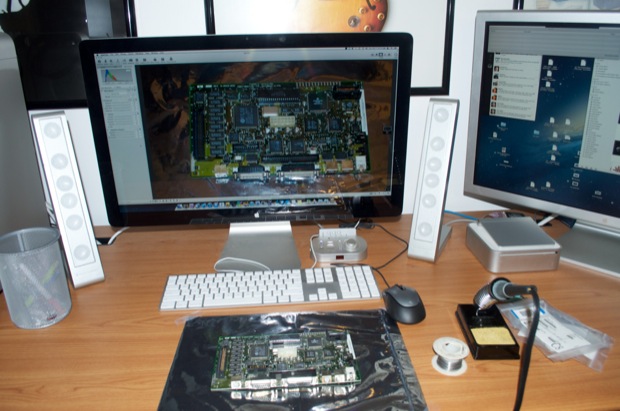
Board image for reference: check!
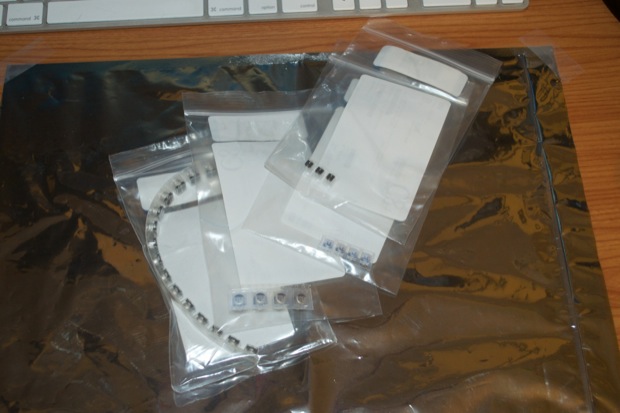
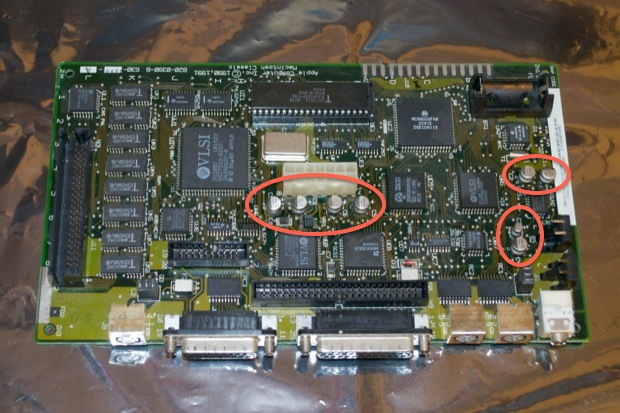
Here are all the caps that need to be replaced:
Center: 4 x 47µF 16V
Right top: 2 x 47µF 16V
Right bottom: 1µF 50V and 1 x 47µF 16V
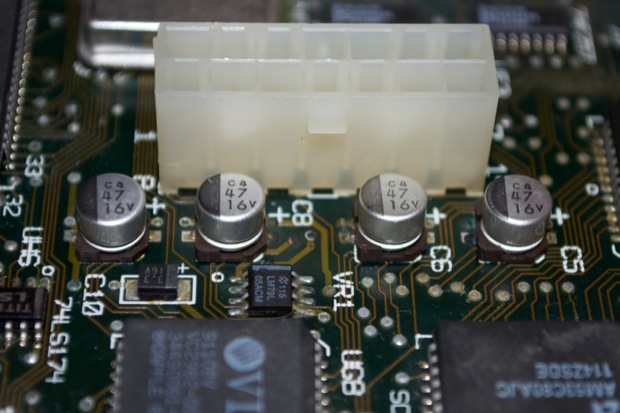
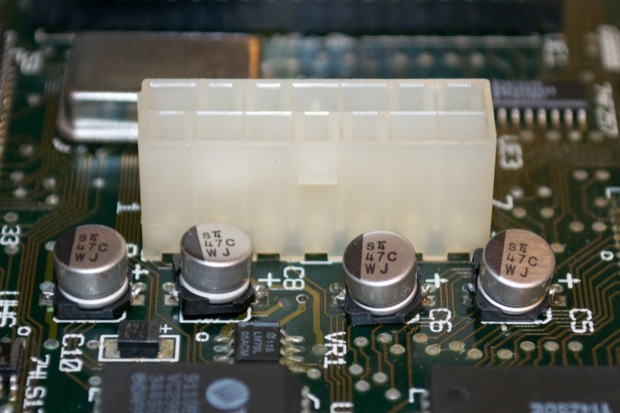
Here’s a closeup of the center 47µF caps. You’ll see that they’re surface mounted.
Normally what you’d do is just grab them and pull up as your unsoldered them. However, with surface mounted caps, they have the tendency of pulling the board pads/traces off with them. That’s bad.
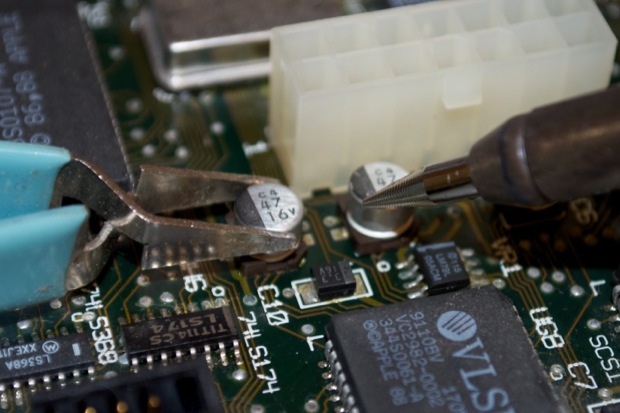
If you’re lucky, you’ll get them to come off without a problem. But why take the chance? I did one, but decided to just cut them after the second one refused to come off.
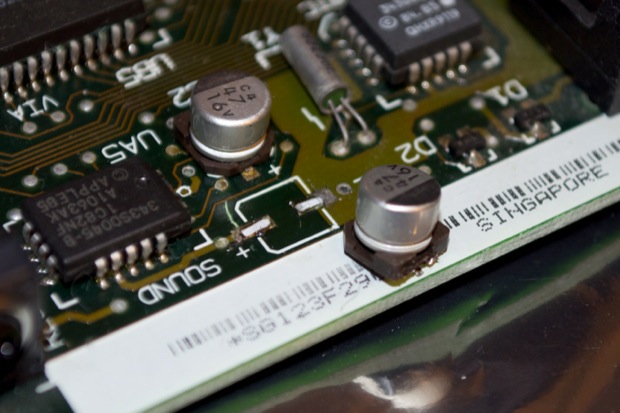
You’re better off taking a large pair of sharp cutters and just clipping them off the board leaving the base behind.
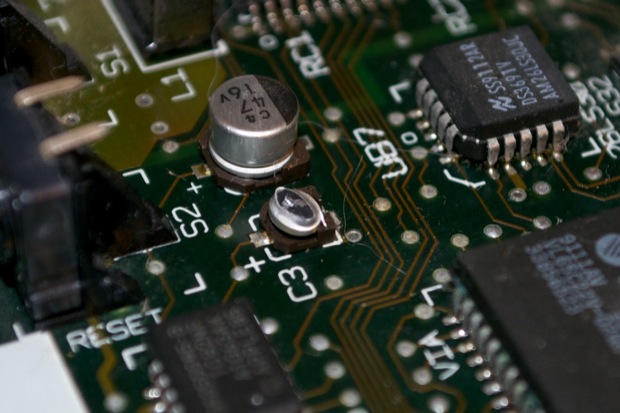
Once you have just the base left, you can easily clip them short and slide the base off the leads.
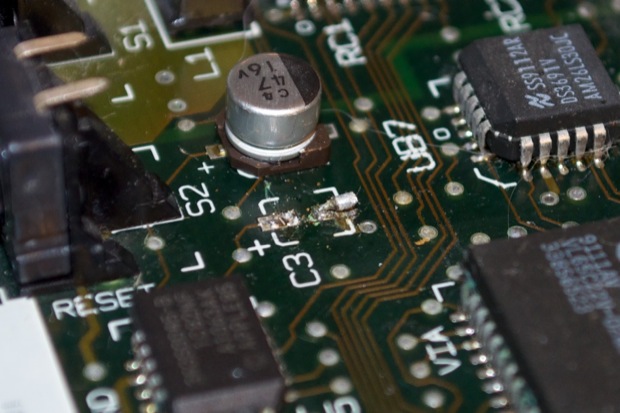
See, clip the cap off at the base….
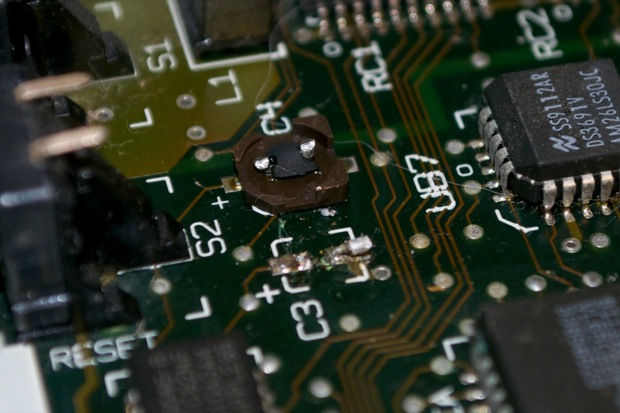
…slide the base off the legs and trim.
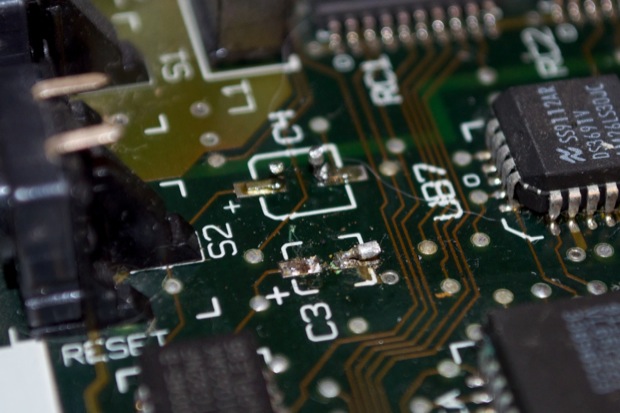
Working across the board, I clipped and removed every cap.
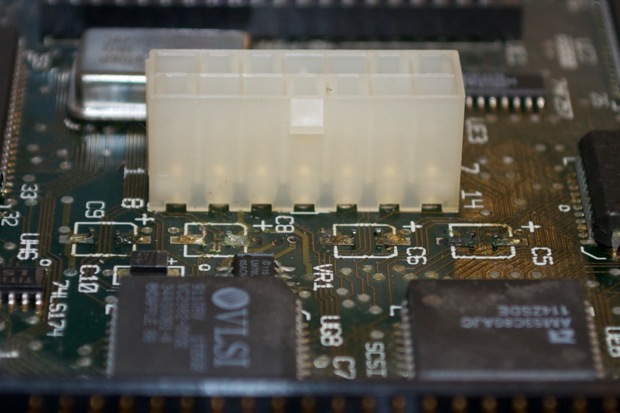
Once the center caps were removed it was easy to see the extent of the damage. There’s a pretty good deal of corrosion on the board.
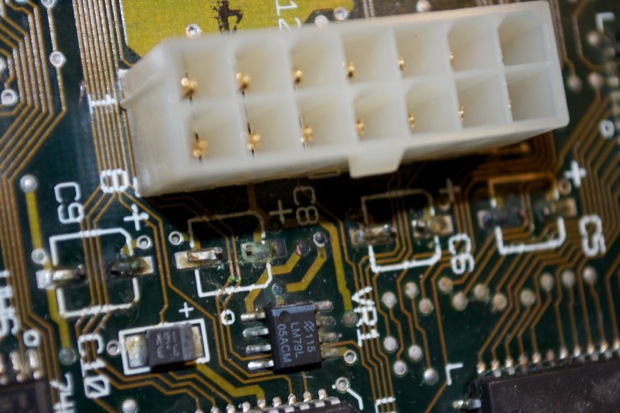
I did what I could to clean the board, but I think the damage has been done. The liquid that leaks from caps is conductive. If too much has leaked out it can short out surrounding components.
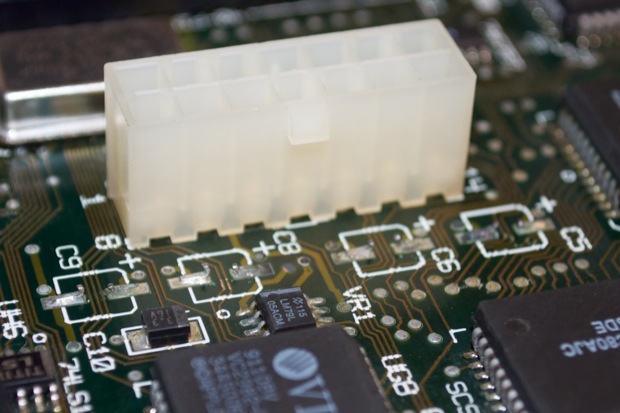
Time to add the new caps.
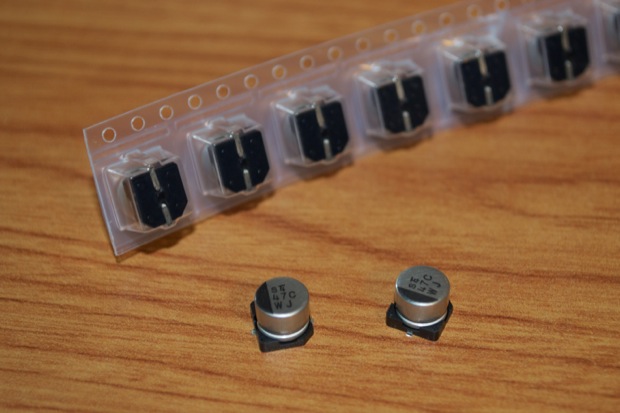
First, tin all the leads.
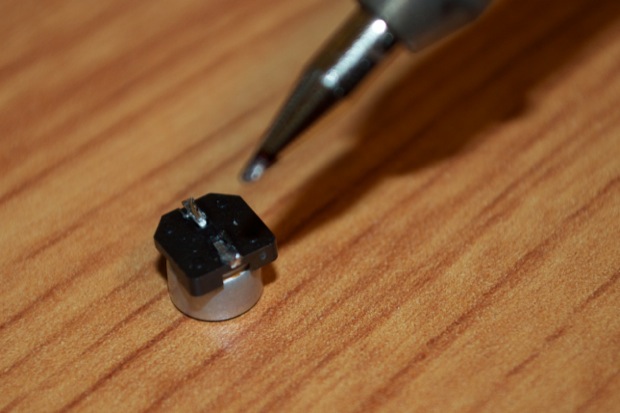
As you can see, the caps aren’t going to sit flush with the board since I’m basically soldering them right on top of the old leads. Crude, but it works. Just make sure your polarity is correct.
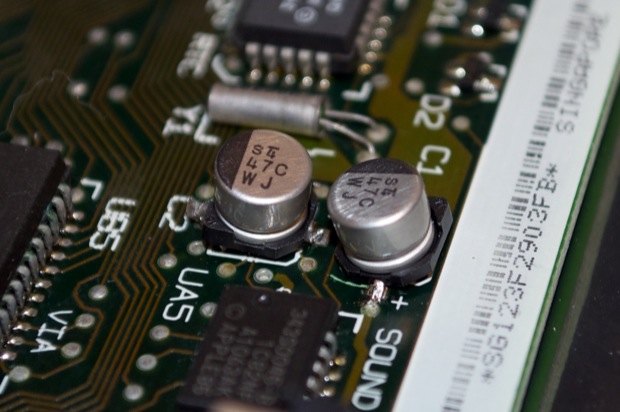
I agree, they look a little ridiculous, but at least they’re making contact with the board.
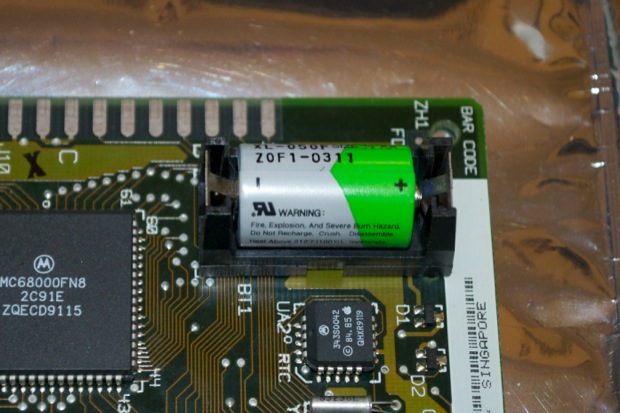
Pop the PRAM battery back in and hope for the best.
Slide the logic board back in.
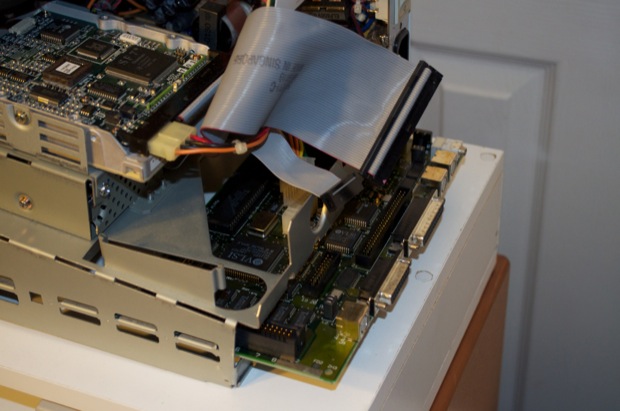
Connect the ribbon cables and insert the RAM board.
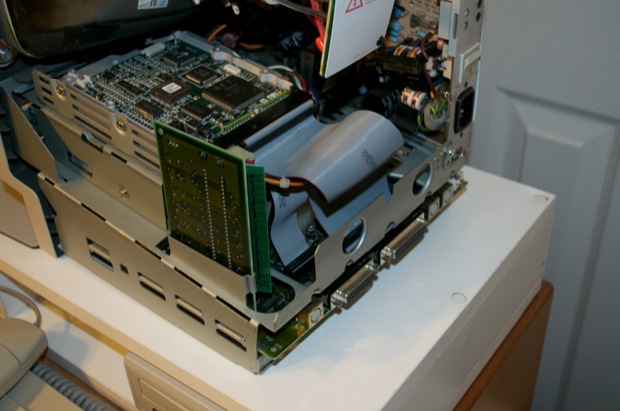
Power up the machine and cross your fingers. Unfortunately, the bad news is that swapping the caps didn’t fix the problem. The good news is that I didn’t make it any worse. I guess the damage has been done. This logicboard is toast.

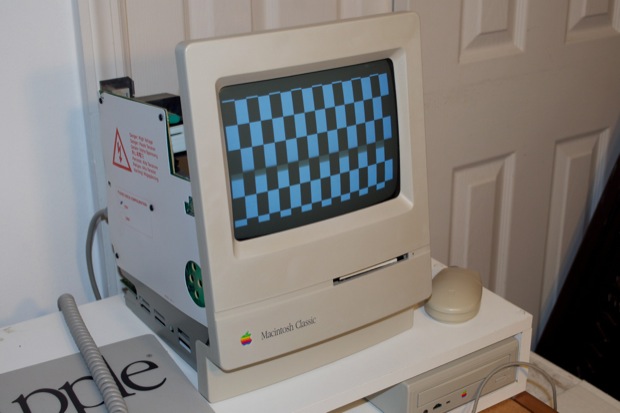
As a last ditch effort, I pulled the extra RAM sticks out thinking it might just be a case of bad RAM. Alas, I still get a checkerboard with the extra RAM sticks out. It’s a little different than before, but a failed boot nonetheless.
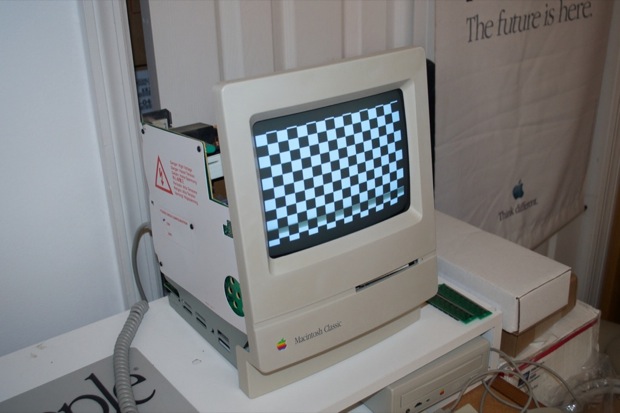
If it’s the onboard RAM that’s bad, then there’s nothing I can do about that. I’m not about to replace the RAM board to find out that it’s still a bad logicboard. I’ll have to keep my eye out for a new logicboard. Or maybe ditch it all together and get a Classic II?
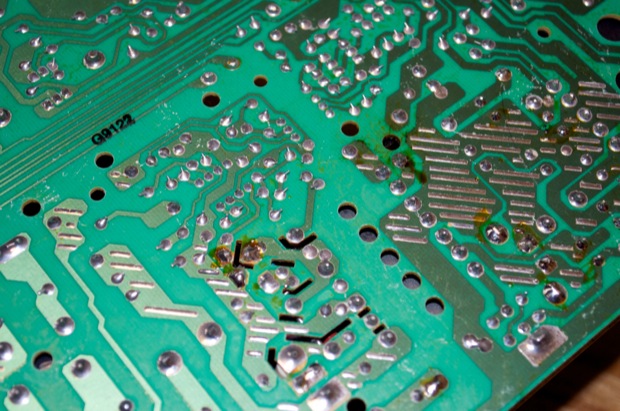
I figured I’d pull the analog board out and have a look at that. There’s no sign of leaky caps, but there’s a huge amount of yucky solder flux all over the place. That shouldn’t be causing a problem, but I cleaned some of it off anyway since it tends to be a magnet for dust and dirt.
I scoured the
68kmla.org forums for some hints as to what I should try next. One of the forum members pointed out that although there might not be any visible signs of leaky caps on the analog board, that doesn’t mean they aren’t bad. Not all caps have a liquid dielectric. The caps common to logicboards usually have liquid dielectrics. That’s why leaky caps on logic boards are so common. Most of the caps on the analog board don’t use liquid dielectrics. They won’t leak, but they’ll degrade nonetheless.
If the caps have degraded, the output voltage will be off. In order to see if the analog board is putting out enough juice to power all the internals, it was suggested that I measure the voltage. I took some measurements at the floppy port. The 5V rail was only measuring 4.79V and the 12V rail was only measuring 11.57V. That’s not enough to make a Mac happy!
So, it appears as if the analog board isn’t putting out enough power. This is usually caused by capacitors that have degraded. As a temporary solution, you can adjust the output voltage by making a small adjustment to a potentiometer in the center of the analog board.
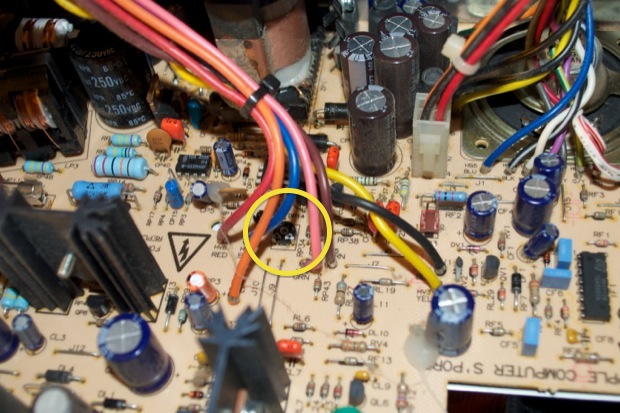
I gave it a little tweak and power-cycled the Mac. I thought I had it, the display appeared as if it was trying it’s hardest. Some of the checkerboard disappeared at the top of the screen. That looks promising.
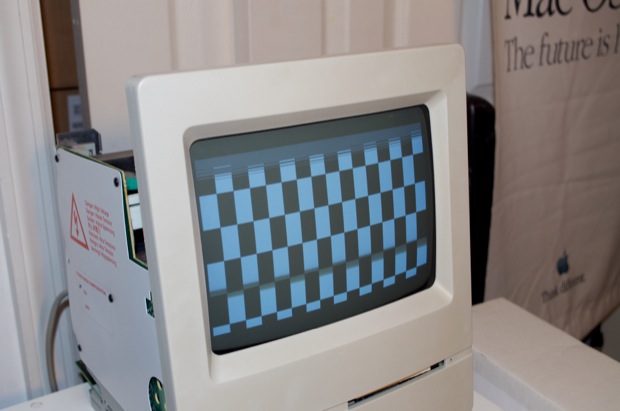
I gave it another little tweak and watched my voltmeter creep up to 5 and 12 Volts. I power cycled it again and ……”we have the machine that goes ‘bing’”!
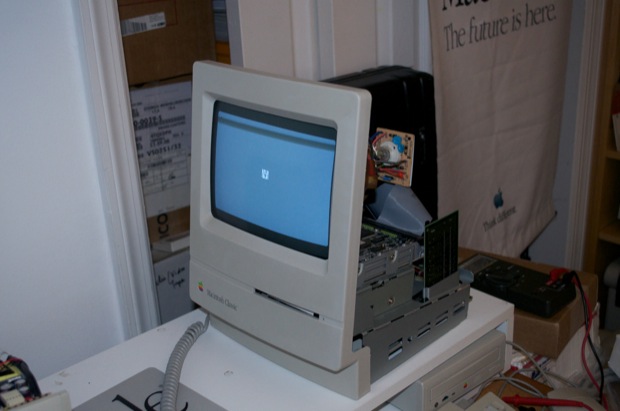
I popped in my boot disk and watched it boot to the Finder. The keyboard and mouse even worked.
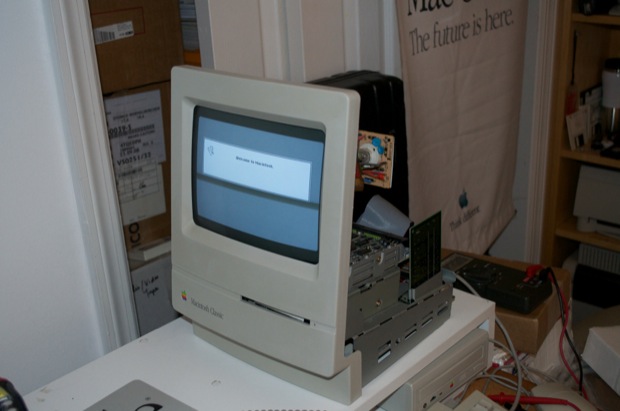
I shut it down but couldn’t remember if the hard drive icon was displayed on the desktop or not. Did tweaking the analog board solve my hard drive problem, or is it still dead? I attempted to boot the machine again. Unfortunately, one good boot was all it gave me. Checkerboard again!
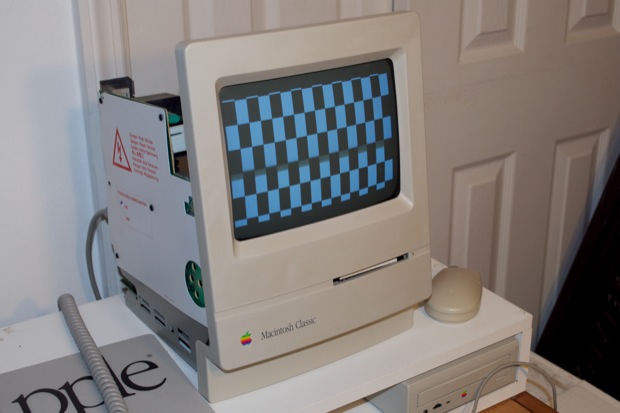
It seems as if tweaking the pot on the analog board still isn’t enough to maintain a steady 5 and 12 Volts. At least the board “works” proving the output voltage is good. I guess that settles it. I need to either recap the board analog board or find a new one.
I posted a “WTB” on the 68kmla.org forums and one of the members answered the call. He sent me out a new analog board that worked in his Classic. I only had to pay for the shipping.
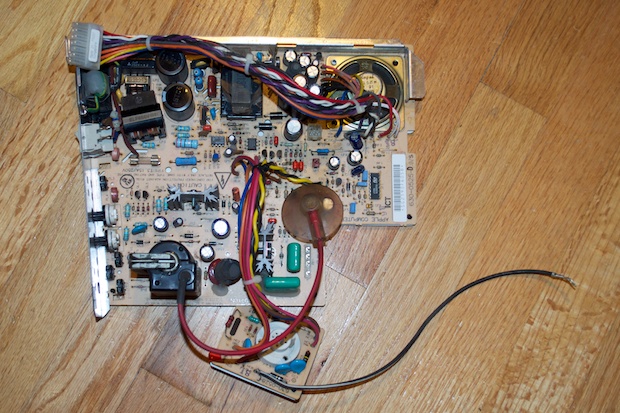
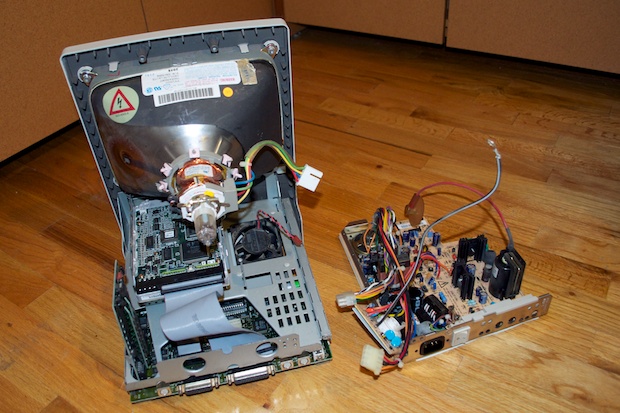
I started by removing the old board from the Classic.
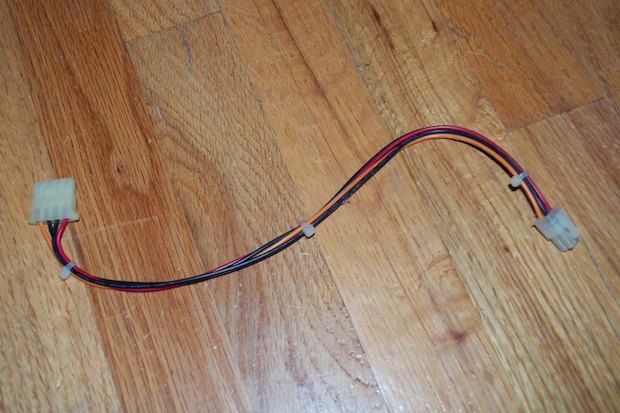
The new board didn’t come with the power connector for the hard drive. So I had to move that over from the old board.
I connected everything back up and powered it on.
Yikes! That’s even worse!
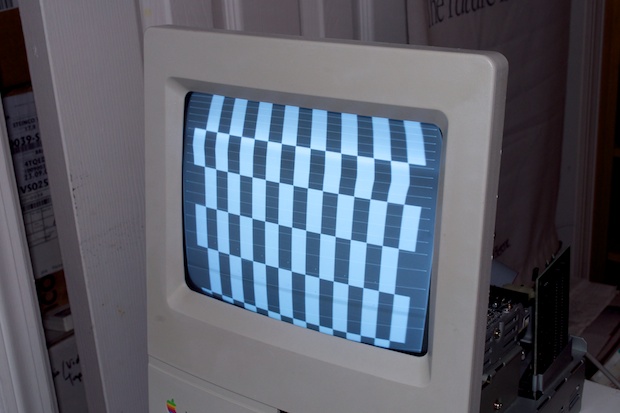
By adjusting the brightest knob on the back of the board, I was able to eliminate the horizontal lines. I couldn’t get rid of the warping.
The warping moves down the display rather slowly. It takes a good 5 seconds or so to move all the way down the display.
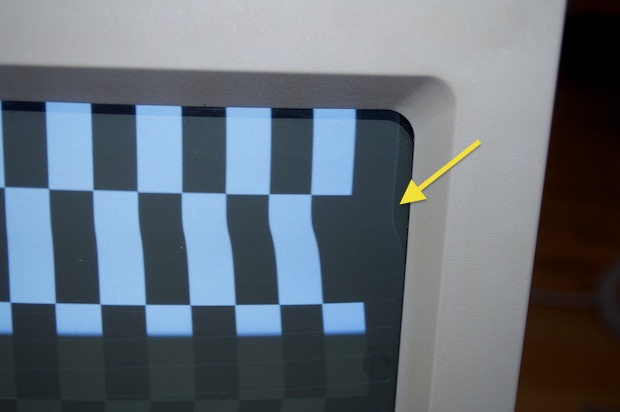
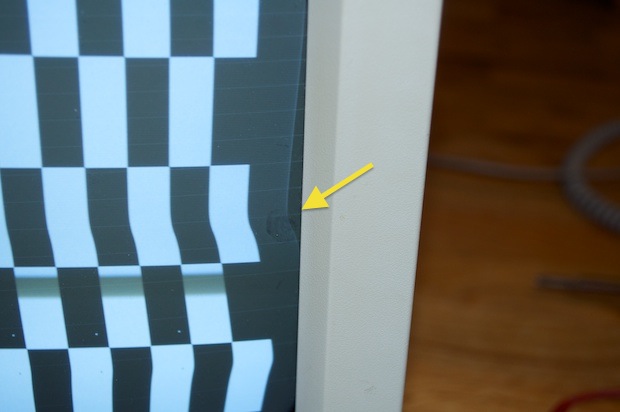
I took some readings with my volt meter at the floppy connector. The output is only 10.4 and 4.01 volts. That’s worse than my old board. I adjusted the pot on the board but even with it turned all the way up, the voltage isn’t even close to 12 and 5 volts.
At this point it’s hard to tell if the logicboard is still the culprit or if it’s the analog board, or a combination of the two. The analog board was tested good before being sent out so it’s anyone’s guess at this point.
Until I can find a new Classic, this one will be for show only. Between the new board and the caps, I’m already in the hole $30. Considering I only paid $45 for the machine, I might just chalk this one up as a loss. It’s a cool lithe machine, but it’s basically a Mac Plus. It has nothing to offer as far as expandability. Like the Plus, it runs at 8MHz and the RAM is capped at 4 Megs. The only thing it has going for it is the hard drive.
Maybe I’ll just ditch it and get a Classic II or an SE/30. They both run at 16MHz. Although the RAM is capped at 10MB on the Classic II, the SE/30 is expandable to 128MBs.


