My latest eBay score: A 1990 Macintosh Classic for $45 bucks!
The seller scored this machine from the local school district. I wish I was around when the schools by me tossed their old Macs in the dumpster. I remember using a Mac Plus in my High School writing class. Ah, those were the days.
OK, enough with Memory Lane, let’s have a look at this baby.
As with most old Macs, there’s some serious signs of yellowing. Damn flame retardants!
this
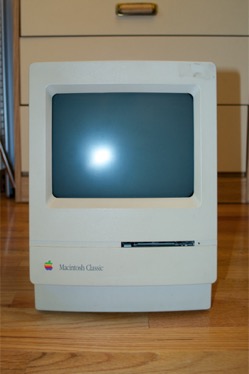
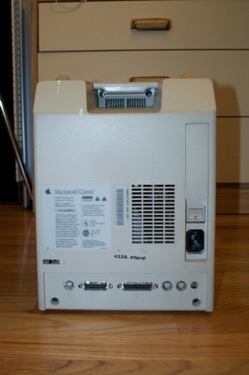
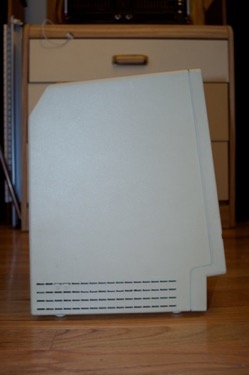
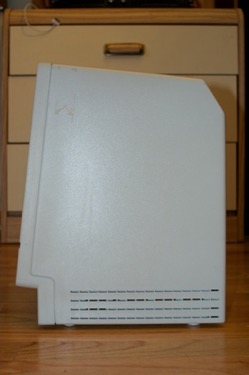
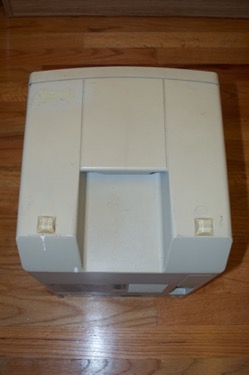
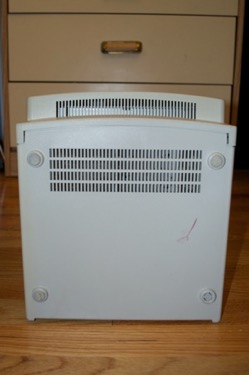
It’s also going to need a good cleaning before all is said and done.
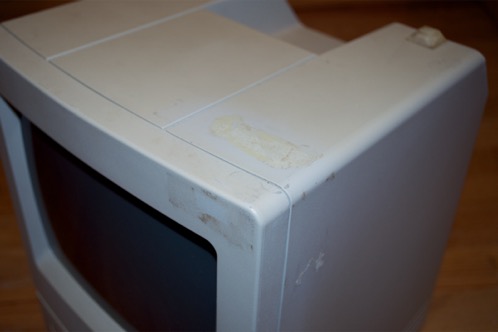
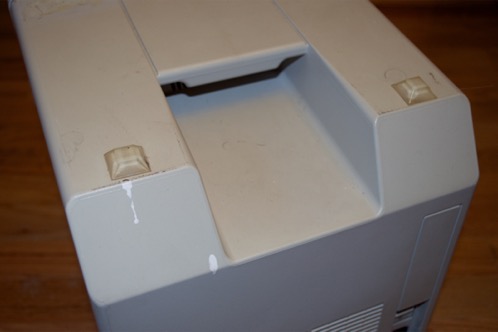
Open ‘er up:
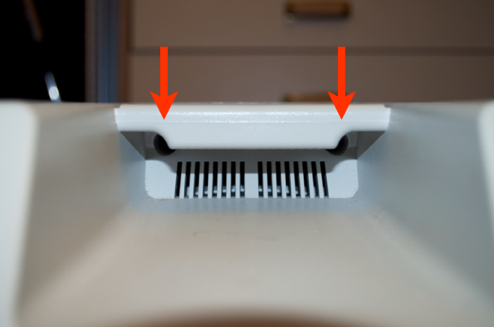
Take these two hex screws out:
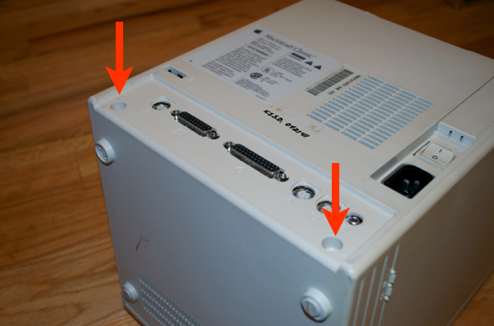
Followed by these two:
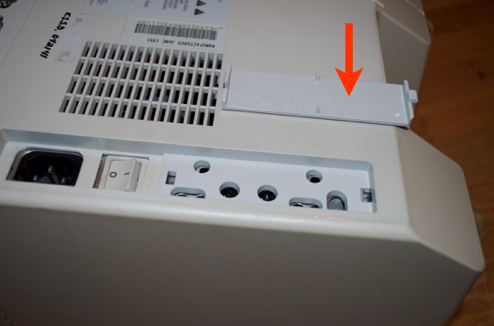
Remove this cover:
(here you can see what the color is supposed to look like)
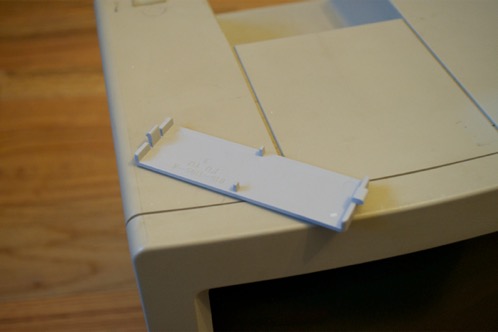
Do not attempt to adjust the white-balance of this image, it’s really that yellow! It’s not as bad as the Mac SE that I restored. You can tell by the under side of that panel what the case used to look like. I’ll use that later on to judge the progress of the restore process.
This parts a pain in the butt, and pretty hard to do without gouging the plastic. Use a plastic screw driver-type tool to partially separate the back of the case from the front. I found that those plastic “spluger” tools that come with iPod battery kits work pretty well. Remember, you’re pulling the back from the front, not the front from the back. The front panel is part of the metal chassis; it’s not coming off. No matter how hard you pull. You have to pull that back part of the case off the chassis.
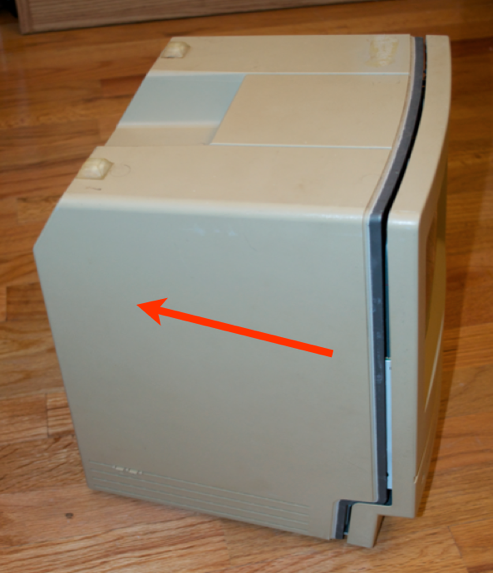
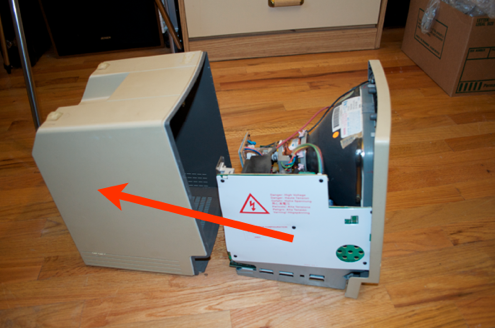 WARNING: Remember to discharge the CRT before you do anything! You could die from the amount of voltage stored in that tube! You’ve been warned!
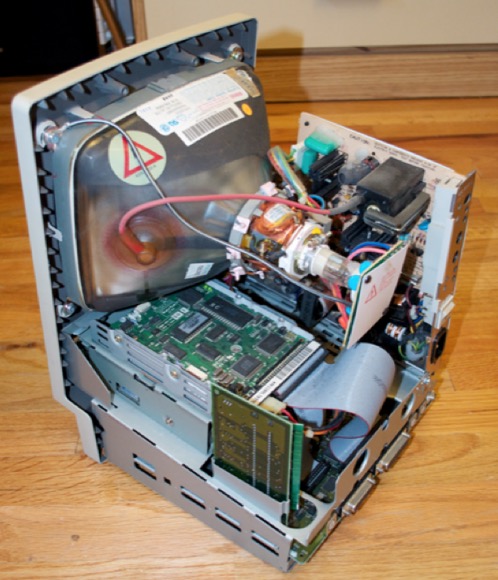
OK, here’s the reason I opened this puppy. The hard drive is only 40 Megs. I have a spare 700 Meg drive that’s dying to be used in a Classic Mac. 700 Meg nowadays is a joke, but for a Classic Mac, 700 Megs is like having a 2 TB hard drive. You’ll never fill it up!
(That, and the 40 Meg drive died 2 days after I had the Mac.)
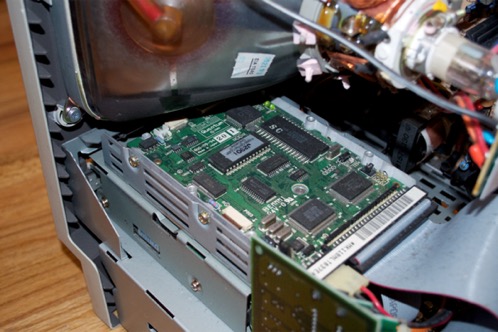
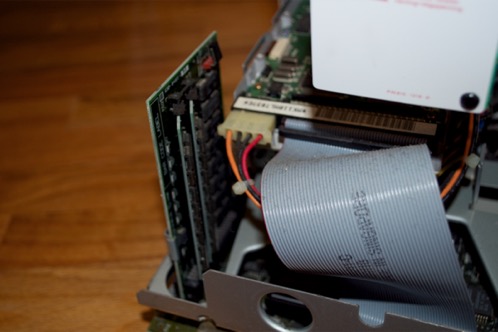
Is that a RAM riser, or are you happy to see me? This one is maxed out with 4 Megs.
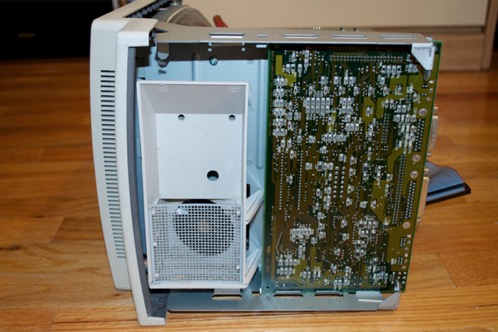
It’s amazing between the Mac SE and the Classic how small the logic boards got. This logic board is almost half the size of that used in previous models. The power board too is almost half the size.
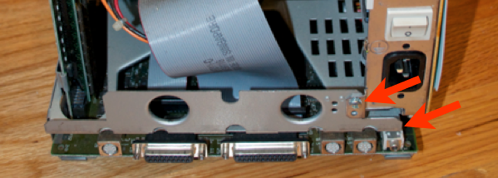
To get at the screws securing the hard drive, the power board has to be removed. I removed the SCSI cable from the hard drive as well as the power cable from the logic board, and removed the two screws that attached the power board to the chassis.
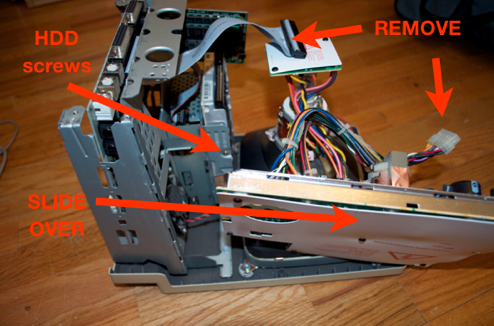
Now that the power board is out of the way, I can remove the two screws securing the hard drive.
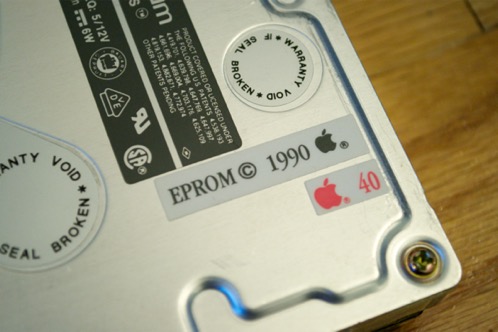
Here’s the old hard drive. I guess 21 years is a good run.
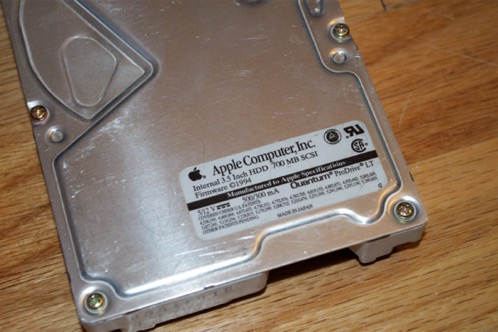
And the “new” drive. What am I going to do with all that new space?!
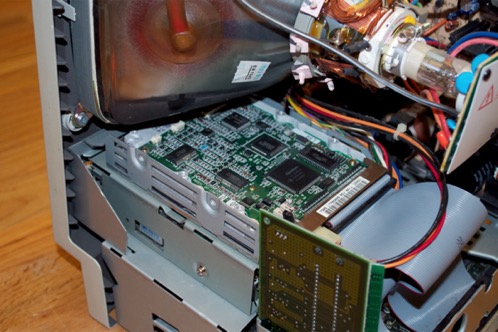
A couple of screw turns later, and the “new” drive is installed.
It’s funny, I booted the machine up and it actually tried to boot into OS 7.5.5. It just got past the splash screen before it realized the install was from a Performa and took a nose dive.
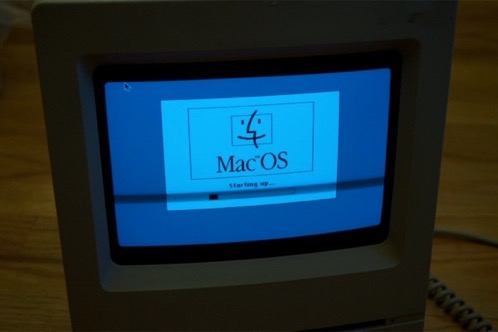
I promptly installed OS 7.1. Unfortunately, I have a bad disk and I couldn’t complete the installation.
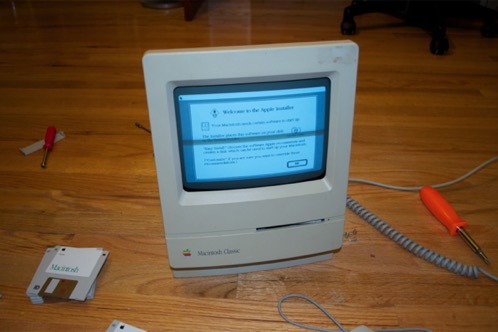
I popped System 6.0.8 on there for now. Not that I really needed to. If you hold down Command + Option + X + O while you’re powering on the machine, it’ll boot into System 6.0.3. Apple put the OS into the ROM since they had some codespace left over. It’s the only Classic Mac that can do that.
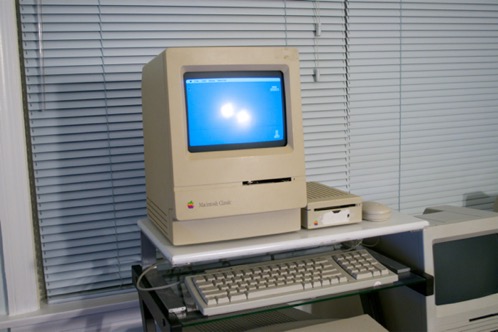
I managed to also score a box of vintage Mac goodies on eBay for $1.25. It included two 800K floppy drives, a bunch of Apple Talk cables, some mics, and a bunch of miscellaneous cables.
I still have not had the chance to peel that sticker off the floppy drive. I think it’ll shine up nice once I dip everything in peroxide.


