February 17, 2011 Filed in:
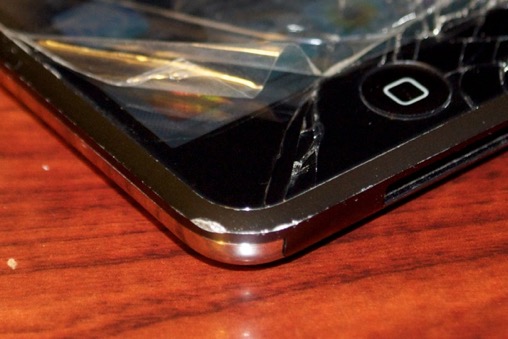
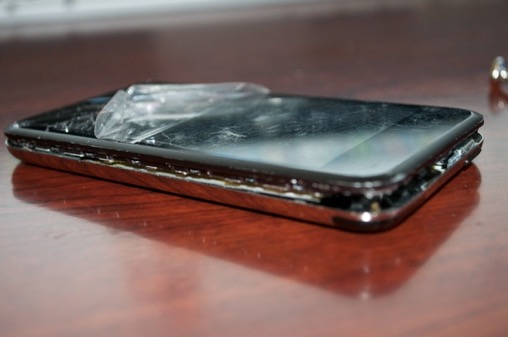
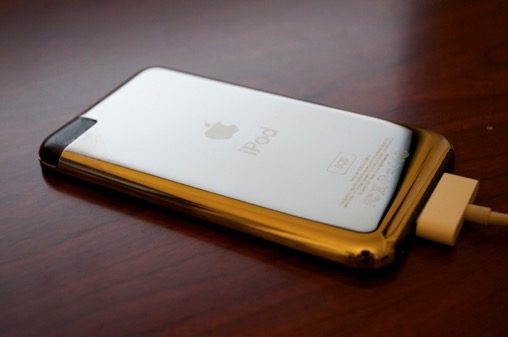
iPod | DisassembliesA friend of mine gave me his broken 1st generation iPod touch.
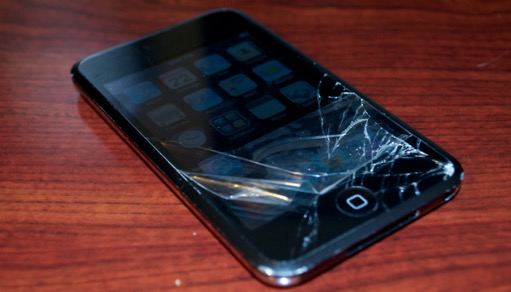
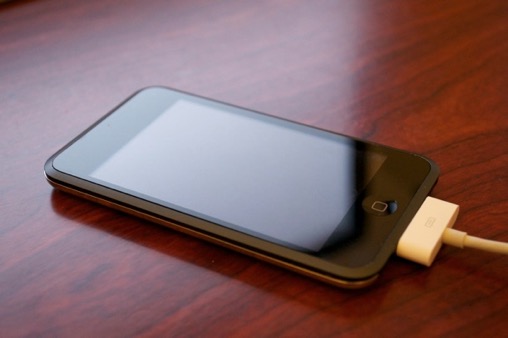
As you can tell from the above picture, the LCD is OK, but the touch screen digitizer is smashed:
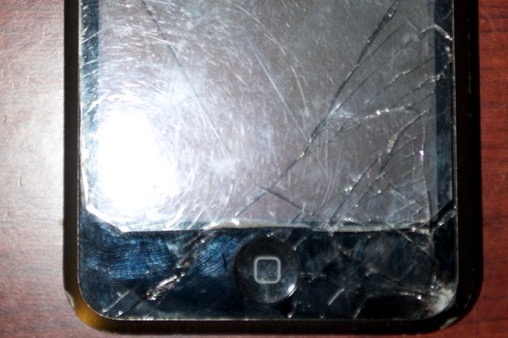
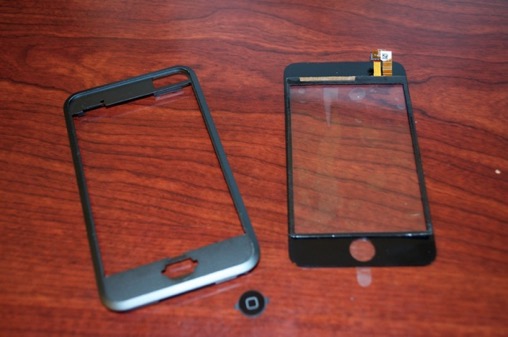
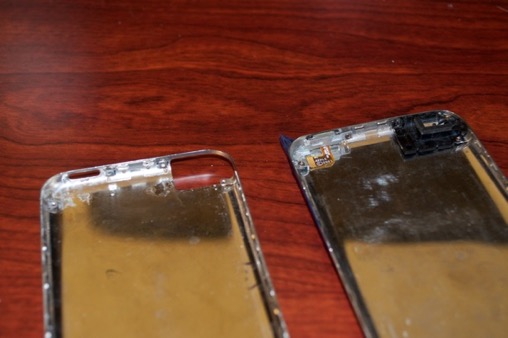
The bezel is scratched all around and the corners are all chipped:
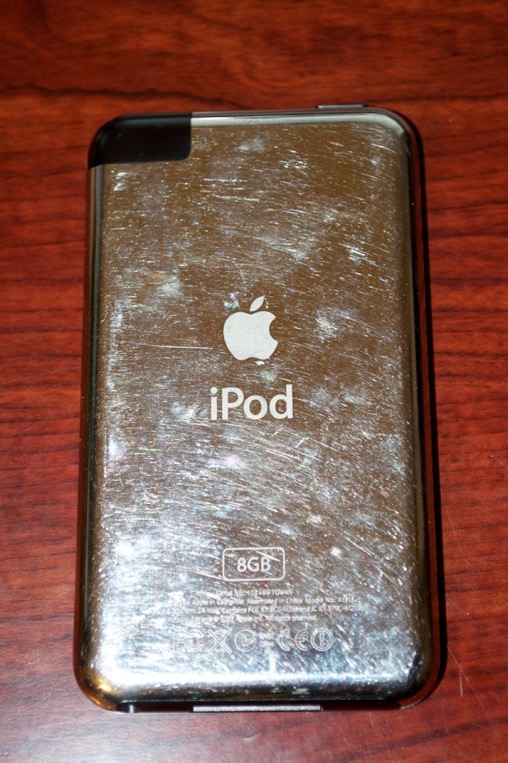
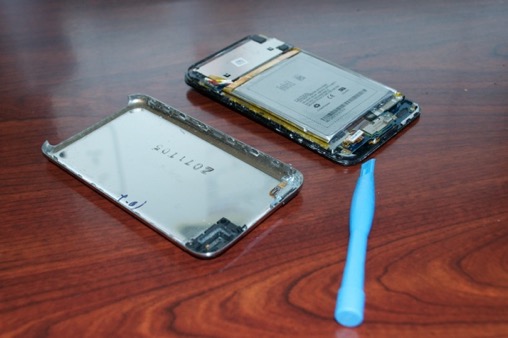
The back cover is in pretty bad shape too:
For less than $40 in parts, I can have this baby looking out-of-the-box new.
Time to score some parts off eBay.
Touch screen digitizer - $13.20 ..........check.
Bezel - $12.45 ..........check
Home Button - $2.75 ..........check
Back cover - $6.99 ..........check
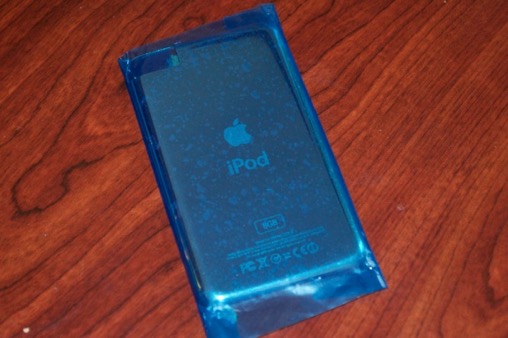
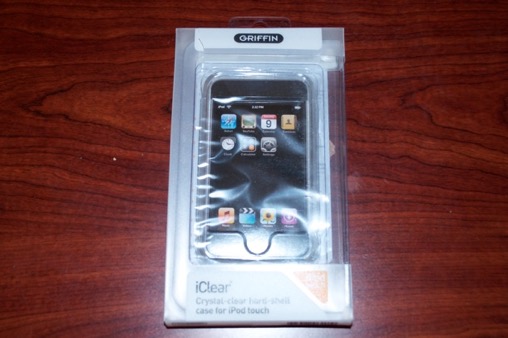
Case - 49 cents..........check
TOTAL REPAIR COST: $35.88
LET’S GET DOWN TO BUSINESS:
1.Open ‘er up
Using one of those plastic “spluger” tools that iPod parts come with, inch around the case to open it up.
2. Move the antenna cover and sleep/wake switch over:
3.Liberate the Logic Board
Flip the battery out of the way. It is heavily glued to the LCD.
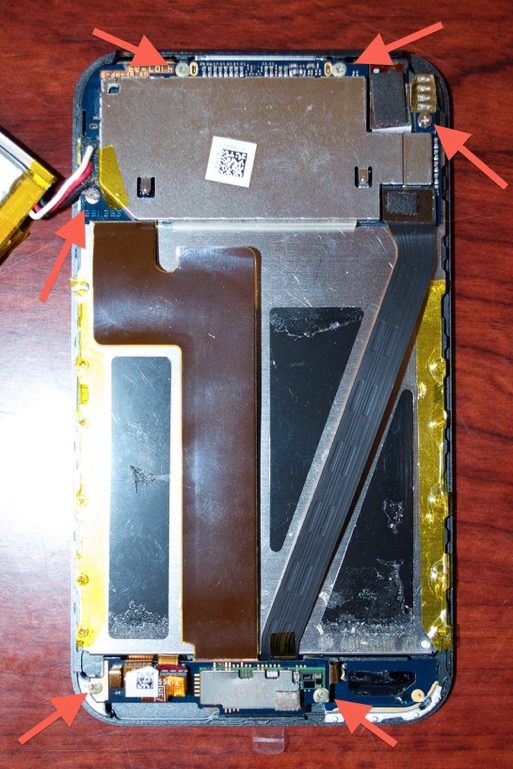
Once the battery is out of the way, remove these 6 screws:
NOTE: You may have to remove a small piece of black tape that is covering the 2 top screws.
Pop these two tabs off:
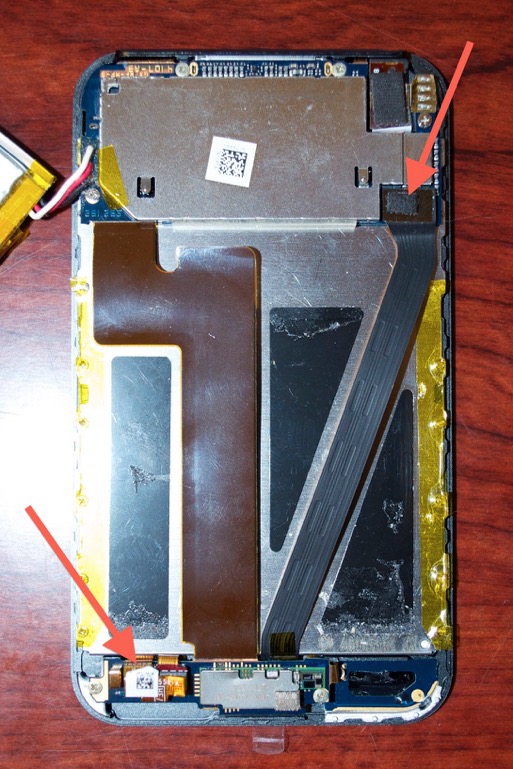
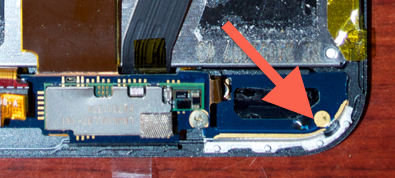
Dislodge the antenna board from the frame. Once that is done, you should be able to remove the bottom portion of the logic board from the frame.
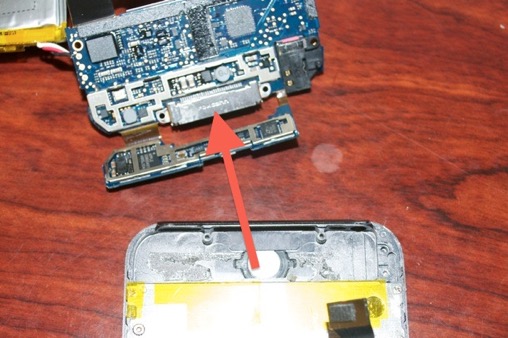
Once the bottom portion of the logic board has been removed from the frame, you can then remove the top portion. Be carful, the underside of the logic board that engages the Home Button is heavily glued to the frame.
4.All that has to be done now is move all the logic over to the new parts.
I failed to take pictures of the reassembly process, so all I can tell you is that you have to just do the above in the opposite order.
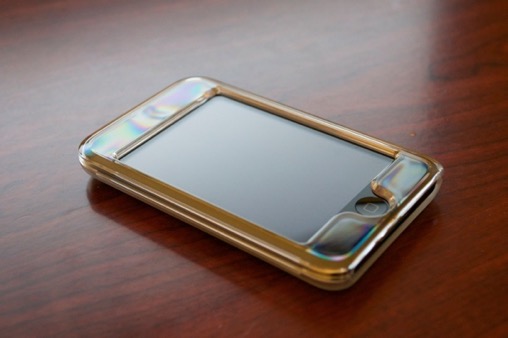
And viola! A brand new looking iPod touch...
...case and all! Not bad for $36 bucks!