Parallels v2.5
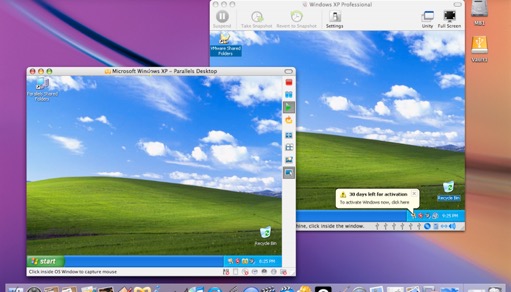
This is quick overview of Parallels vs Fusion. Which is better? You decide.
Installation is easy. The one thing I don’t like is that part of the virtual machine creation process requires that you enter your Windows COA. You also have to enter it again during the Windows installation process, annoying.
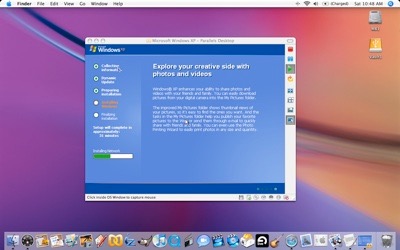
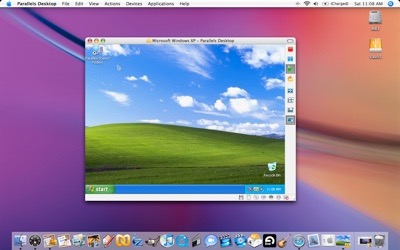
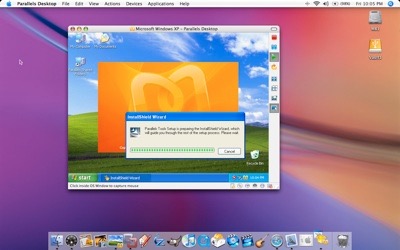
Installing Parallels tools is a must once the OS is up and running. In older versions, it was required to run this on your own. Choosing Express installation mode in the new version installed Parallels Tools automatically.
You can pause your OS and then close Parallels. Once you pause it, you’ll see the display dim. This is a great feature. You won’t have to boot the OS every time you open it. You can easily get in, and get out.
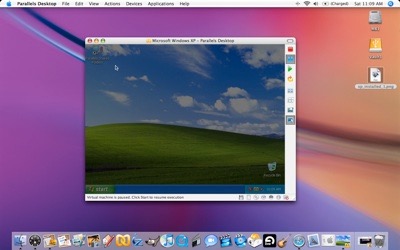
A nice feature while in full-screen mode is hitting control+alt. You can display the Dock over Windows and access your Mac files/applications.
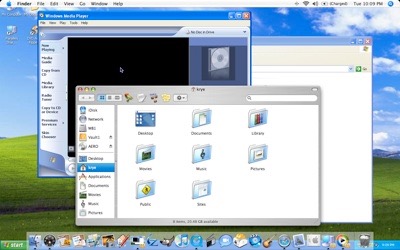
Nero running in Coherence mode:
Notice the START Menu.
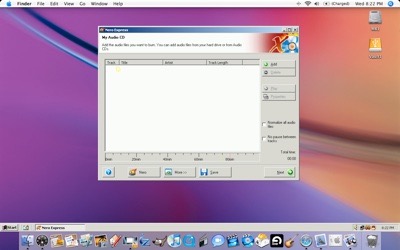
Fusion 1.0
Installation of XP within Fusion is almost a carbon copy. It also requires you to enter the COA for Windows. However, choosing the Express Installation option passes the number to the XP installation so you don’t have to enter it again. I started the installation, when I came back about an hour later, it was sitting at the desktop. The installation was totally automatic.
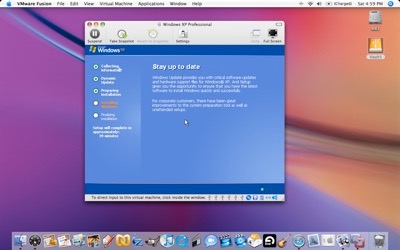
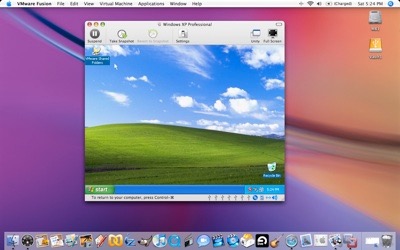
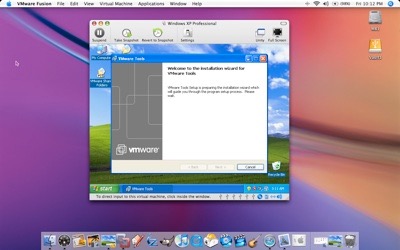
VMWare tools, similar to Parallel Tools is also automatically installed.
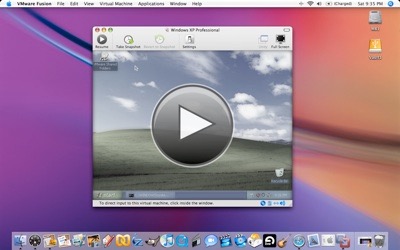
Pausing looks a little nicer in Fusion. Just hit the Play button to resume.
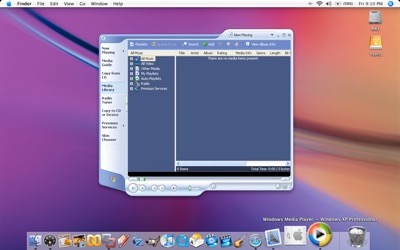
Fusion running in Unity Mode:
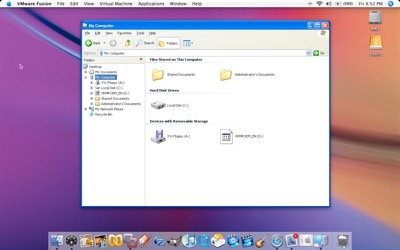
Media Player with full audio support.
Here’s a screencast of Fusion and Parallels in action. Overall, I like the look, feel and functionality of Fusion over Parallels. I still have to try out the 3D support with Fusion. Unfair as the comparison will be (no 3D or multi-core with Parallels 2.5) I don’t thin I’ll be trying Parallels 3.0 anytime soon.
Boot Camp
What can I say? Windows at full native speed with all of your hardware supported. You just have to reboot your machine every time you need access. Also, if you want your files to be accessible to OS X and Windows, you’ll need to create a FAT32 partition for file swapping. No very efficient, since you’ll need to now ahead of time what files you’ll need.


