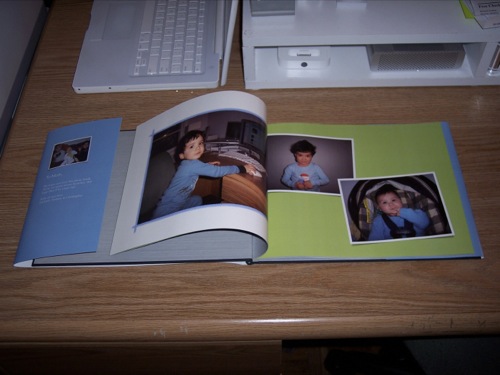
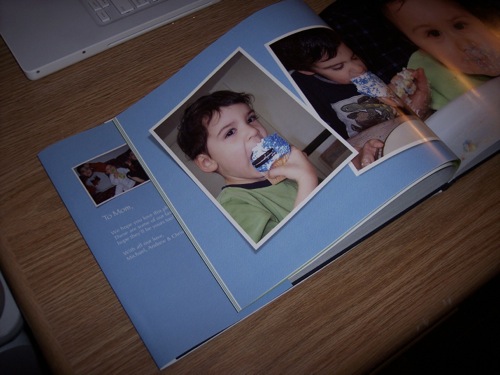
For some reason, it wasn’t until I watched the iLife 08 guided tour that I became aware of iPhoto’s print services. Maybe it has something to do with the fact that I am relatively new to the Mac. (As in iLife 06 is the first version of iLife I have used.) Once I watched the iLife 08 guided tour, I looked at my iLife 06 installation on my MacBook. I was surprised to see that the functionality was there all that time (a year and a half) and never noticed it.
A photo book was even the topic of the “Gift Exchange” ad from Apple’s famous “Get a Mac” campaign. I remember seeing it, but didn’t realize that it was actually done in iPhoto. So much for the power of advertising!
I thought a photo book of the kids would make an awesome Christmas present for my Wife. I could start a family tradition: a new book every Christmas. The book could be a collection of favorite photo moments from the past year: birthdays, Halloween, trips to the zoo, etc. I could then follow it up every year with a new volume.
I upgraded my machine to iLife 08 when it was released in August and got to work. I’ve waited all this time to finish the book because I wanted the book to also include a few snaps from Halloween, Thanksgiving, and finally the boys’ Christmas portraits.
It’s so easy to make a Photo Book, and the results are very, very nice.
I’ll walk you through the process...
Launch iPhoto and press the “+” button on the bottom left-hand side of the application window.
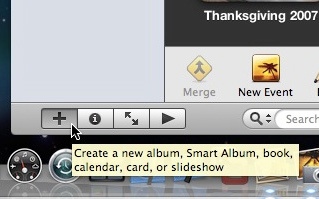
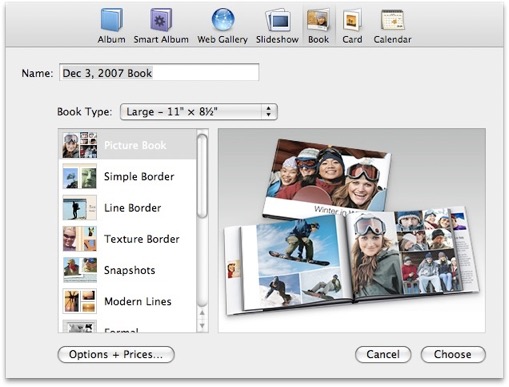
You will be prompted with a dialog box.
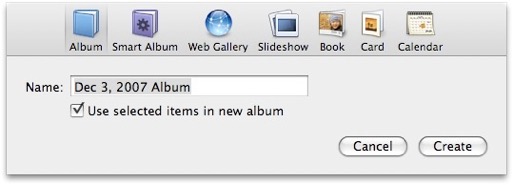
Choose the “Book” icon from the top list of available options. Give your book a name, select the book size and the template that you want to use.
Press “Choose” when done.
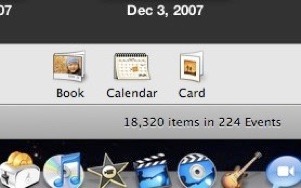
You can also press one of the buttons at the bottom of iPhoto as a short cut.
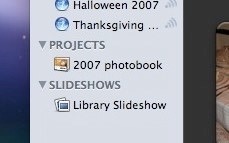
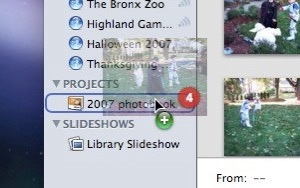
The name of your Photo Book will appear under “Projects” on the left-hand side of iPhoto.
Once the project has been created, you can fill it up with pictures from your iPhoto library.
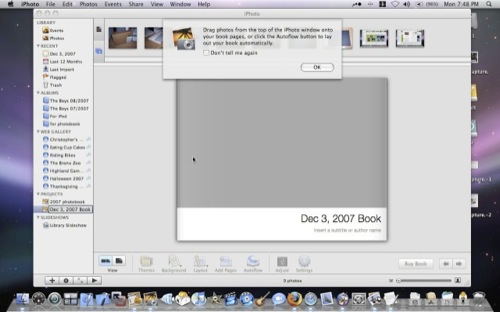
Just drop pictures from your Events onto the Photo Book project. A copy of that picture will be placed in the Photo Book image browser.
All you have to do now is arrange how you want the images to be laid out on the pages. You can add as many pages as you want. You can change the layout, page color, add text, or change the entire theme if you want to.
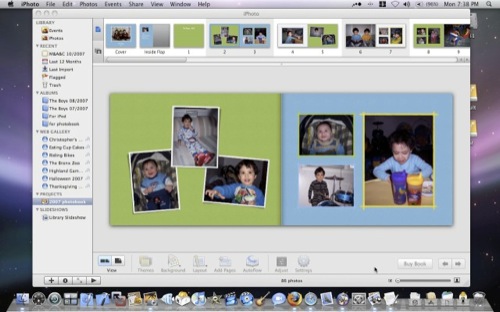
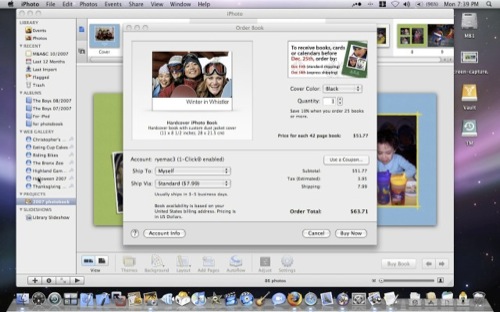
Once you’re happy with your book, press the “Buy Book” button on the bottom right. You’ll be prompted with another dialog. You’ll have to create an Apple account and enter payment and shipping info. Once complete, your Photo Book will be uploaded to Apple. My 42-page book was about 40 Megs and didn’t take too long at all to upload.
The next day I received an email that said my book was ready to be shipped. That was fast! However, it took FedEx another 7 days to drop the box off. (I chose the “Standard” shipping option as opposed to “Express”.) To my surprise, the book arrived in a non-descriptive, plain brown box. This is good. After all, this book is a Christmas present for my wife and she answered the door.
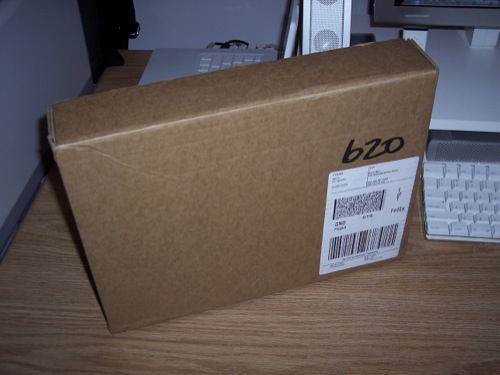
Inside the brown package was a nice Apple-branded box.
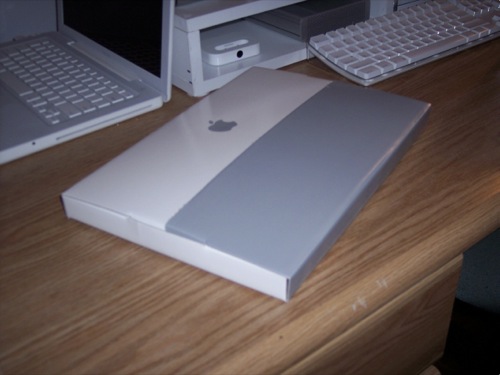
Inside that box was my custom Photo Book protected by a plastic sleeve.
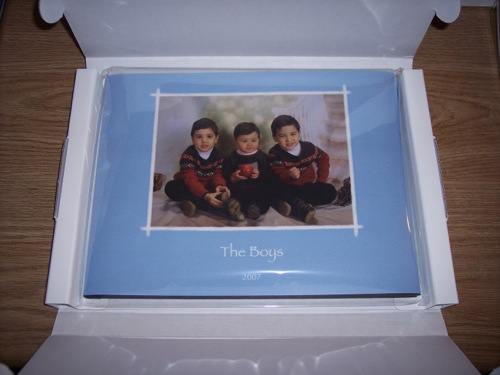
I chose the hard covered option. Soft covered books are also available, as well as calendars and cards.

The base price for a 20-page book is $29.99. I added another 22 pages, so the price shot up to about $50.00. At that price, it’s not your every day book, but perfect for an occasion such as Christmas.
The book is very, very nice and I’m happy with the print quality. I’m sure it will make a one-of-a kind Christmas present that my Wife will never forget. If you’re finding it hard to find that special something for that special someone, maybe you should check out the iPhoto print services.
