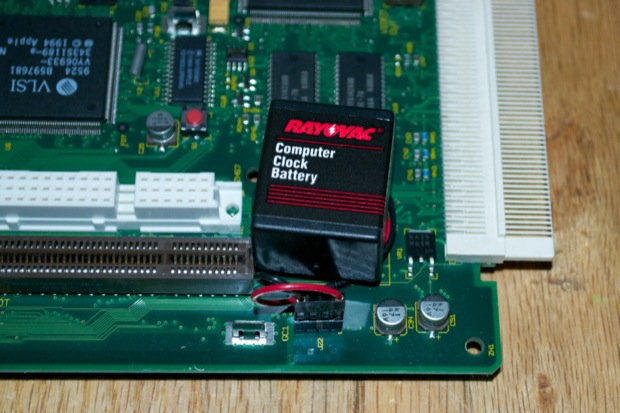
My Power Macintosh 5200 came with a ridiculous 4.5V battery. This thing’s huge. Why Apple stopped using the 3.6V 1/2AA battery is beyond me. Needless to say, it’s dead and needs to be replaced. It’s probably impossible to find.
I searched online for it and was surprised to see that you can still buy these, although they’re extortionate. The going rate seems to be a good $10 bucks. Insanity! I could probably make one of these by stringing 3 AAs together. There’s definitely plenty of space inside the Power Mac if one was inclined to do so. $4.99 was the cheapest I found on eBay, but the shipping was ridiculous. Time for a little DIY action.
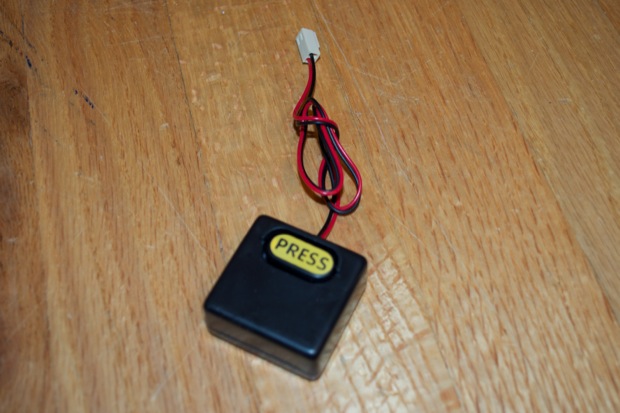
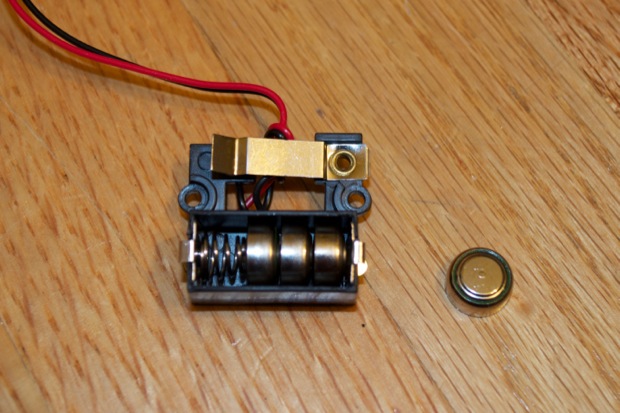
I searched through my box of electronic goodies looking to source something I could use to make a battery pack. I knew I had some 2xAA battery packs lying around, but I wasn’t sure if I had one that could hold 3 AAs. Luckily, I found something even better. It’s a mini battery pack that came with one of my kids’ toys. It was attached to the box so you could demo it in the store. I figured it would come in handy one day. Today is that day.
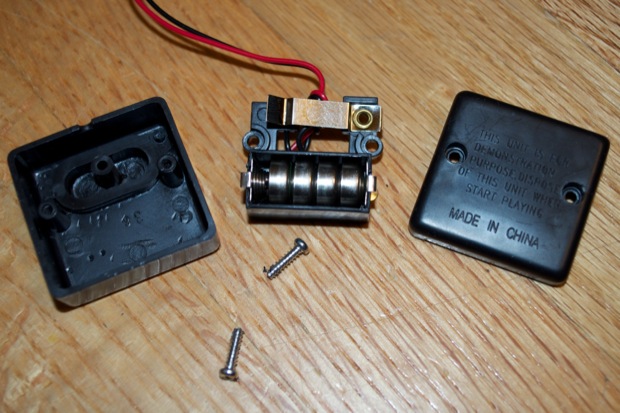
Perfect. It has 4 x 1.5V LR44s inside.
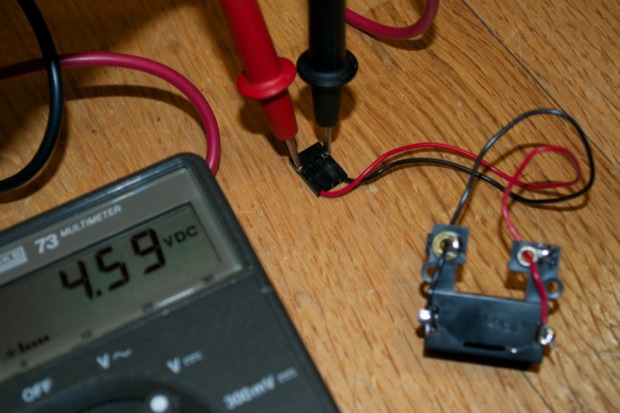
There’s also enough tension on the spring that I can take one of the batteries out, dropping the voltage to 4.5 Volts, and the spring still makes a good connection.
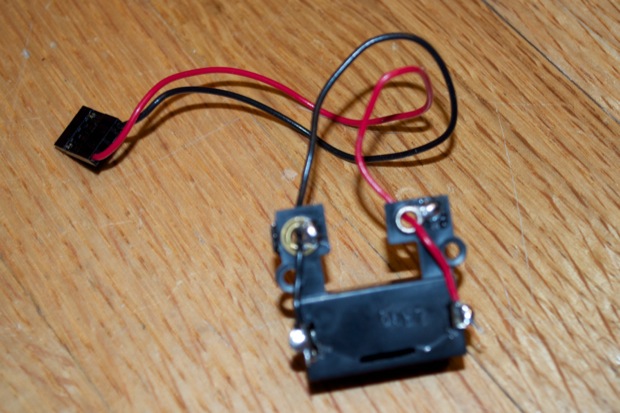
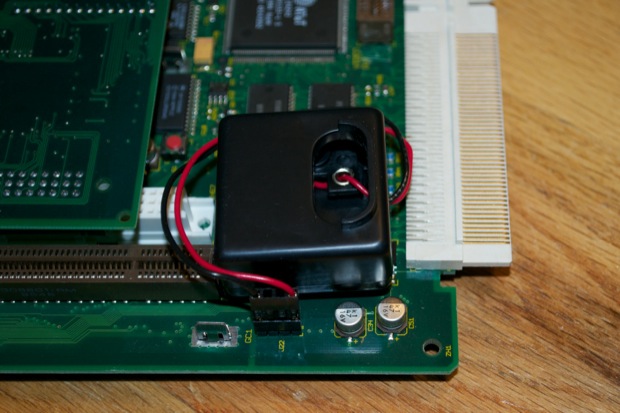
I clipped the connector off the original battery and soldered it onto the battery pack internals, bypassing the switch.
My meter reads 4.59 Volts. Good to go.
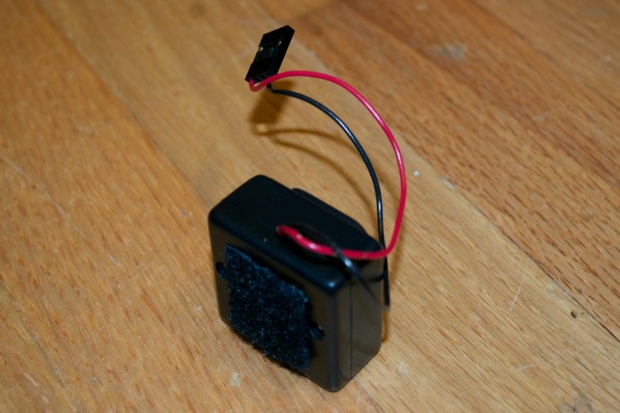
I screwed it back together, opting to leave the “PRESS” button out. There’s no need for it. I pulled the velcro sticky tape off the old battery and reapplied it to the battery pack.
I opened up the Power Mac and connected the battery pack. A Perfect fit.
I booted up the Power Mac and set the time and date. I then shut down and disconnected the power cord. Once I reconnected the power cord and started it up again, the date and time was still set. We’re back in business.
There’s nothing like doing it yourself, and saving a buck in the process.