DIY USB Charger
January 11, 2007 Filed in:
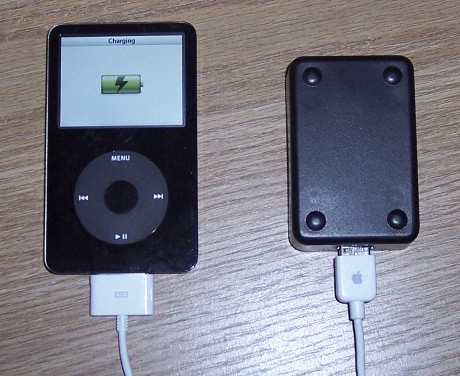
Projects | AccessoriesI needed a pocket sized iPod charger. You know, in case of an emergency. First I started with a proof of concept. I connected a 9V battery to a 5V regulator. I cut out a USB socket from a computer PCI card that I had.
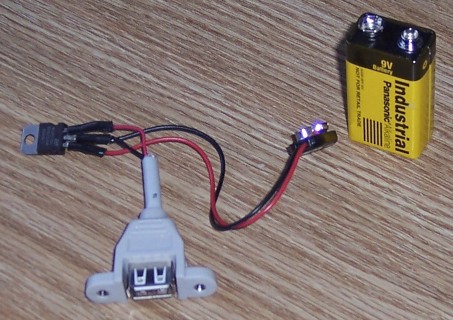
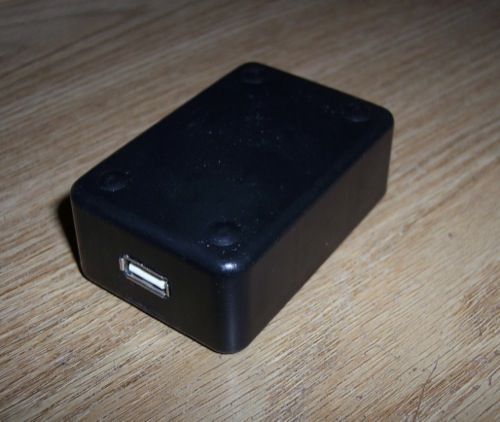
Finally, I mounted it in a project box from Radio Shack. Works like a charm.
It works!
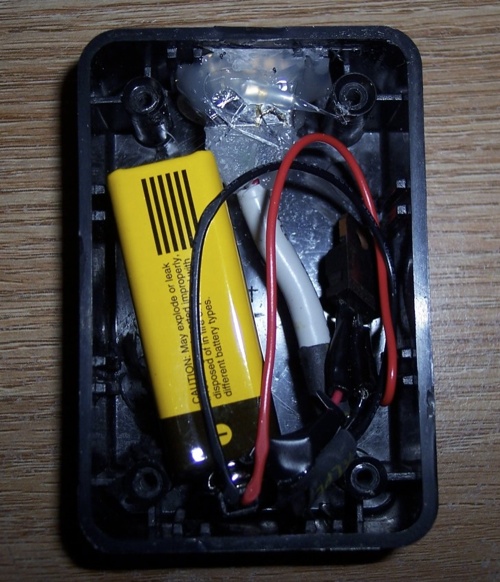
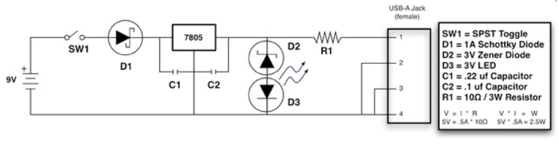
I then decided to try the Altoids Tin charger that everyone on the Internet is raving about. I found a cool circuit that was basically the same as mine, but included a current regulator to keep the output at less that 1 Amp.
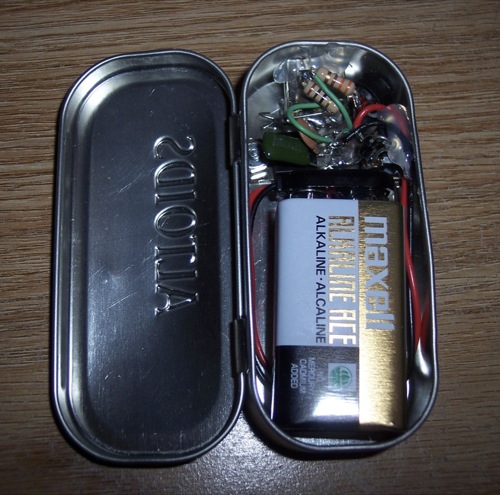
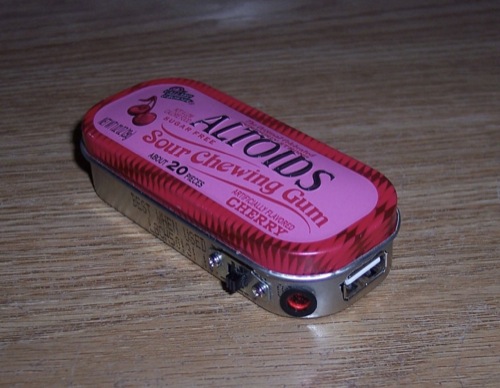
I managed to squeeze the whole circuit into an Altoids tin with enough room for a 9V battery. There’s no board. All the components are just soldered together at the leads. They are separated by hot glue so that nothing causes a short.
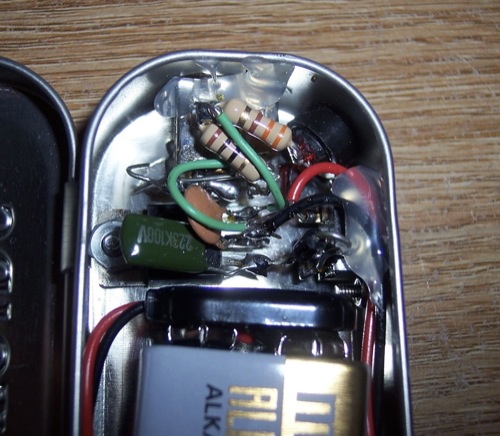
I even added an on/off switch as well as a LED to indicate the battery level. As the battery drains, the LED will dim. Crude, but effective.
I know you can buy these charger at any electronics store. I’ve seen the 9V versions go as much as $20. Not to mention the 40+ hour jobs that are in the $60 range. It’s not about being cheap. It’s about Doing It Yourself!