iPhone 3G Disassembly / Dust Removal
December 19, 2009 Filed in: iPhone | Disassemblies

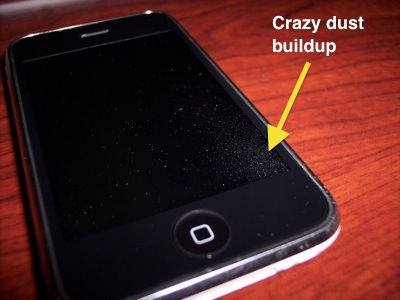
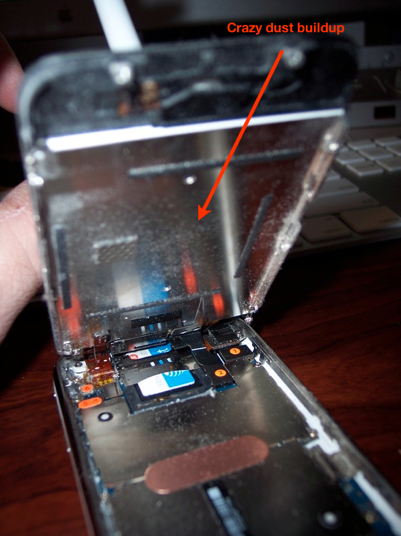
I cant believe how must dust has snuck under the display of my aging iPhone 3G. It’s been a year and a half, and it’s at the point where it’s a constant distraction. I admit that it’s partly my fault. I don’t carry it in a case. Cases are bulky and awkward, and often due nothing to protect the display, the main reason for a case. I always carry it in my pocket, behind my wallet, with the glass facing my leg. To this day, I have never scratched the glass. But, as you’ll see in a little bit, that must be the cause of the dust buildup within my iPhone.
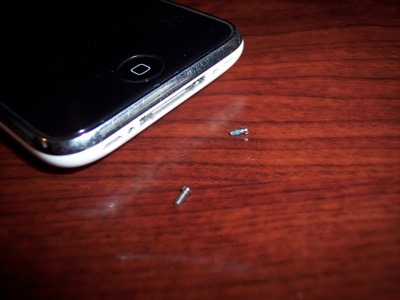
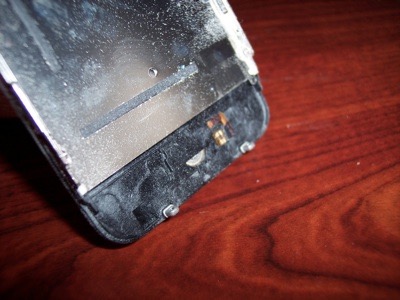
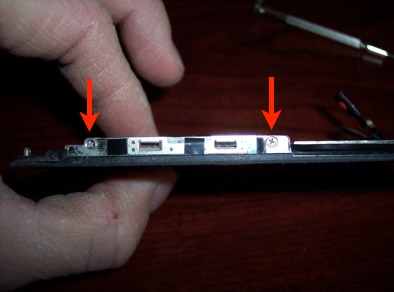
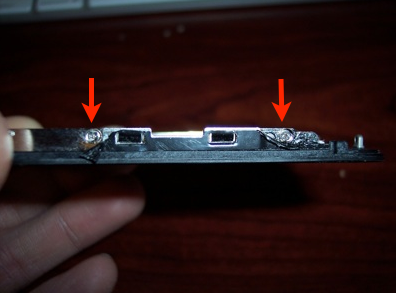
The first thing to do is remove the 2 screws on the bottom by the dock connector.
Next is to remove the LCD assembly. You need a pretty strong and descent sized suction cup. Luckily, one of my kids’ arrows that came with a toy bow was perfect for the job.
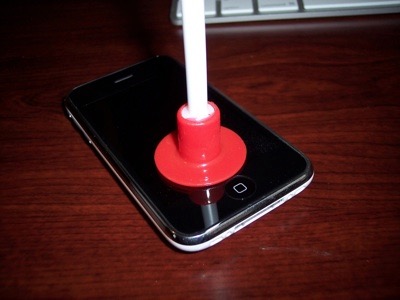
Slap it on the LCD and pull up. The whole LCD assembly should lift right out/up Be careful not to tear any of the fragile connectors. Open slowly and carefully.
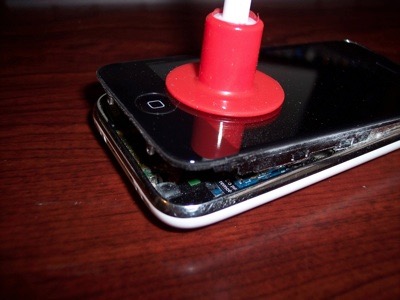
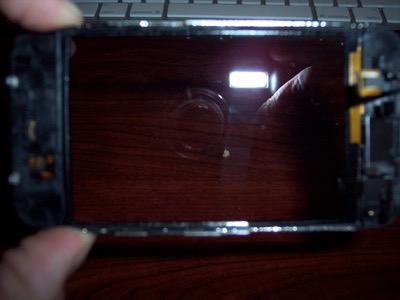
As you can see, the inside of my iPhone is covered in dust.

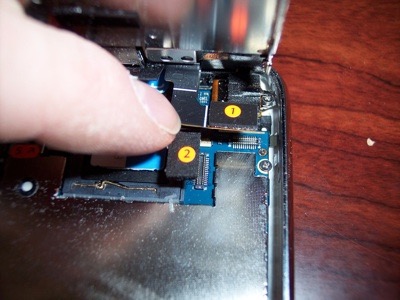
Apple couldn’t have made the tear down any easier. All the things you need to remove are numbered. Just remove them in the order they are numbered.
Once the front LCD assembly is removed, you can see how dusty it is inside
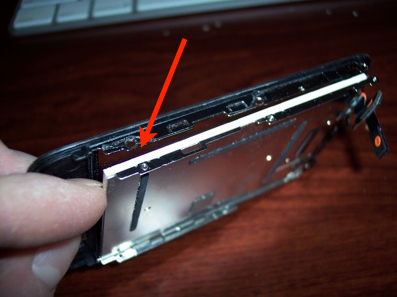
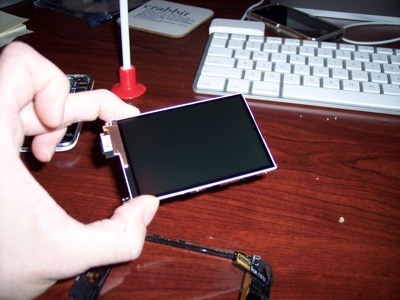
The LCD has to be separated from the glass front panel.
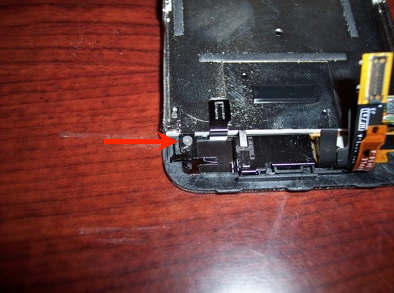
Start by removing this screw.
Next up is to remove 2 screws from the side.
And two more on the other side, under the black tape.
Once the screws have been removed, gently separate the LCD from the front panel.
Remove the dust from the inside of the front panel...
...as well as from the LCD.
I used a can of air and a micropore LCD cloth to remove all the dust.
I connected everything back together and powered on the iPhone to make sure that everything worked before I buttoned it up. However, I discovered that the Home button doesn’t work until the LCD assembly is firmly reseated back in place.
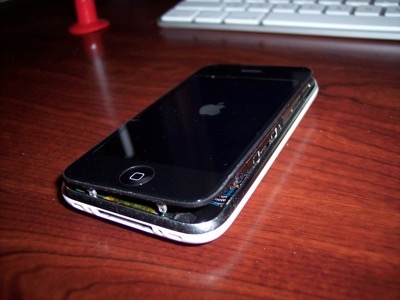
And there you have it. All clean!
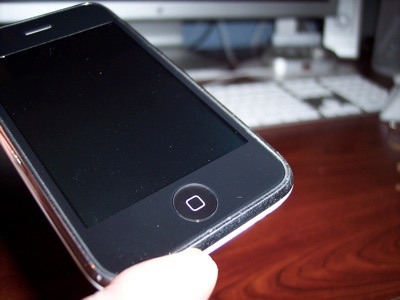
So, if your iPhone is having dust issues like mine and you like to void warranties, don’t be afraid to dive right in. The process was a lot easier than I had imagined and I was all done in probably 20 minutes or so.