Color Classic Restoration

The weather’s getting pretty nice out, so it’s time to start the retr0brite marathon. I have my Apple IIe, //c, and Color Classic to dip. I also have some keyboards and the 80SC to do.
Since the Color Classic has been waiting the longest. I’ll start with that.
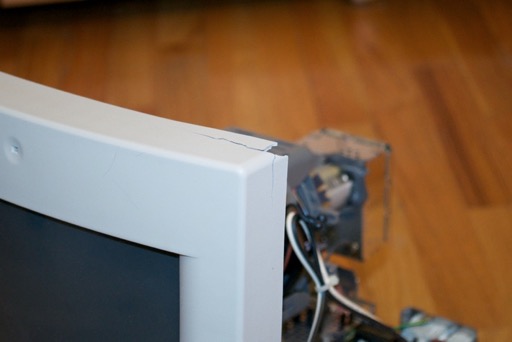
My Color Classic really doesn’t need a retr0brite treatment, but the front panel was damaged in shipping.
The replacement case that I found is pretty yellow and needs to be dipped. All I’m really interested in swapping from the replacement case is the front. The back bucket from my original is actually in better shape.
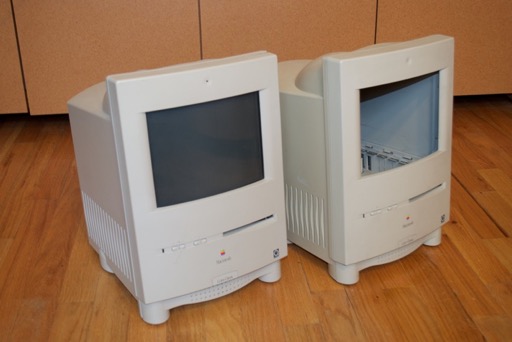
You can see here the replacement case on the right is a little more yellow than my damaged one on the left.
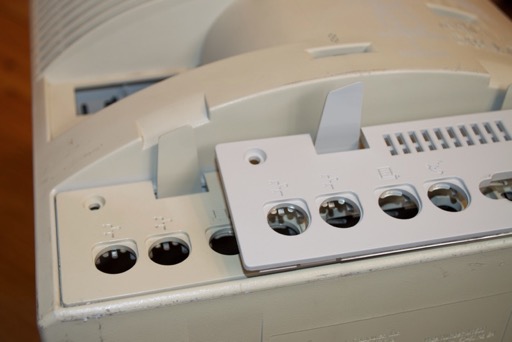
Using the old I/O panel as reference, you can see that the replacement case is pretty yellow and pretty scratched up. Not to mention that the school it came from etched their name on the back. So I’m not going to use the back. I’ll stick with the one I already have.
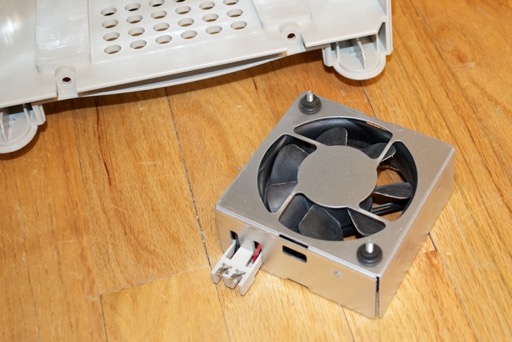
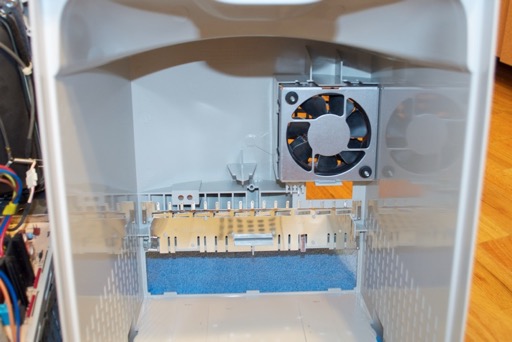
Since I’m going to brighten up the old back bucket, I need to remove the fan. The metal panel below the fan is going to stay where it is. The only way to take it out is to break off a whole bunch of little plastic posts that hold it in. I don’t think it’ll corrode by being exposed to the retr0brite.
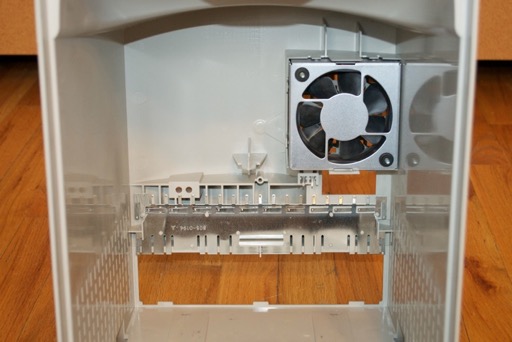
There’s a clip on the top and bottom of the fan that hold it in. Just push them up with a screwdriver and the fan will pull right out.
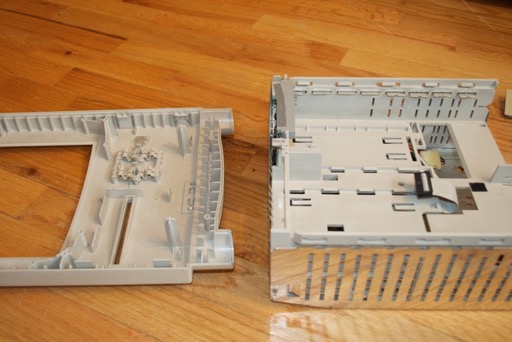
To remove the front panel from the logicboard cage, all you have to do is pop the two tabs on either side that secure it to the cage.
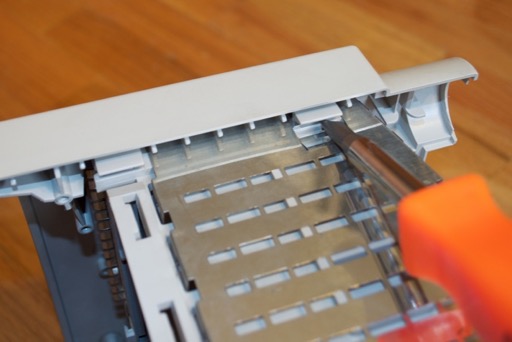
Once you’ve done that, the two parts will separate.
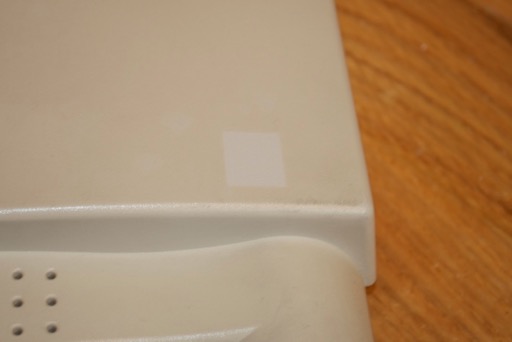
As cool as the QuickTime sticker is, it has to come off. It’ll probably come off in the retr0brite anyway.
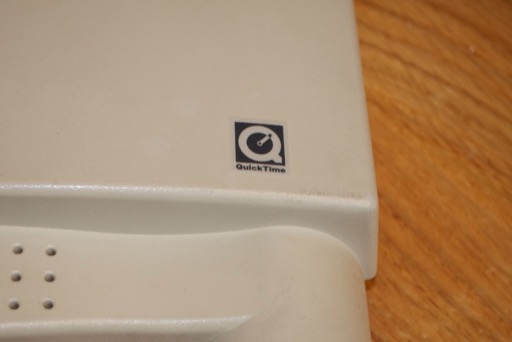
Also, the sticker protected the case from yellowing, so it shows the target color. Keeping an eye on that will let me know when it’s time to take it out of the retr0brite.
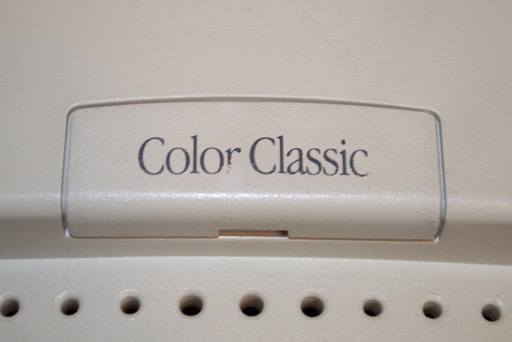
The Color Classic case badge is damaged on the replacement case. The text is a little worn off. I’ll have to swap that with my damaged case.
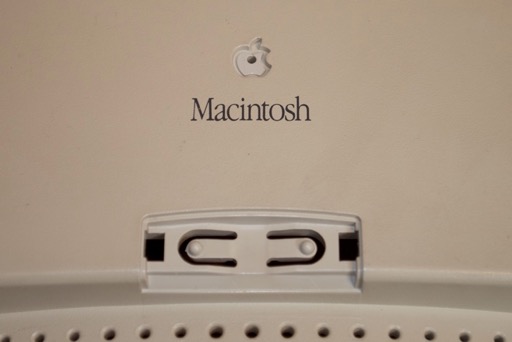
To remove it, just pop the two clips on the back that hold it in. I also took a paper clip and pushed it through the hole above to remove the Apple logo.
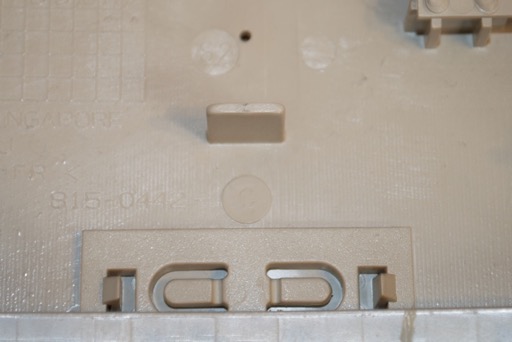
Another two areas that show the target color.
Pairing the replacement front with the old back shows that some color matching will have to be done.
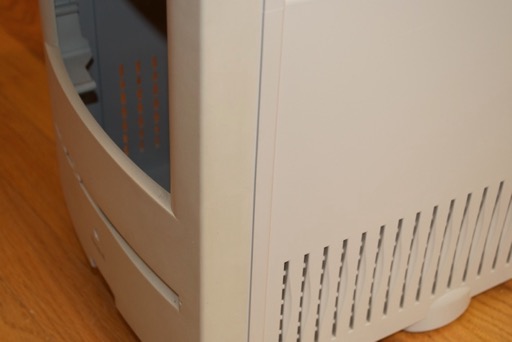
Even though the back of the old case is in pretty good shape, I’m going to give it a quick dip just to brighten it up a bit. Maybe an hour or so. Then, I’ll leave the front panel in until all the yellow has been removed.
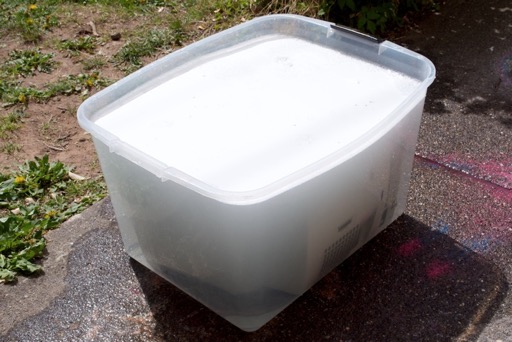
I left the front panel in for a few hours. Wow, what a difference. Here’s a shot showing the restored front with back bucket that I didn’t dip. The front panel looks as good as new!
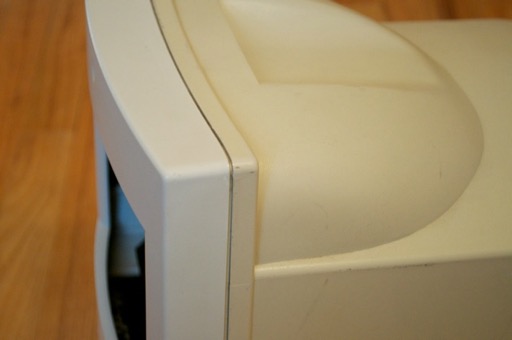
You’d never believe that the front used to be the same color as that back bucket.
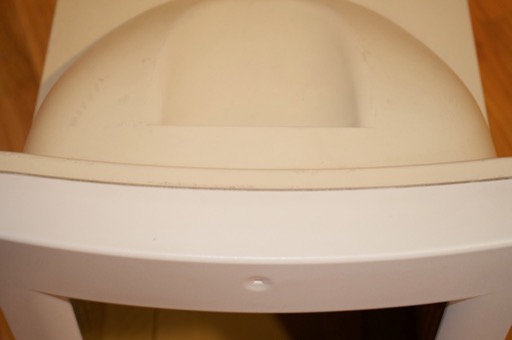
You can’t even tell there was ever a sticker there. Perfect color matching.
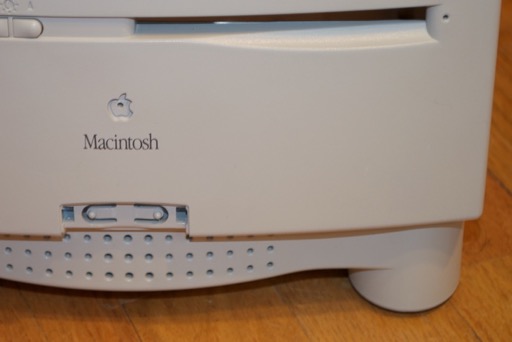
Once I swapped the Color Classic badge and put the Apple logo back in, I placed both fronts on a towel. It would be a shame to come this far and then scratch the whole thing up on the floor.
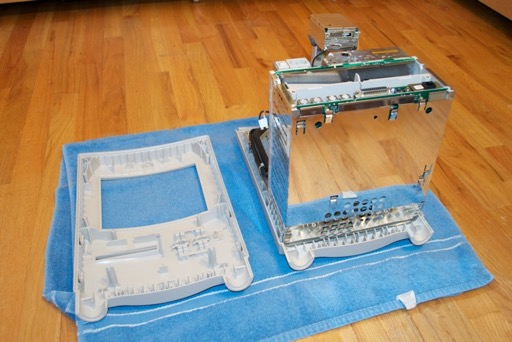
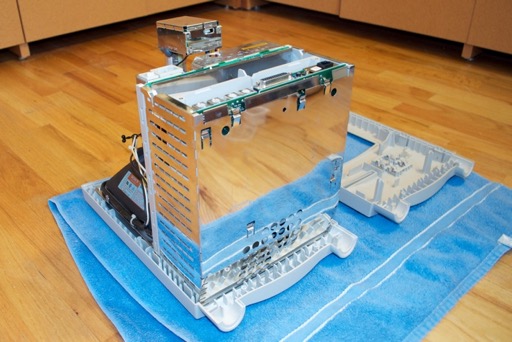
Now for the tricky part. There’s no real easy way to separate the CRT from the logicboard cage, so it all has to be moved over in one piece. First remove the 4 screws that secure the CRT. Remove the mic assembly from the top of the front panel. (It’s secured by two clips.) Lastly, pop the 4 tabs that secure the logicboard cage to the front panel. Once that’s done, the whole thing will lift out. Careful not to disconnect any wires or damage the back of the CRT.
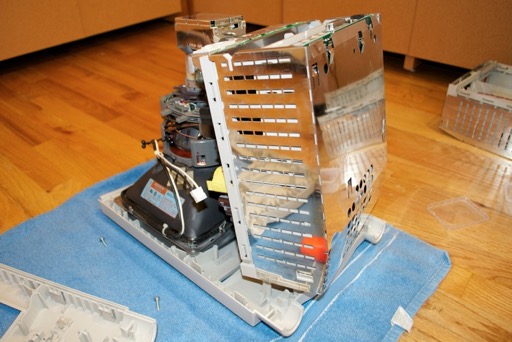
Lift everything up and drop it onto the new front panel.
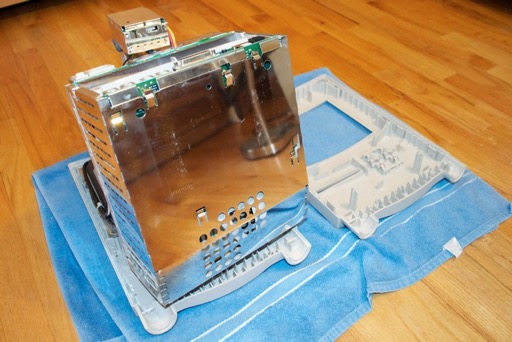
Reconnect the mic, screw in the CRT, and reconnect the logicboard cage.
Now for the back bucket. Reconnect the fan.
Then screw the back on and put the I/O cover back. Even with just a quick dip, the back looks brand new.
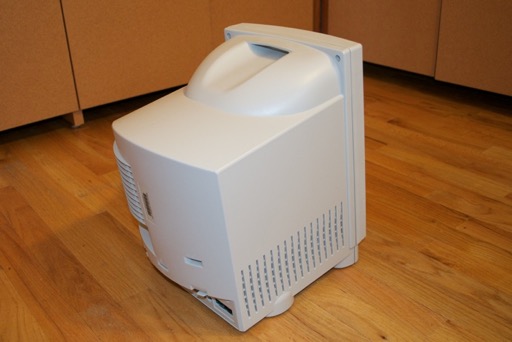
Wow, it looks great.
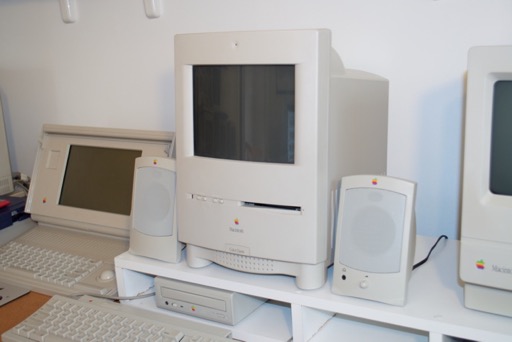
I’m really happy with the way the restoration came out. It was a long time coming. I purchased the Color Classic 8 months ago in Aug 2011. It took me another 5 months to get my hands on a replacement case. I probably could have dipped it back in January, but I would have had to do it indoors. It’s so much quicker doing it outside in the sun, and it uses less peroxide and Oxy.
Now that the Color Classic is complete, I can move onto the IIe and //c.