Printing With the Apple Scribe

Now that my Apple Scribe Printer restoration is complete and I’ve scored myself an Apple //c, it’s time to try and get this guy to print. I just need a few more things: a ribbon and a printer cable.
I’ve been watching eBay for the past few weeks trying to score a printer cable. It’s just obscene that someone would ask $30 for an old printer cable, but it happened. I’m not paying $30 for a cable when I got the printer for .99 cents. I’ll hold out on principle alone.
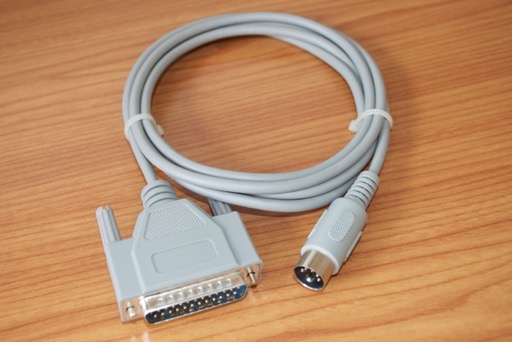
My patience paid off. After a few weeks of waiting, I finally found a guy who posted a 25 pin serial to 5 pin DIN printer cable for just $7 bucks. It’s generic, but it’ll do.
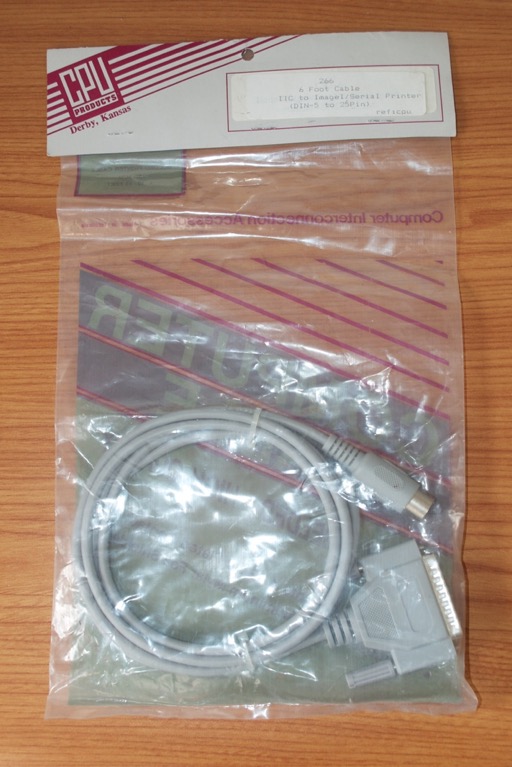
As for the ribbon, luckily there was one to be had for only $1.95. I can’t believe these were $5 a pop back in the ‘80s and they were only good for 50 pages of text. It’s no wonder people complained about this printer being expensive.
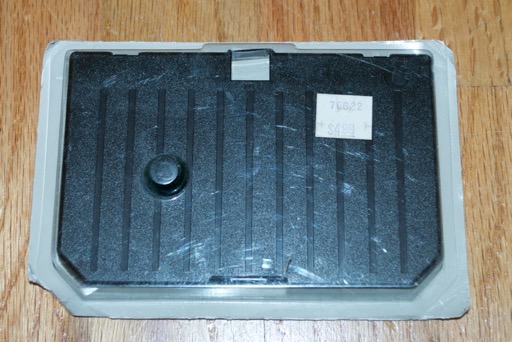
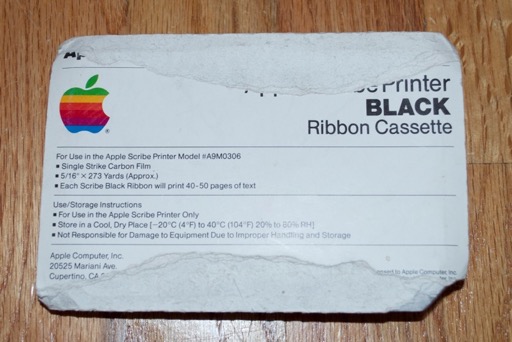
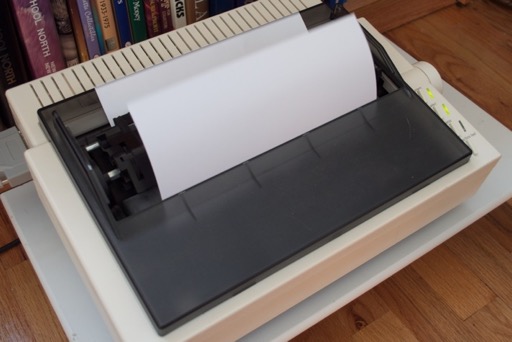
Let’s get to it. I installed the ribbon, fed it a piece of paper, and connected it to my Apple //c.
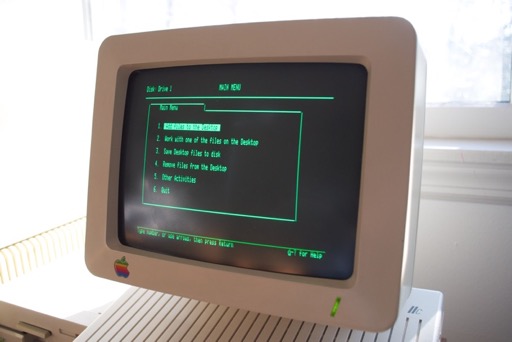
I then fired up AppleWorks. From the main menu, I choose Option 5 for “Other Activities” to add a printer.
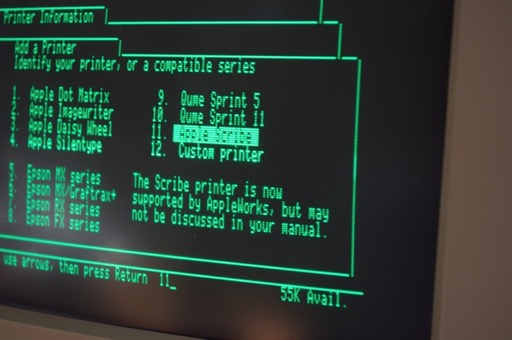
From there I chose “Apple Scribe” as my printer, set it to Port 1, and gave it a name.
I then returned to the main menu to create a new document.
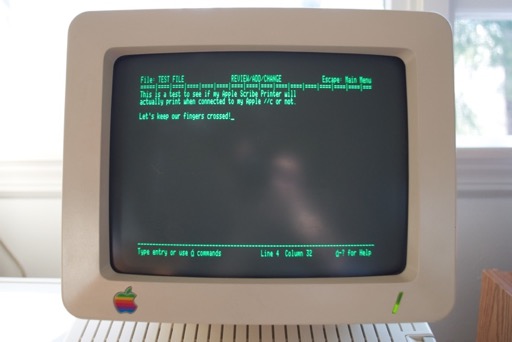
Once I created a “this is a test” document, I pressed “open-apple-p” to print. The print menu was displayed.
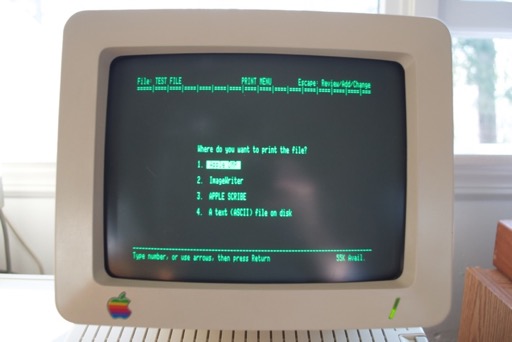
I selected option 3 for my Apple Scribe, pressed RETURN, selected 1 copy, and pressed RETURN again. With that, the printer made a noise, started to print.......and then ate the ribbon.
Cheap cartridges! Then again, this thing is almost 30 years old. I guess there’s only so much you can ask. At least the printer works!
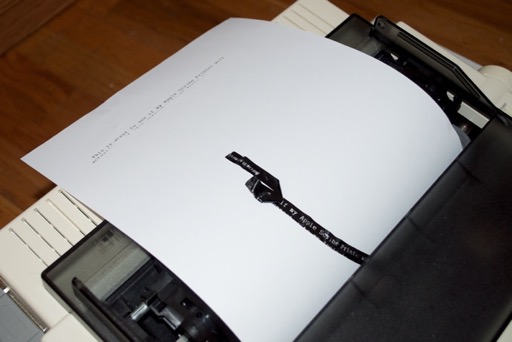
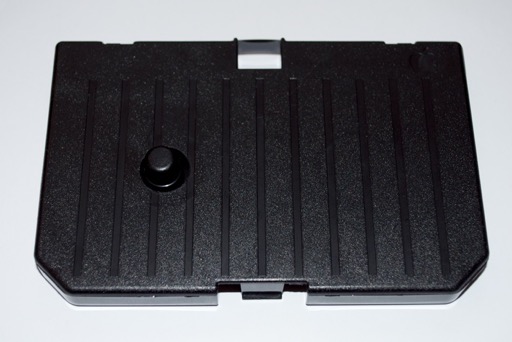
I cracked the cartridge open and taped it back together.
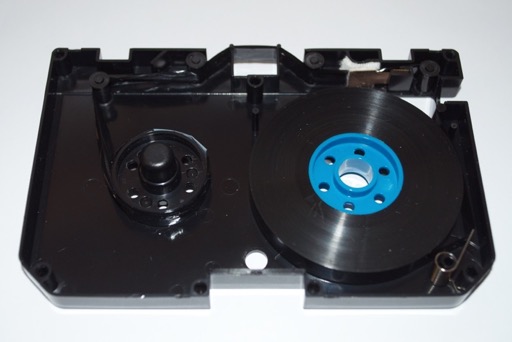
Good as new.
Not that I’m going to be printing a lot, or at all for that matter. It’s just nice to know that the printer actually works and it’s not a paperweight.