Apple & Starbucks
November 24, 2007 Filed in: Keyboards

A few weeks ago, Apple announced a partnership with Starbucks. Apparently this not only means that your iPhone/Touch can access the WiFi iTunes Music Store while visiting a participating Starbucks, but it also means that your Apple Wireless keyboard will also become immune to the ill-effects of coffee being poured into the keys.
My 15-month old son did just that. He poured a considerable amount of my unsupervised cup of Starbucks right into my keyboard. All the coffee poured through the keys and pooled up underneath. The keyboard is pretty well sealed. I couldn't get the coffee to pour out by tipping it. I had to open it up to clean it.
Step 1:
Remove the back cover and the batteries.
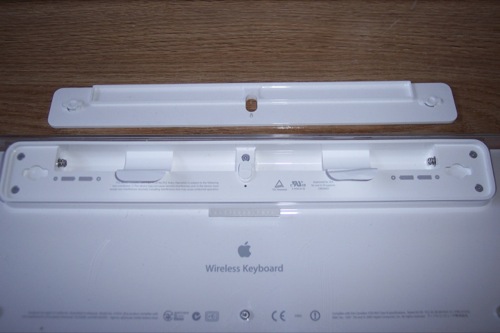
Step 2:
There are 3 screws to remove. I didn’t have an Alan wrench small enough to do the job, but a small flat head worked just fine.
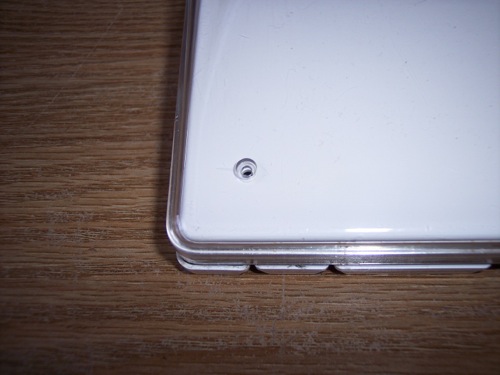
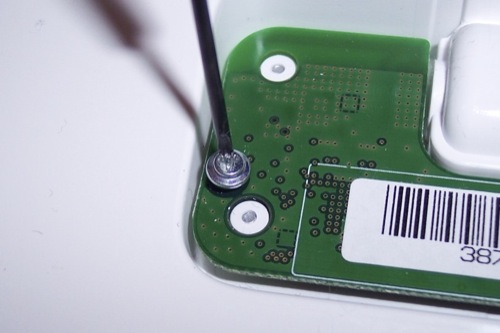
Step 3:
Once the keys are removed, you’ll notice underneath that there is a small circuit board that connects the front keys to the battery housing. It is secured via 2 really odd shaped screws. It’s not the usual “+” Philips shape, but a “Y”. A small flat head did the trick.
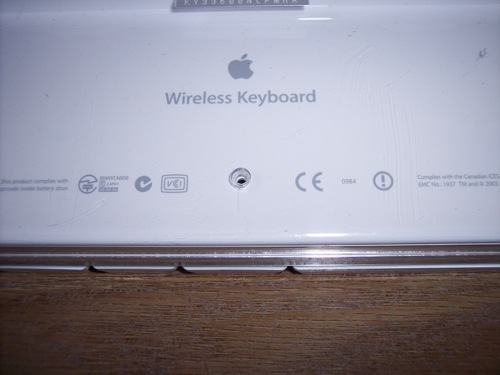
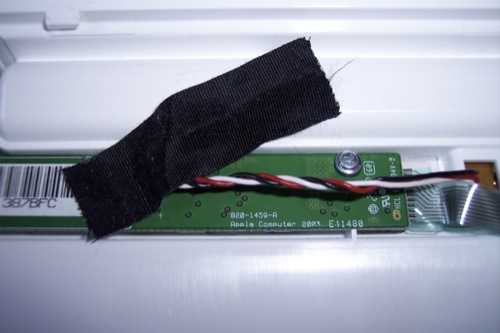
Step 4:
Remove the tape to expose the 2nd screw.
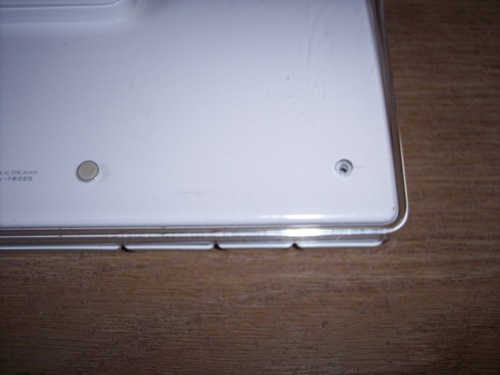
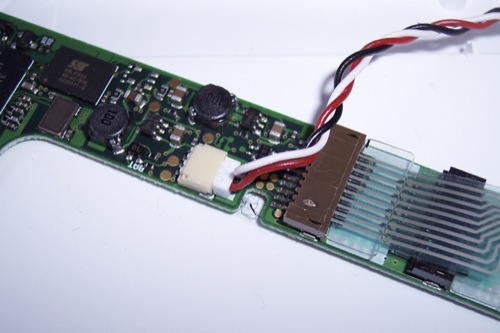
Step 5:
Once removed, you can detach the keys from the back housing via the power connector. The front assembly should now be separated from the back.
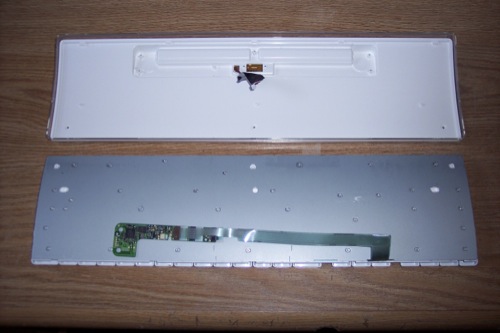
Step 6:
Now that the 2 pieces are separate, they can be cleaned.
There are no tricks to the reassembly. It’s the same steps above in reverse.
I’m amazed after I cleaned the coffee out that the keyboard still worked. So there you have it. If you ever need to dissect an Apple Wireless Keyboard, here’s how.