Blueberry iBook Upgrades - Airport / RAM / G Key

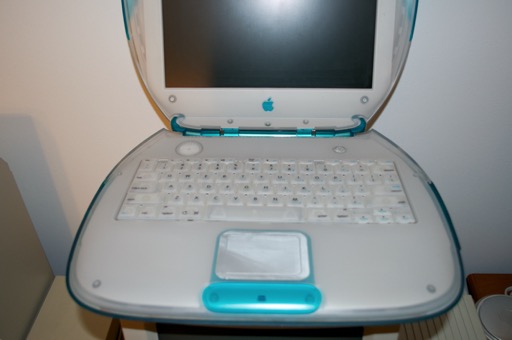
Once I discovered that my new 1999 Blueberry iBook didn’t have an AirPort card, I immediately jumped on eBay and purchased one. Airport cards nowadays are common on eBay and are pretty inexpensive. I scored mine for $8 bucks.
As I mentioned in my iBook post, the seller included an unopened 128M RAM stick.
The first step is removing the keyboard. If you look along the function keys, you’ll see two little clips.

Just push the clips down and the keyboard will come free.
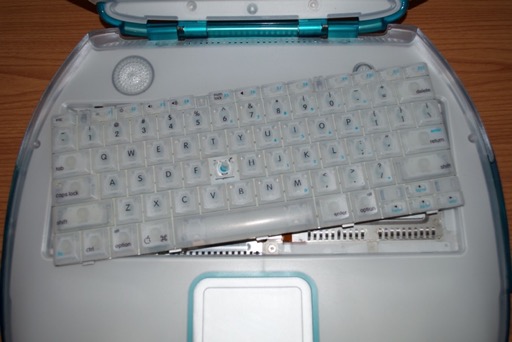
Be carful when moving the keyboard to the side that you do not tear the green keyboard connector underneath.
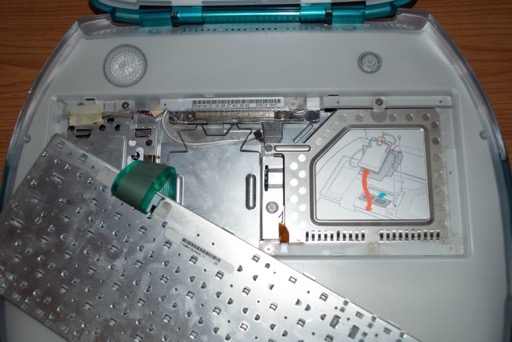
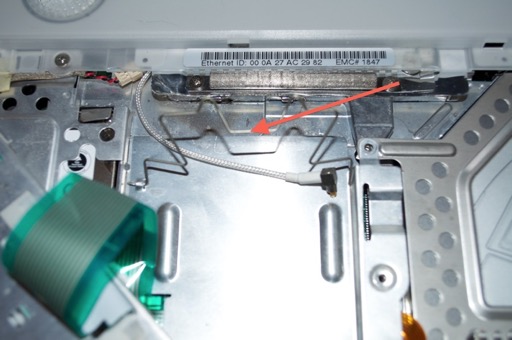
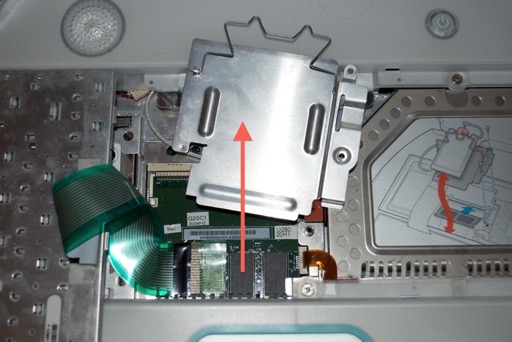
Once the keyboard is out of the way, you’ll see in the middle a metal plate with a retaining clip. The retaining clip is where your AirPort card would be if you had one. If you have an AirPort card installed, that white antenna cable will also be attached.
Release the retaining clip.
Slide the metal plate up and out.
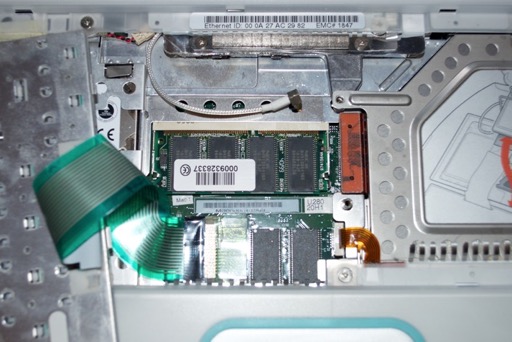
Once the metal plate is out of the way, you'll see where the RAM goes.
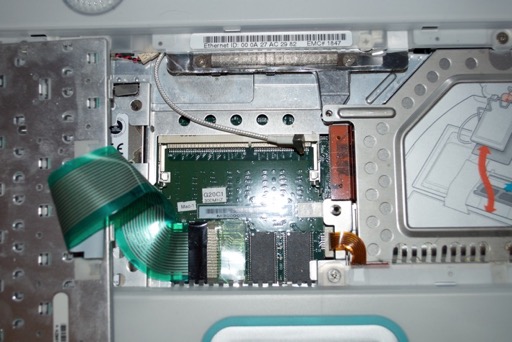
Just pop in the new RAM and put the metal plate back.
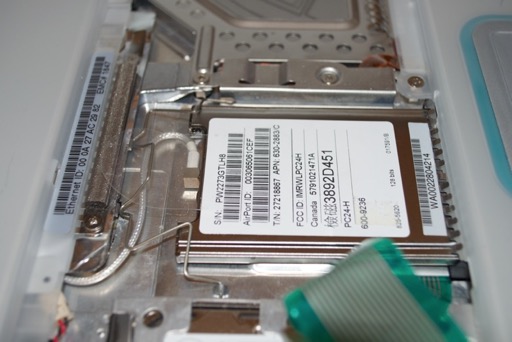
The Airport card is a snap. Just slide it into the PCMCIA slot, secure the retaining bracket, and connect the antenna.
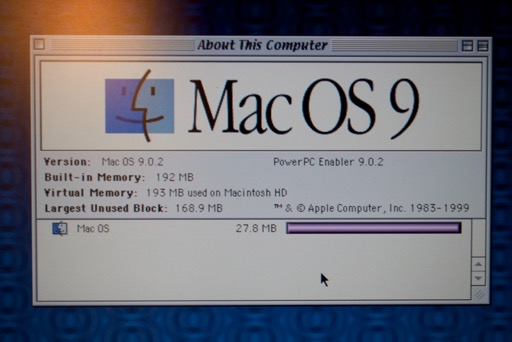
I rebooted the iBook and was greeted with 192 MB of RAM. Awesome.
I didn’t get a chance to play around with the AirPort card since this OS 9 install isn’t cooperating. All the network settings are wonky. I was going to do a reinstall, but I figured I’d just go ahead and install OS X 10.0 and install the OS 9.2 disk that comes bundled with it.
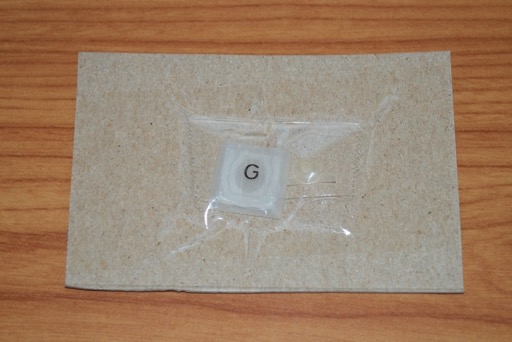
Now for the finishing touches: replacing the missing “G” key. I found a seller on eBay selling keys by the letter. $1.50 with free shipping.
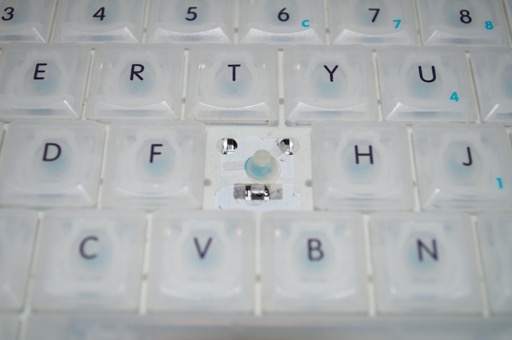
This was a little tougher than I thought it would be. Usually they just pop on with a little push. I had to remove the bracket from the back of the key and insert that first, and then attached the key to the bracket. It felt like it was going to break when I just tried to push the key into position. You need kid fingers to do this.
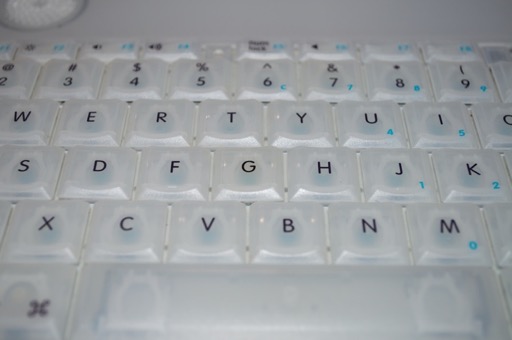
Much better!