AppleDesign Speakers II & AppleCD 300e PLus

I’ve been dying to get my hands on a pair of AppleDesign speakers. I really wanted version one, but beggars can’t be choosers. These 2nd gen puppies just showed up on eBay with an AppleCD 300e Plus. I couldn’t resist!
All for a mere $20!
They show some yellowing. A retrobrite session will fix that.
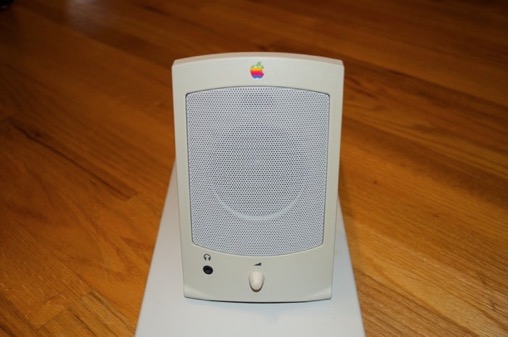
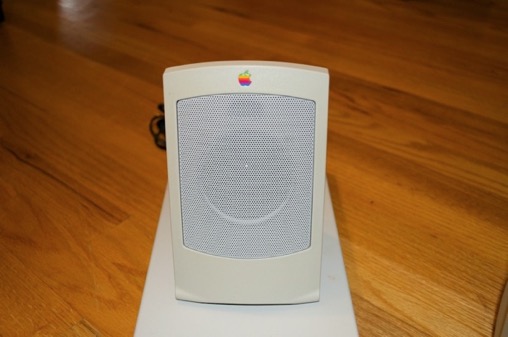
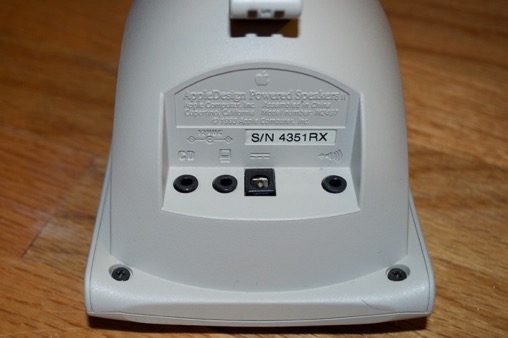
The date on the bottom is 1993. Also notice how the color on the bottom is pretty nice. That’ll be helpful when I dip them. I can use that to color match the fronts.
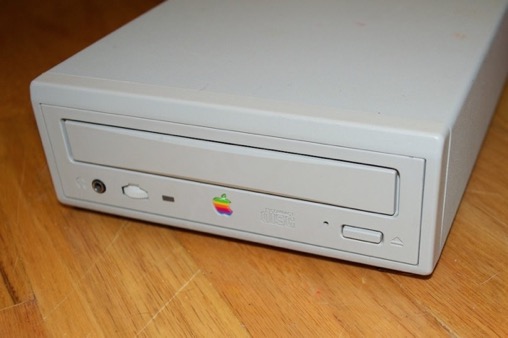
The AppleCD isn’t too bad. It looks better in the picture due to the flash. I’m going to give it a quick dip anyway.
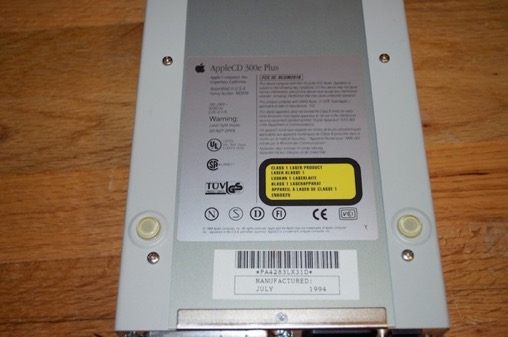
It’s dated 1994.
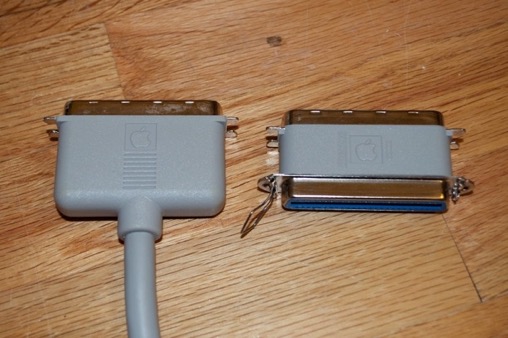
I was also pleased to find that all the original cables were included. Including the original Apple-logo power supply, SCSI cable, and adapter.
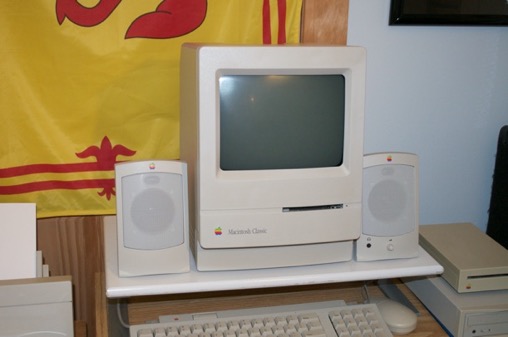
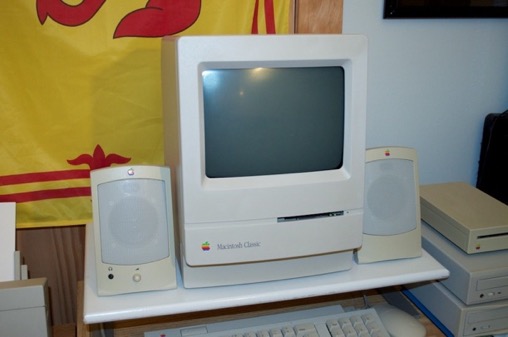
They’re going to look great next to my Mac Classic! It’s funny, there’s no indication on the speakers which one is left and which one is right. A reader in a forum pointed out to me after I posted this picture that I had the speakers backwards. He said the one with the controls goes on the right. I’ll have to play something through them to find out and see for myself.
Once you see them next to a clean machine, you can definitely see the yellowing.
First order of business is taking them apart. Opening them up is easy enough. Just 4 screws each.
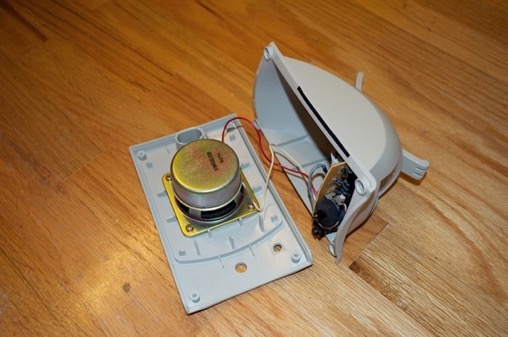
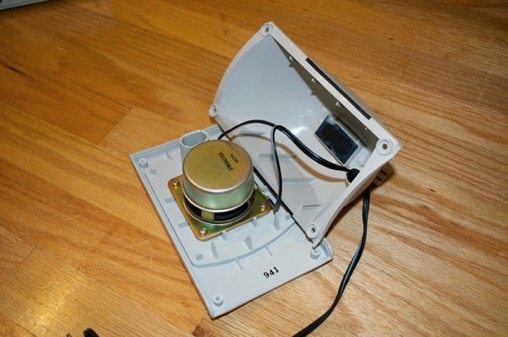
The color on the inside is also unchanged. That too will help with the dipping and getting the color right.
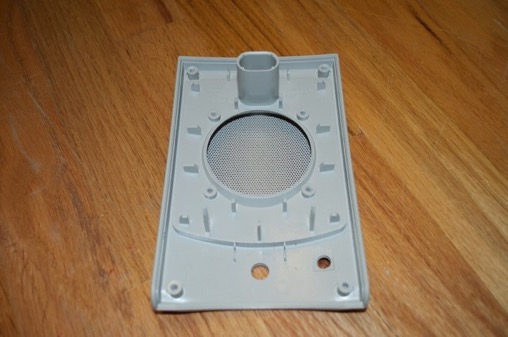
I’ve seen worse, but wow!
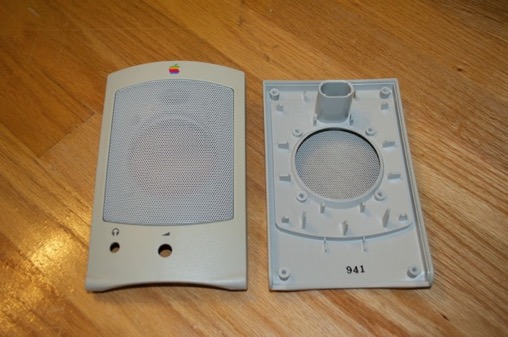
Popping the Apple logos off is easy enough. You just have to push a paper clip through the hole that is behind it. Apple thinks of everything!
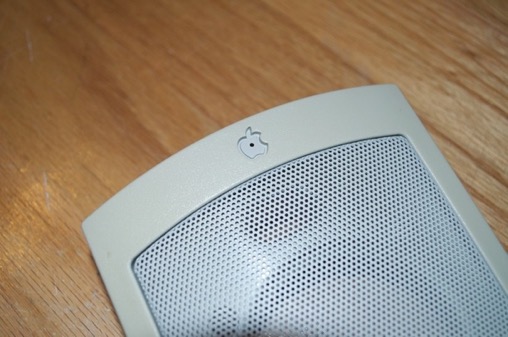
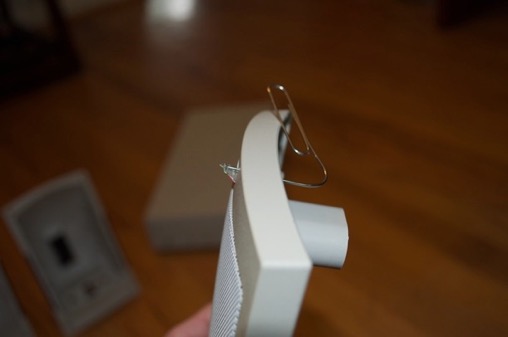
Now for the CD 300.
Remove the few screws that are on the bottom and slide off the enclosure.
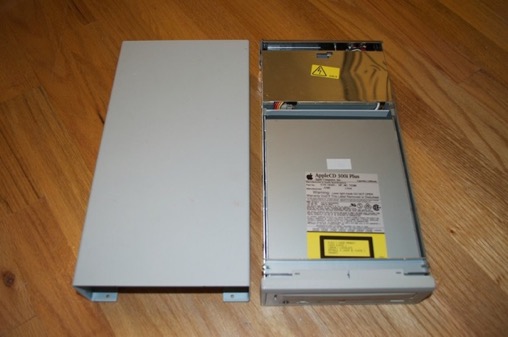
The front bezel pops right off. The face plate, however, is another matter.
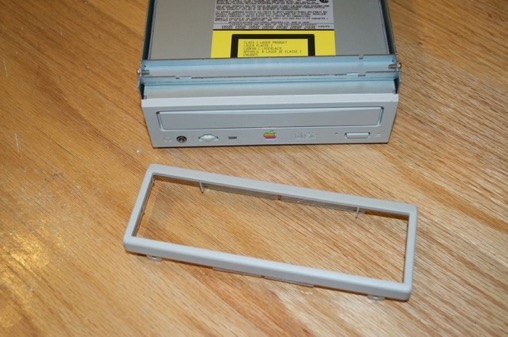
I removed the drive out of the tray by disconnecting the cable in the back.
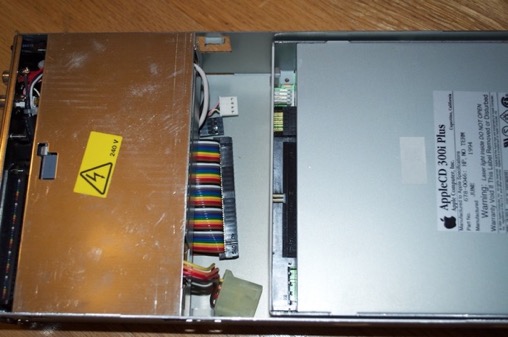
Once the drive is free, remove the top and bottom covers.
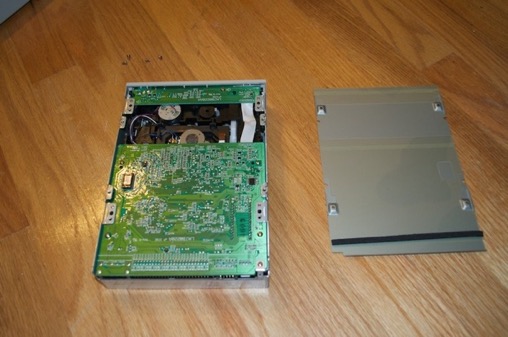
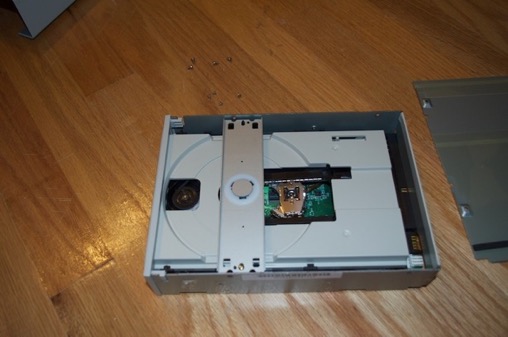
With the try accessible, slide it out a little bit, and pop the door off. It’s secured with a few little clips.
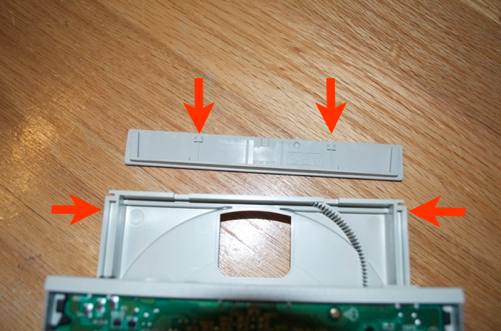
Now, remove these 2 screws (one on either side).
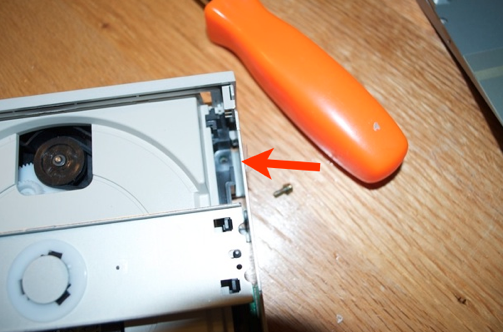
Once those 2 screws have been removed, you can slide the sides of the enclosure out .....
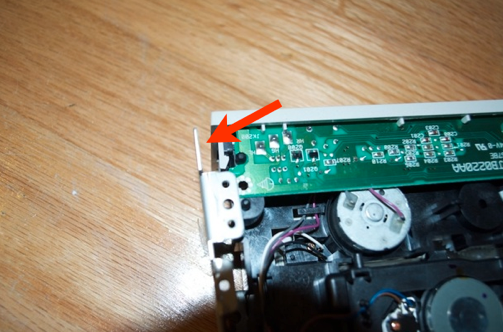
... just enough to pop the face plate off.
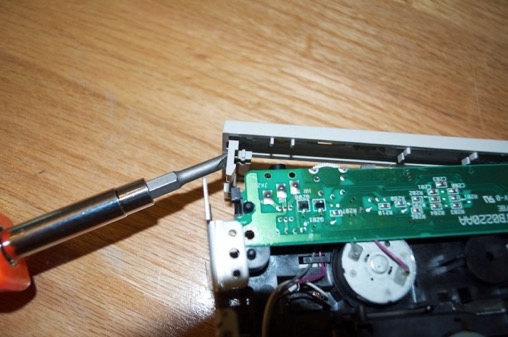
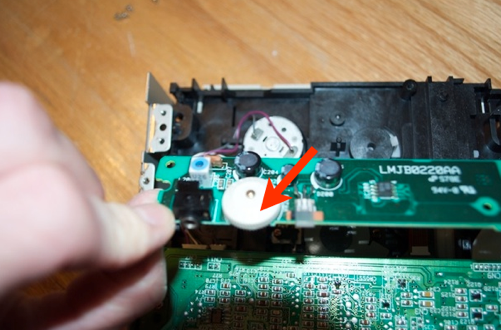
To remove the volume knob, remove this screw.
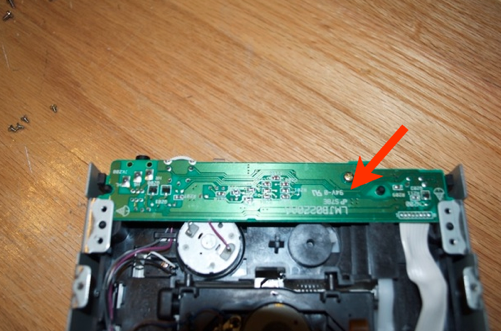
You can now free the daughter board, flip it over, and remove the screw that secures the volume knob.
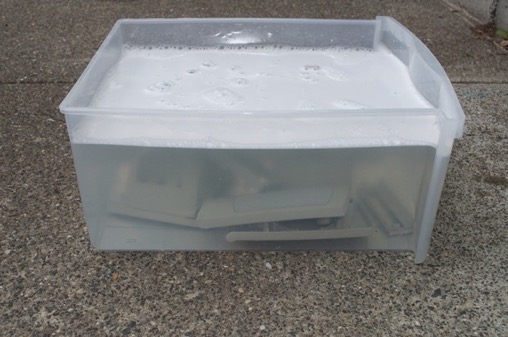
Retrobrite Session One:
The sun disappeared as soon as I got the parts in the retrobrite. It threatened to rain all day. Even though I left the parts soaking for a good 4 hours, the results were not as dramatic as I had excepted. You can definitely see the difference that was made. But with the lack of sun, they're going to need a second dip tomorrow. (Weather permitting.)
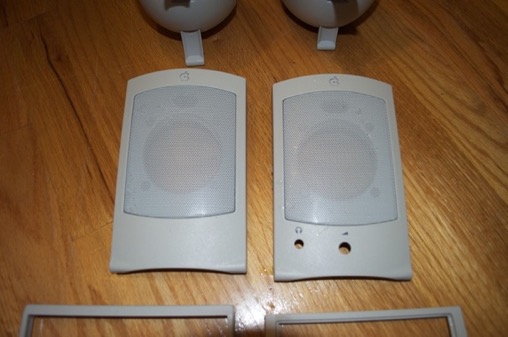
Retrobrite Session Two:
I think the parts are good to go. I gave them a few more hours in the sauce and they came out great.
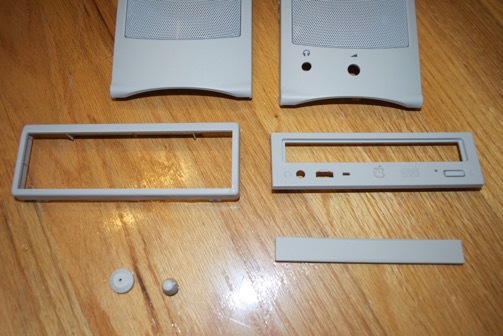
I let the parts dry for a few hours and them reassembled them. They came out awesome. And they look great next to my Mac Classic.
