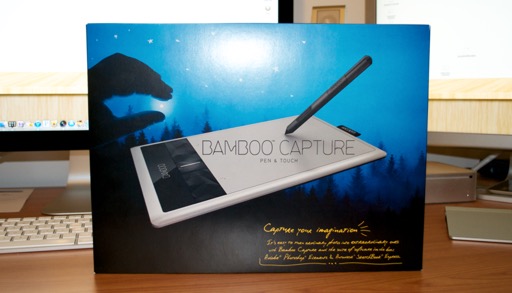
I’ve wanted a tablet for design work for years. Years! They’ve always been too much money. Well, the last time I checked, anyway. It looks like they’ve really come down in price over the past few years. The Wacom Bamboo is only $99 bucks. And it’s no entry-level piece of junk ether. It really packs a lot of features for something that used to run a few hundred higher. For one thing, it has multitouch gestures. The stylus is pressure sensitive too. An absolute must when using a tablet. Anything else is is just a mouse. You used to have to pay extra for that, and even then, you only got a limited level of sensitivity. The Wacom Bamboo has 1024 levels of pressure sensitivity. For all intents and purposes, it feels like just like the real thing.
Opening the box, it’s apparent Wacom took some design cues from Drobo with that brown printed inner box. With most manufacturers, packaging always feels like an afterthought. First impression are everything, and the first thing your customer sees is your packaging. Apple spends more time perfecting their packaging than some manufactures spend on their products. Ever since Apple became a household name, it looks like everyone’s been paying a little closer attention to their packaging.

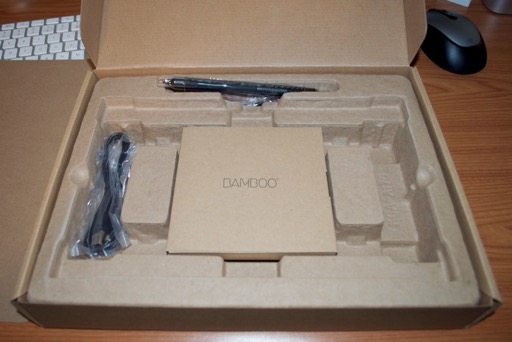
Opening the inner box reveals the Bamboo and stylus.
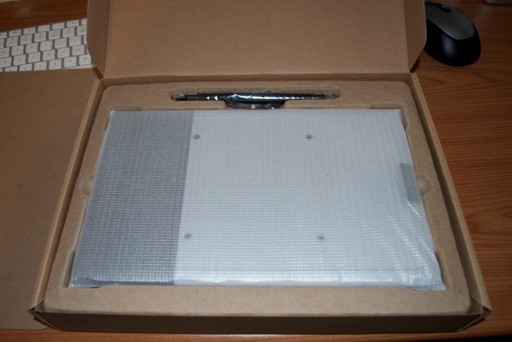
Followed by a software package, drivers, USB cable, and extra stylus tips.
There’s no shortage of free software. And not just some cheap utilities they threw in to say they gave you something. These are some pretty well renowned top notch apps. Adobe Photoshop Elements 8, Autodesk SketchBook Express 2011, and Nik Color Efex Pro 3 Photo Filters.
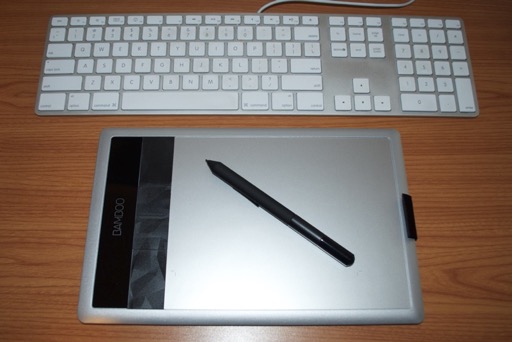
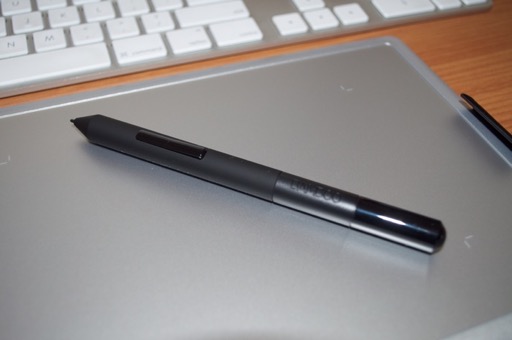
Here’s the Bamboo next to my keyboard to show you the more than adequate real estate that you get for only $99 bucks. Although it doesn’t feel cheap at all, don’t let the brushed aluminum finish fool you, it is plastic. Being plastic, it’s pretty light and shouldn’t weigh down a laptop bag any more than a MacBook Air.
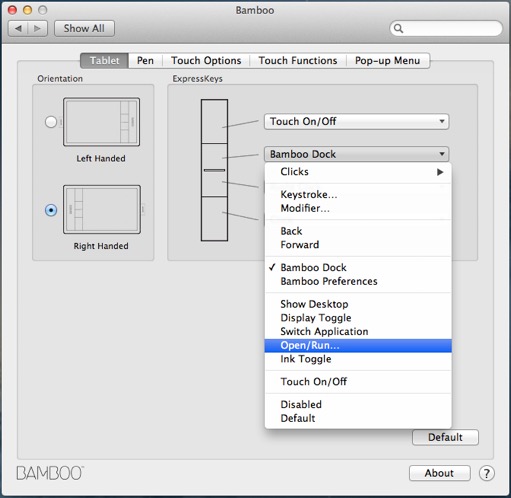
There are four buttons on the side that can be customized to perform various actions. By default, they act like a right and left mouse click, toggle touch on and off, and launch the Bamboo Dock Utility.
There are two strange ports on the side. At first I thought they were buttons of some kind, but they didn’t seem to do anything.
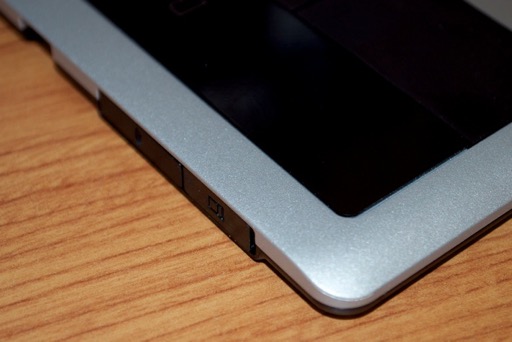
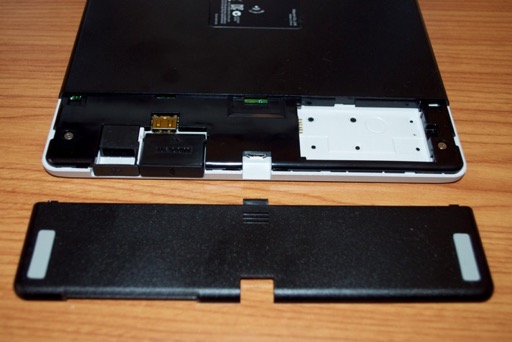
Looking at the manual reveals that the back cover can be removed and a optional Wacom wireless card for $39 can be installed along with a battery to make the unit wireless. Very handy for being on the go with a laptop.
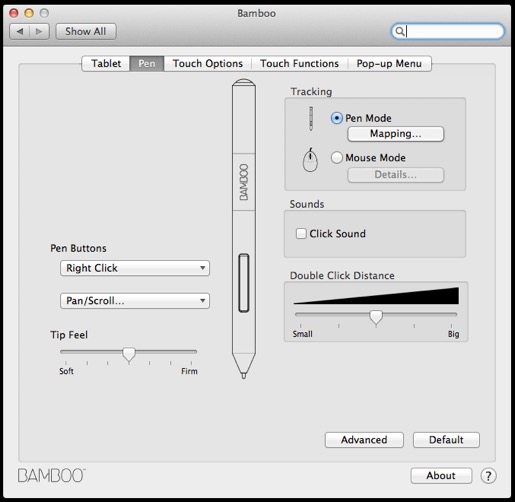
The stylus is nice and light, and feels pretty solid. Don’t lose or break it. I checked Wacom’s site, and another one will set you back $30. That’s a 1/3 of the purchase price for a new Tablet. Yikes! The button on the side acts as a right click, very convenient for quickly accessing tool options. The top is supposed to act like an eraser. I’ll have to look and see exactly how that’s configured.
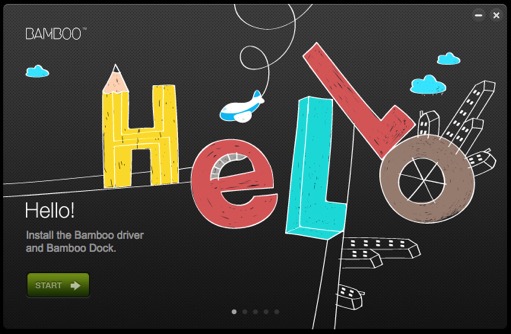
Let’s install some software.
Nice installer. Nice to see some of the things you can create with a tablet.
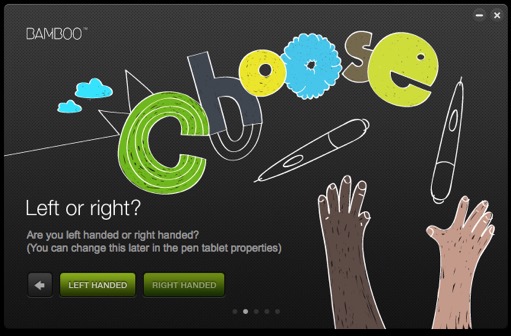
You are prompted to define the orientation.
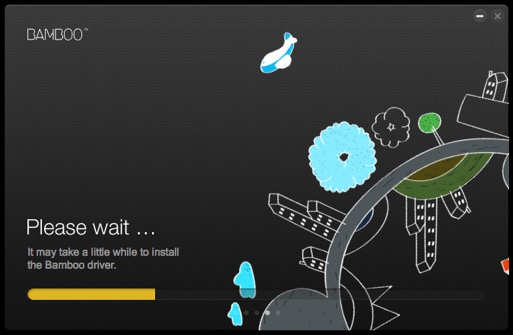
Then the installer goes on its merry way.
What’s this? Is the driver out of date? Looks like the CDROM in the box is pre-Lion. Time to hit up the website for an updated driver.
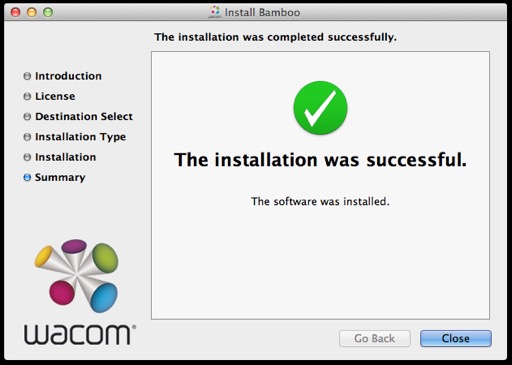
Luckily, Wacom had an updated installer for Lion, although the installer doesn’t look as nice as the old one. Not very “tablety”.
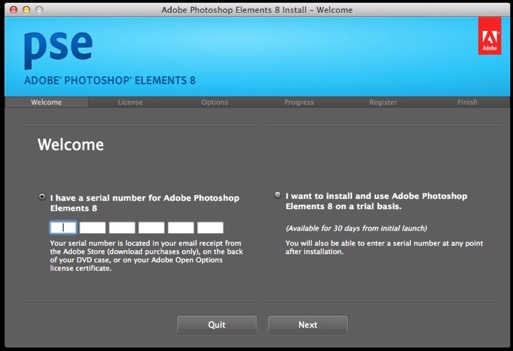
Next up comes the free software. Adobe Photoshop Elements. Of course, they ask you for a serial number. A sticker with the serial is provided along with the CD.
After the serial is entered, the installer does its thing.
Looks like I have a lot to learn. It looks like a pretty feature-packed application.
The Color Efex filters installed without a hitch too. They plug into Photoshop Elements.

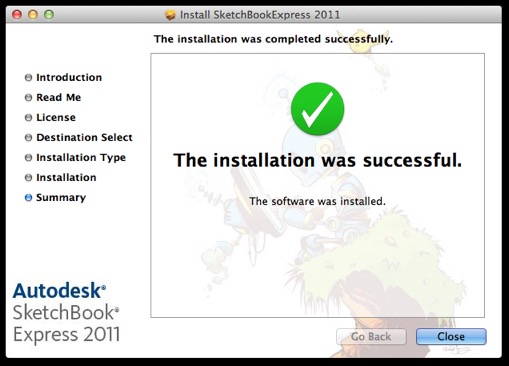
Autodesk SketchBook Express on the other hand did not install. It is not compatible with Lion. Go figure. This was the best looking of the three offerings. Determined to get my free software, I hit up Wacom’s site again for an update. Nowhere was it to be found. I guess if they had it posted on their site, everyone would just download it for free. I jumped on over to the Autodesk support site forums and found a post when they had linked to the fixed installer for Lion. I downloaded that and it ran without a problem. For future reference, never use the CDROM that comes in the box. It’s out of date as soon as it hits the shelf.
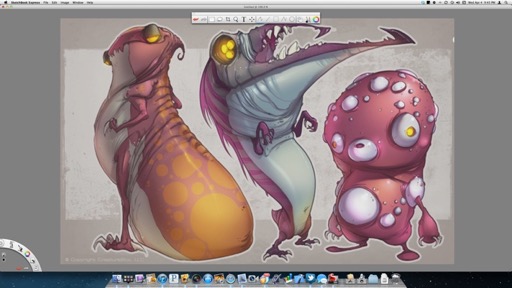
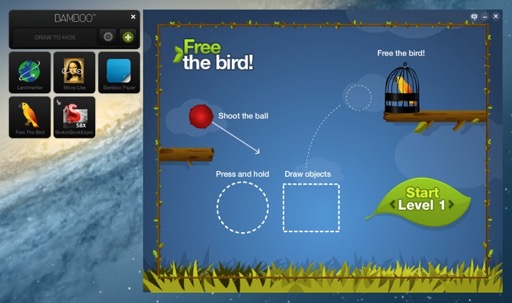
This looks really cool. Being a user of the iPad version, I can see why it’s so popular. This is just like the iPad version, but on steroids. There’s a lot to learn. It’s amazing what it can do.
Funny. I went through all that trouble to get my hands on the installer to find out that it’s in the Mac App Store as a free download. So much for thinking I was making out.
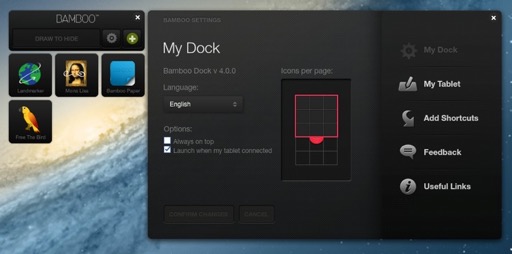
Once the installers are complete, jump into System Preferences. Wacom gives you a very advanced preference pane with no shortage of configuration options.
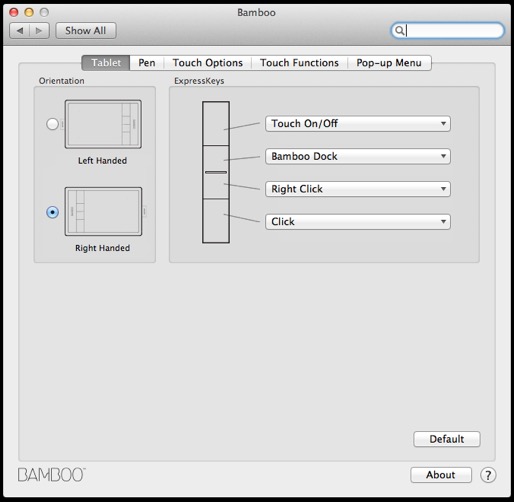
The four buttons can be configured to do pretty much whatever you want. I think I’ll set that last button to launch Sketchbook.
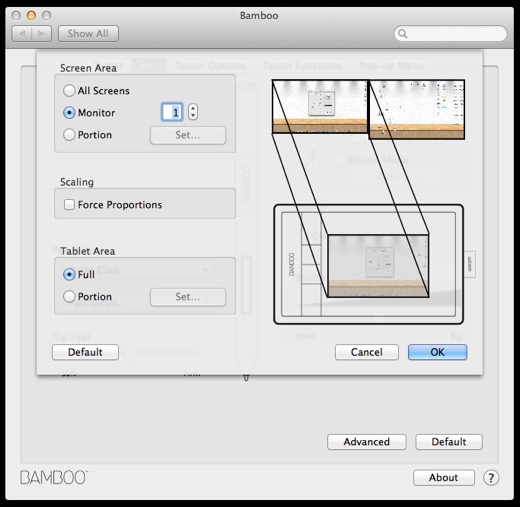
Buried in the tab for the pen is a screen mapping option.
From there, you can set the active area of the Bamboo to map to one screen or span across multiple monitors. I have two monitors, so by default it mapped it across both. No wonder the pen seemed to be all over the place the first time I tried it. I mapped it to one screen, and now it’s even easier to use than before. My handwriting especially looks like I wrote it on paper and scanned it in.
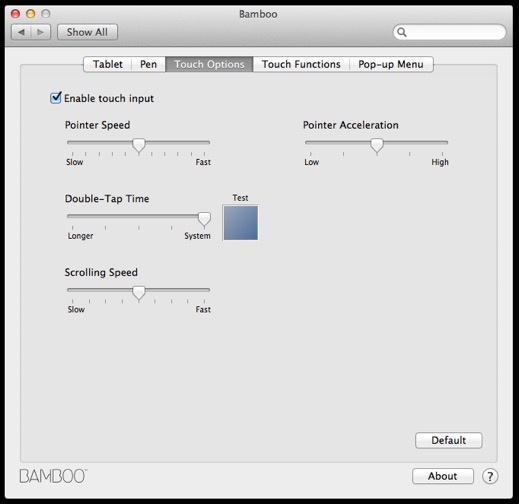
Touch options. Similar to that you’d find for a trackpad.
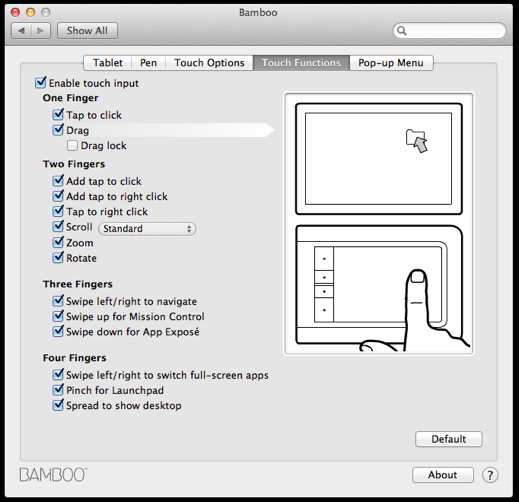
Touch Functions. A lot to digest there. Looks as advanced as Apple’s Magic Trackpad. And there was me thinking it would be a simple point, rotate and zoom.
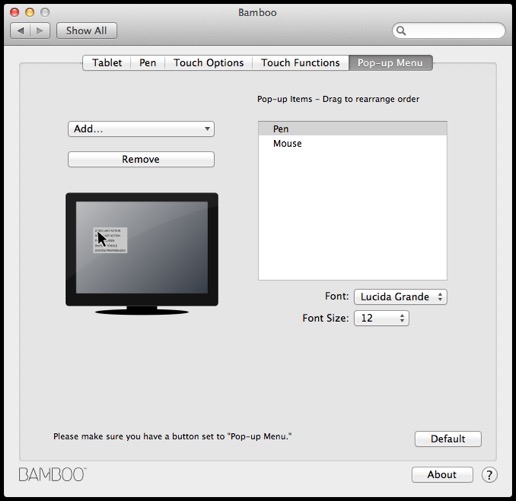
Pop-up menu options. Similar to contextual menus you’d get with a right click.
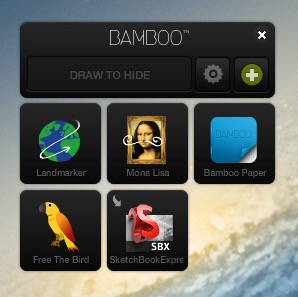
But wait! There’s more! There’s Bamboo Dock.
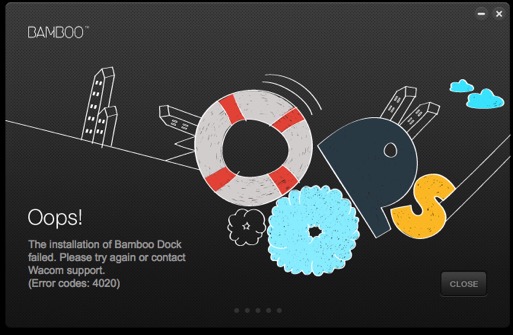
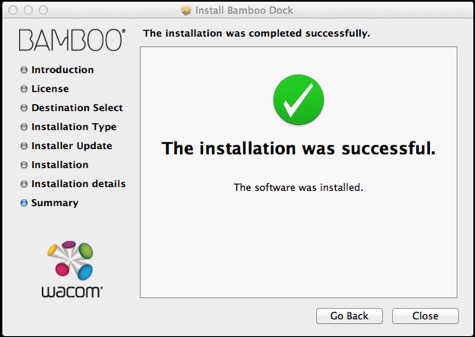
At first, I launched the app and was completely underwhelmed. It didn’t do anything. The name in the title bar changed to “Bamboo Dock” but there didn’t seem to be any interface. I thought maybe it was just a launch bar or something. But where is it? And how do you add to it? I see an icon in the Dock, but that’s it. Right clicking on the icon doesn’t show any options either. What is this and what is it supposed to do? I hit up Wacom’s site again to find out that it is indeed a pretty robust offering. I guess the version on the CD once again isn’t Lion compatible. I downloaded the update and was pleased to see that it worked.
Good thing I looked into, because this is pretty awesome. Bamboo Dock can launch when you connect your Bamboo. It is a launch bar, and it comes with some pretty cool apps.
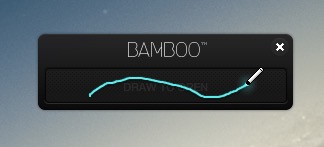
When it first launches, it looks like this.
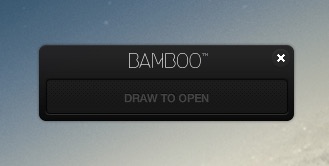
You draw in it to unlock it. Looks like a little iPhone “slide to unlock” influence there.
The Dock opens to reveal the launch bar.
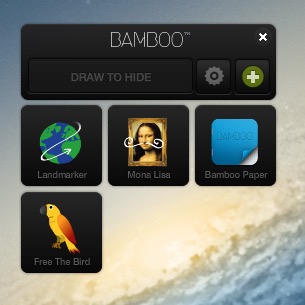
If you press the gear icon in the top pane, you can configure some options.
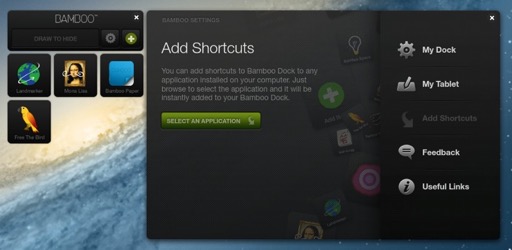
You can even add your own apps to the dock.
I added SketchBook Express.
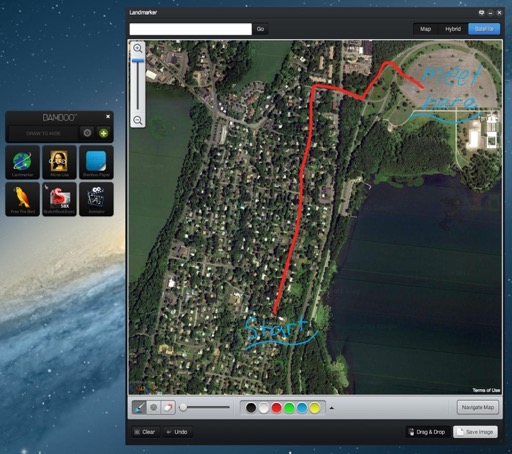
The Dock comes with some apps preloaded. They give you an app that let’s you quickly jot on maps. Looks like this could come in pretty handy for giving directions or planning out a bike or jogging route.
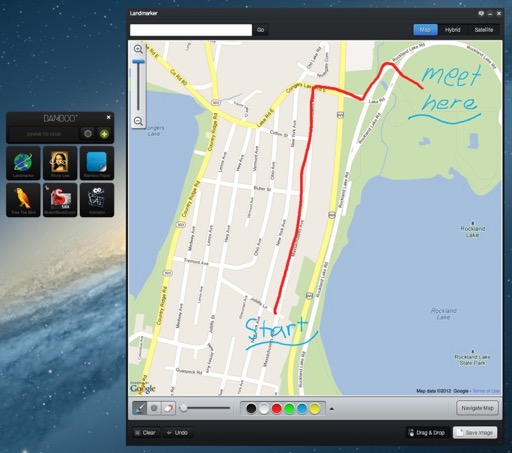
It’s powered by Google maps, so you can toggle between the usual views and zoom in and out as you’d expect. However, your additions are static and don’t scale as you zoom in or out.
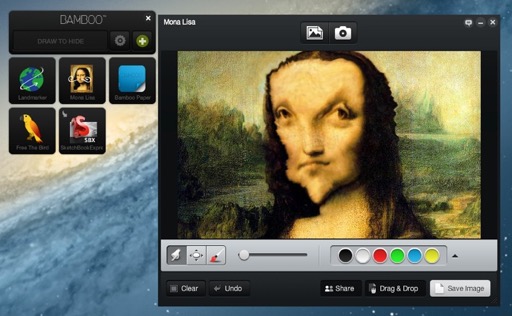
You get an app for manipulating images. You can import your own, or take a snapshot with your iSight camera. There’s no shortage of iPhone apps to this effect, so you should be no stranger to smudging or writing on someone’s face.
You also get a little game, which I think is more of a “proof of concept” more than anything.
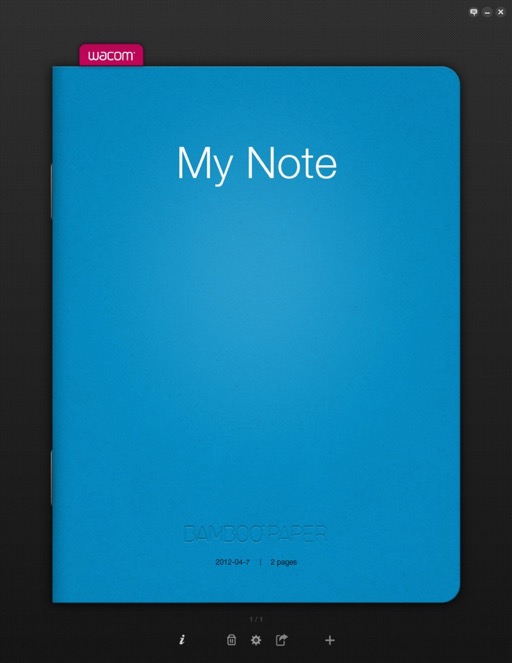
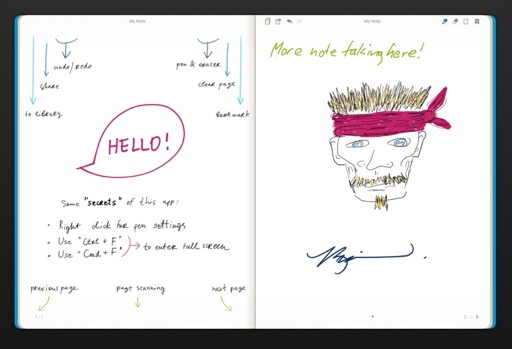
The best of all is Bamboo Paper for note taking.
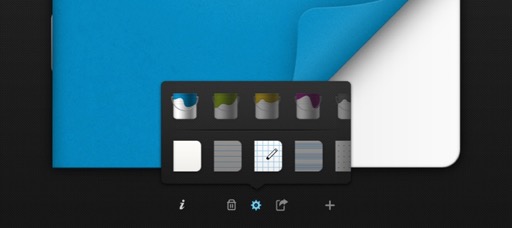
The buttons along the bottom offer some customization options. Color, paper style, as well as adding multiple journals.
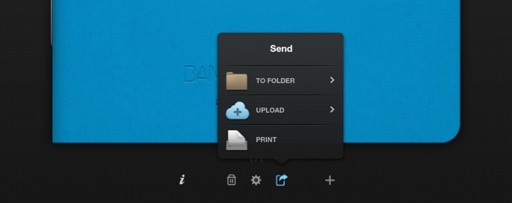
There’s even some syncing and exporting options. They also have an iPad version too. Hopefully they add iCloud support so you can keep everything in sync between your Mac and your iPad. As of now, syncing options are limited to Evernote and Dropbox.
The first page offers some insight into the capabilities of the app. Pretty straightforward. You just draw and write.
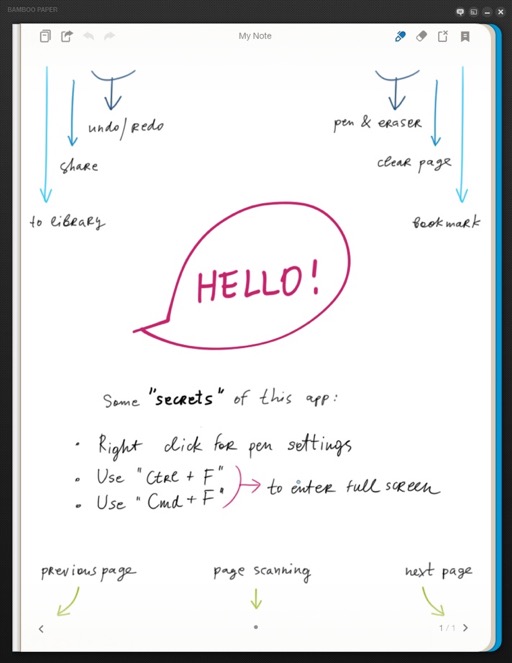
You can also go full screen for more note-taking action.
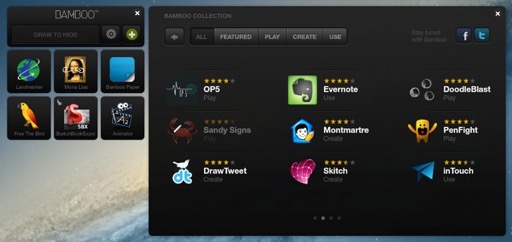
Back to the Dock, you can press the plus button in the top pane and launch an app store of sorts. They have a whole host of free apps that take advantage of a tablet.
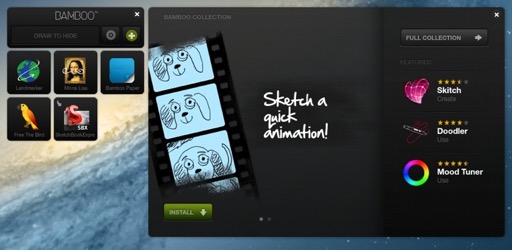
You press “Install” and off it goes.
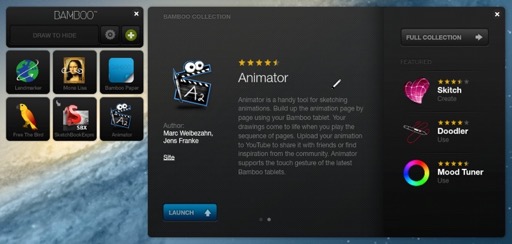
The app is added to your Dock. I downloaded the app “Animator” just to try things out.
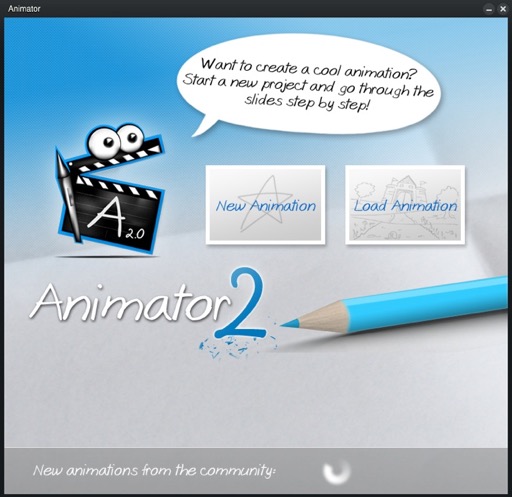
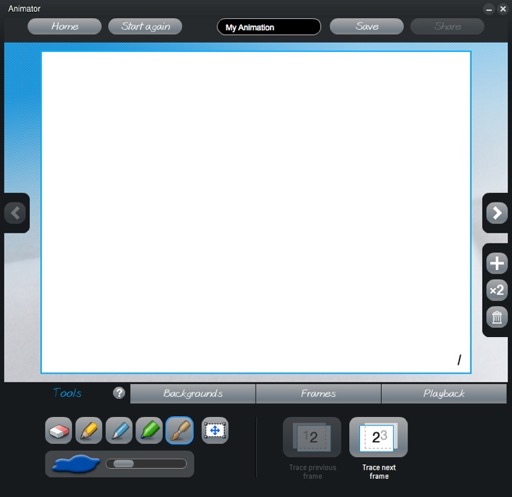
Pretty nifty. And there’s more where that came from.
Very impressive indeed. I almost can’t get over the fact that it was only $99. Wacom also sells two other models in the Bamboo. The one under this is the same, less the multitouch. The model above it has a larger active area. I’m more than happy with the mid-range offering.
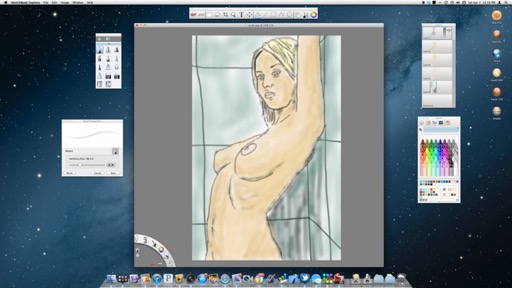
OK, let’s get sketching! I threw this nude portrait together in half an hour just to try things out. Not bad for a first timer!
While I was doodling, Bamboo Dock surprised me with a new download. A tutorial. You’d think that would have been the first order of business, and not something you push to a new user a day after they’ve been playing around with it. Anyway...
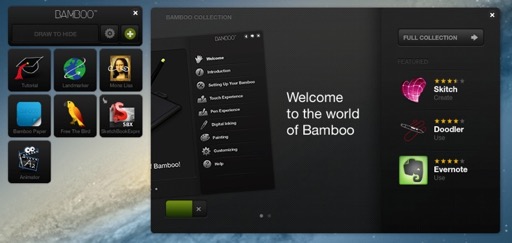
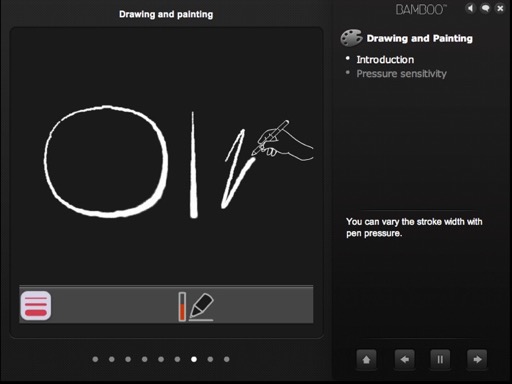
What an awesome and informative tutorial. It talks! The whole tutorial is graphical, interactive, and narrated. It guides you through everything you need to know about your Bamboo. There are seven topics discussed, as shown on the right side.
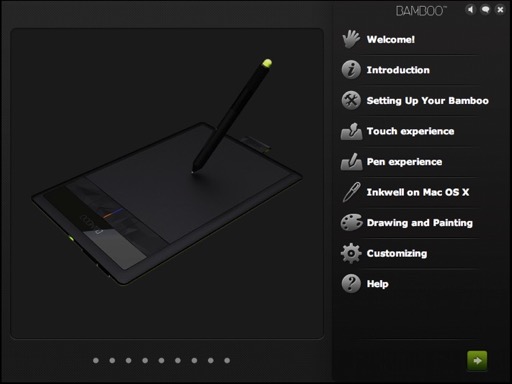
It teaches you how to use the pen and trackpad. It instructs you how to navigate and use your computer with the pen and the trackpad. The Bamboo isn’t just a tool for the occasional app or two, it really is a mouse replacement.
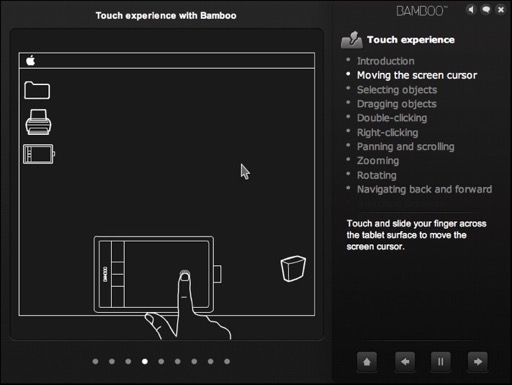
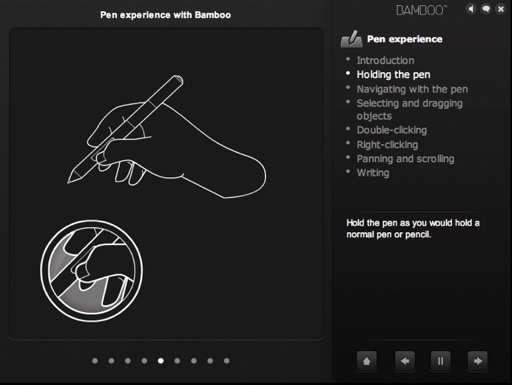
It even has a few drawing exercises for you to experiment with.
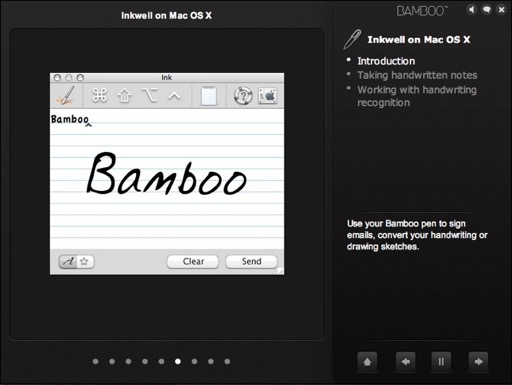
There are so many little things I now know after running through the tutorial that wasn’t apparent to me before, even after flipping through the manual. Why was this not made to be the first thing the user sees when installing the software? The tutorial also made mention of “Inkwell on OS X” and showed me how to achieve system-wide handwriting recognition. Cool!
Entering System Preference shows a new “Ink” pane that I never even realized came with the install. I wonder how long it would have been before I noticed and questioned it?
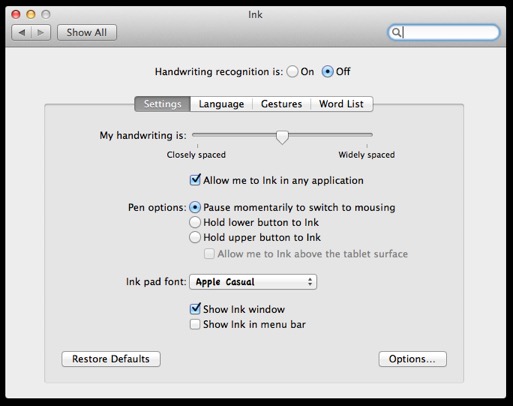
Again, no shortage of features or options.
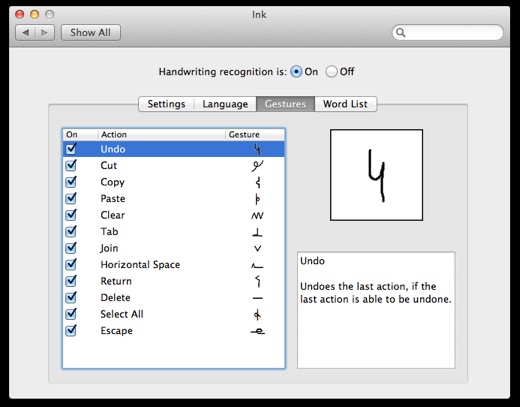
Once active, the Ink toolbar is displayed on your screen.

You can maximize the writing area by pressing the icon that looks like a notebook.
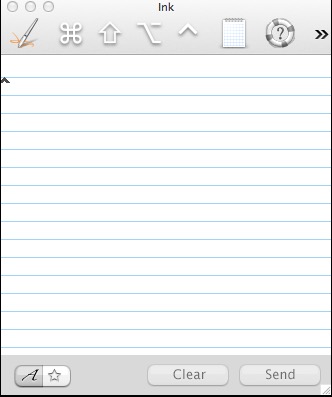
You can resize the window to fit your needs. You can then write away.

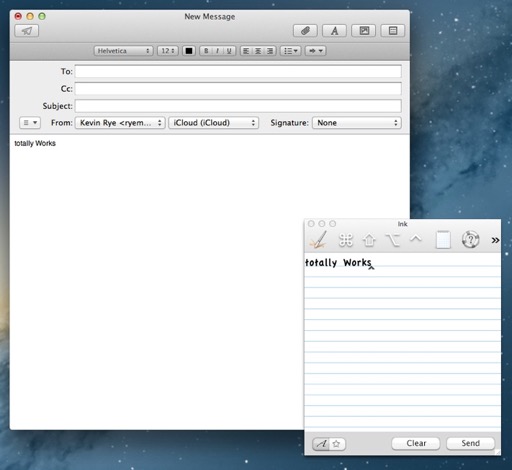
Your handwriting is instantly converted to text. Of course, it picked up my “w” as a capital letter. As with all hand writing technology, there is always going to be a certain level of “going back and fixing”.

You can then press the send button on the bottom and the text will be sent to whatever application is in the background with an active cursor.
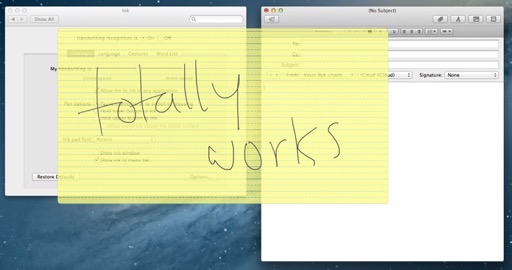
I also discovered that selecting the “Allow me to Ink in any application” option in the preference pane allows you to just write on the screen while any application is active. As I wrote on the Bamboo, a yellow notebook paper appeared onscreen directly under my handwriting. When I stopped writing, the text was converted and pasted into Mail. I also tried it in Pages, and it looks like it’ll drop text in any active application as long as the cursor has focus.
Wow. I’m really impressed. Again, can’t believe this was only $99 bucks. The peripheral that keeps on giving. Just when I’m about to put it down, I discover something else. Wacom really did an amazing job supporting the Mac community. Everything from the packaging, to the software, to the drivers, to the tutorial is really top notch. All that, and I’ve only been using it for a day. I can’t wait to see what I discover after using it for a week!
Well done Wacom. Well done. I’m not easily impressed, and impressed me you have.