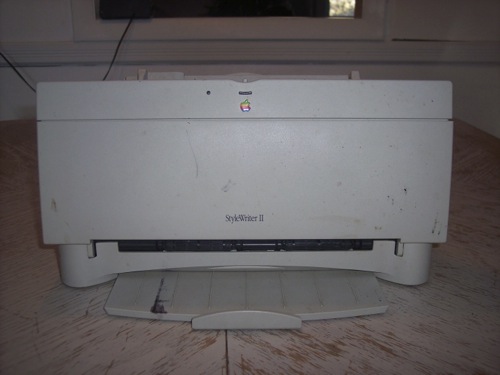
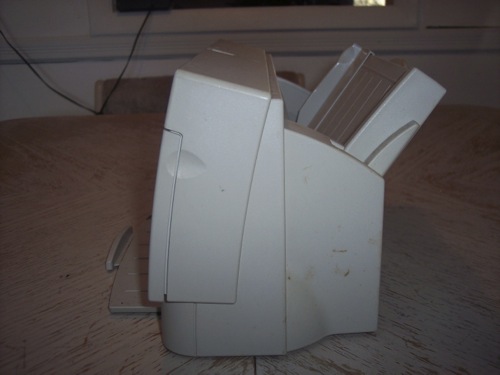
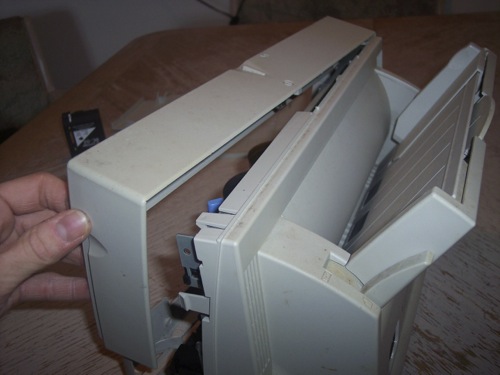
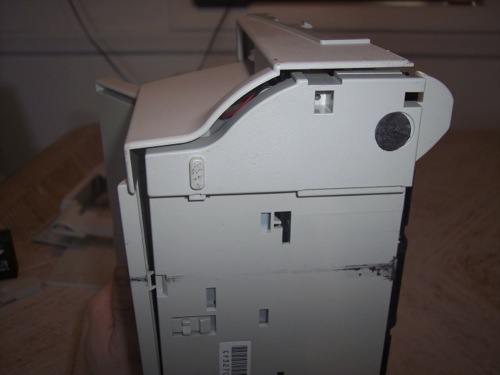
This StyleWriter II came with the LC III. It’s taken me forever to get to it. Partly because it is so dirty that I know it’s going to be a big job. It also has a bit a yellowing that needs to be dealt with. What makes that so bad is the fact that the printer is made up of a ton of little parts. I’m going to have to take the whole thing apart and soak all the pieces individually.
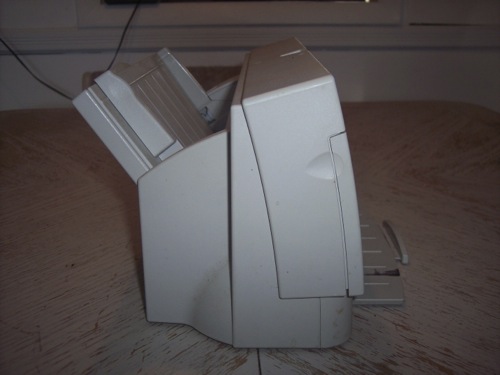
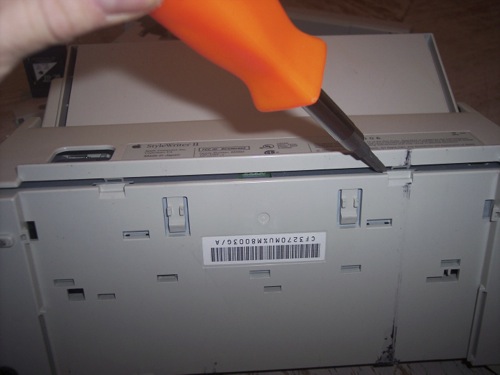
As you can see, this printer is very, very dirty, and shows some yellowing here and there.
Let’s begin...
Remove the front panel.
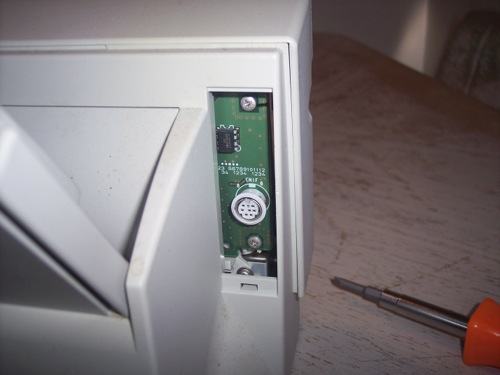
Remove the I/O panel cover.
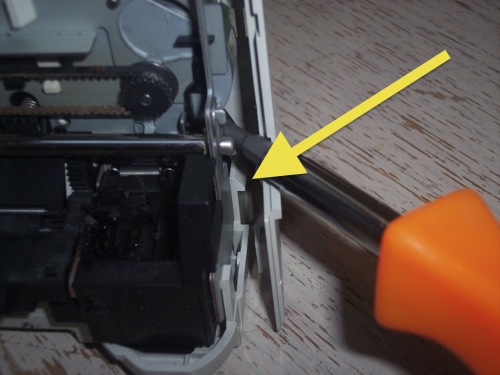
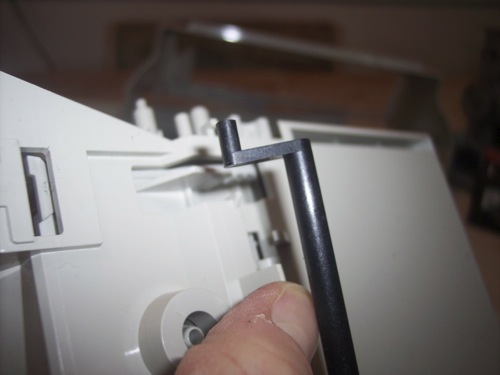
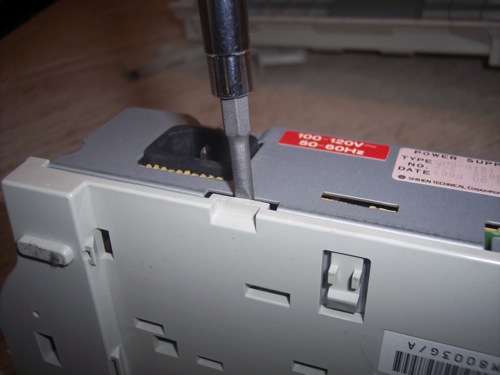
Insert a screwdriver along the seam and separate the front panel from the back.
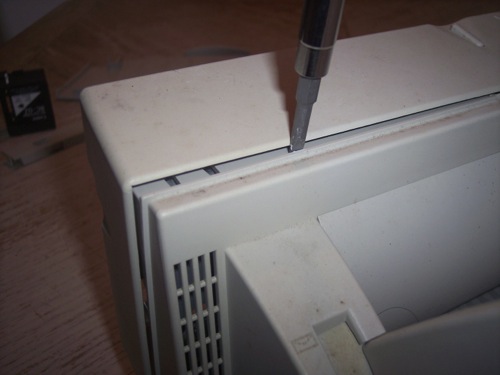
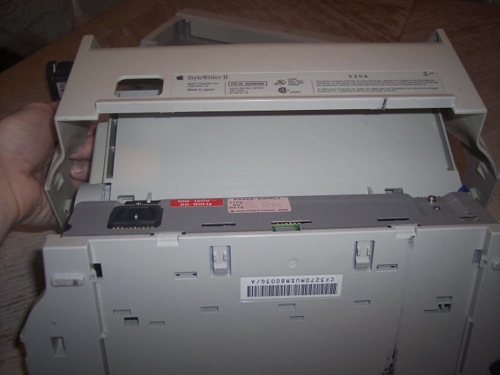
The front panel should just fall away.
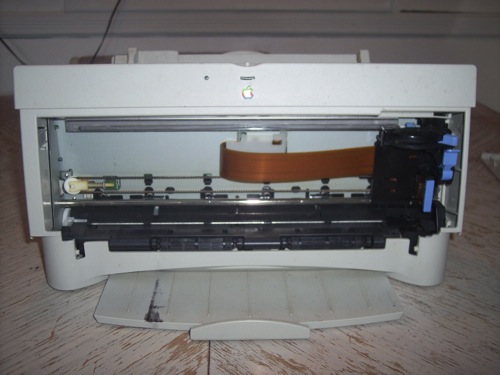
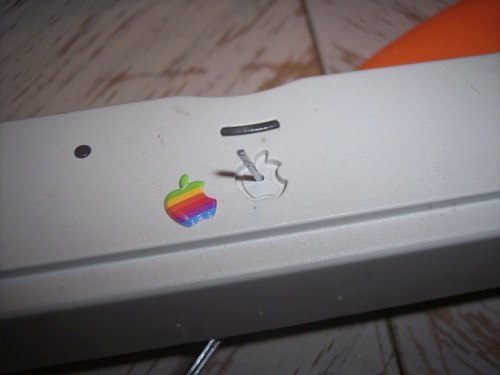
On the inside of the front panel you’ll find a little hole behind the Apple logo. Insert a paper clip and pop out the Apple logo.
Remove the Apple logo.
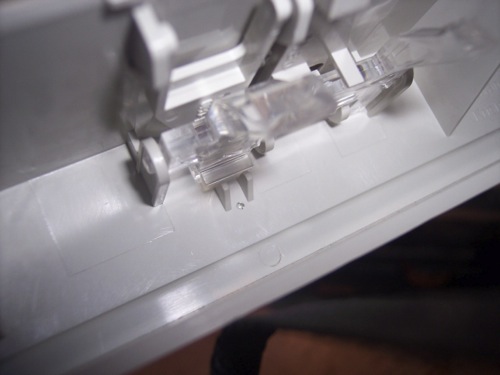
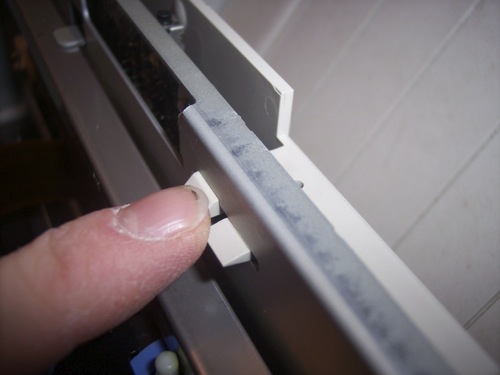
On the top you’ll find 2 clips, pop them with a screwdriver.
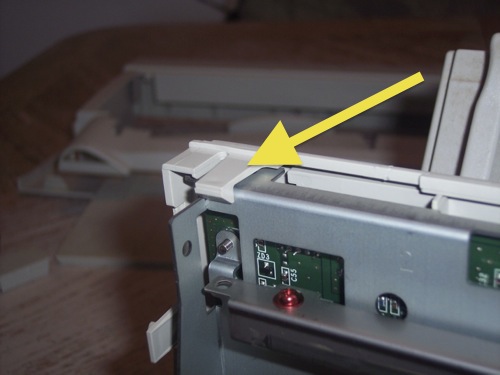
And 2 more on the left and right.
Once those clips have been popped, work your way around the whole base until the back from comes off
There’s 2 more clips on the back.
The back panel should just fall away.
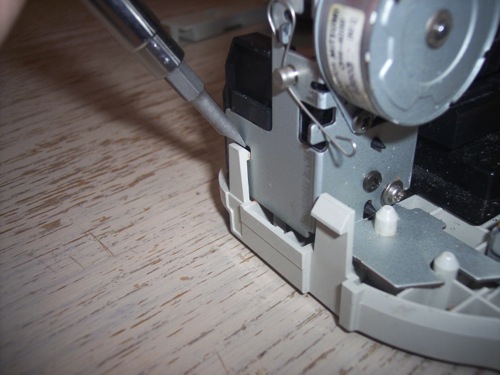
Remove these 2 screws...
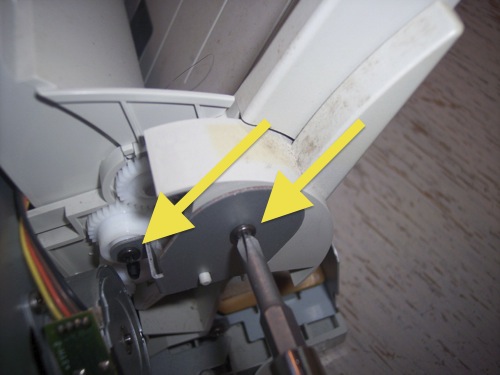
...and the lever.
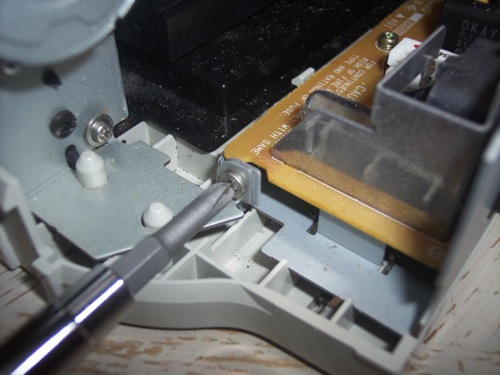
Remove this screw...
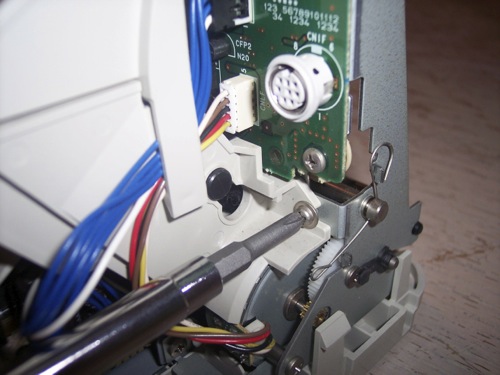
...and this one too.
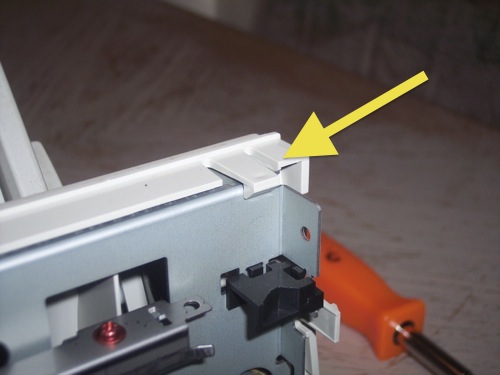
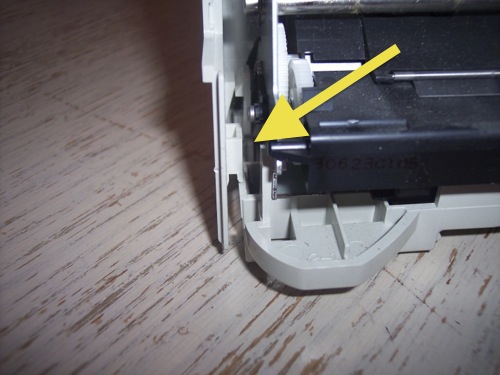
You’ll find a few more clips around holding in the paper tray.
Pop all of them
The paper tray should just fall away.
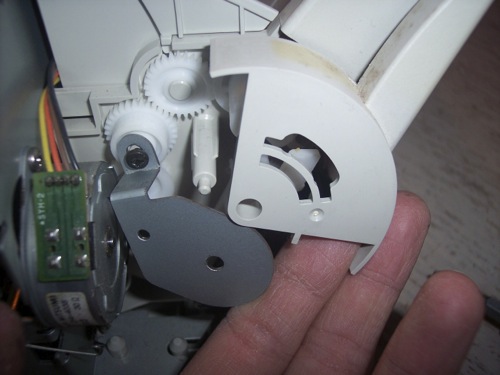
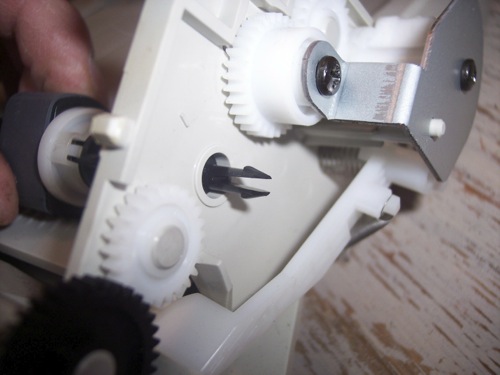
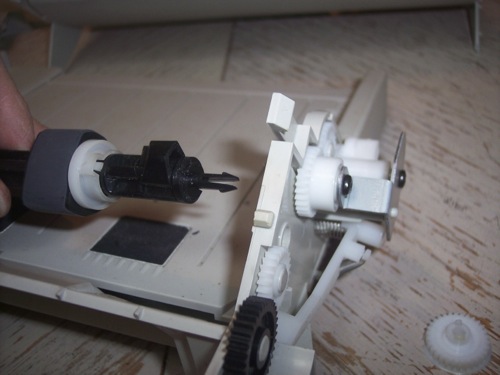
You can remove all the gears now.
Separate the two pieces.
Once this gear is removed, the rollers will come free.
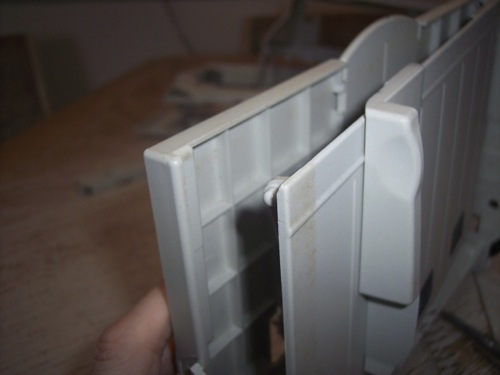
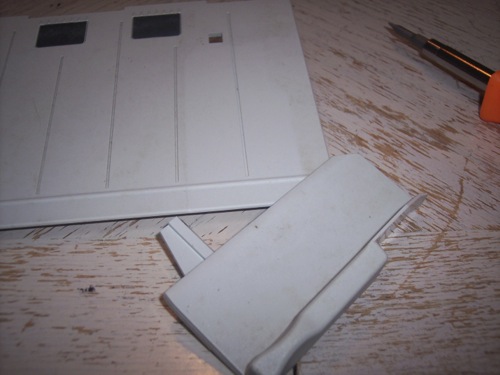
Pop this thing off too.
It comes out pretty easily.
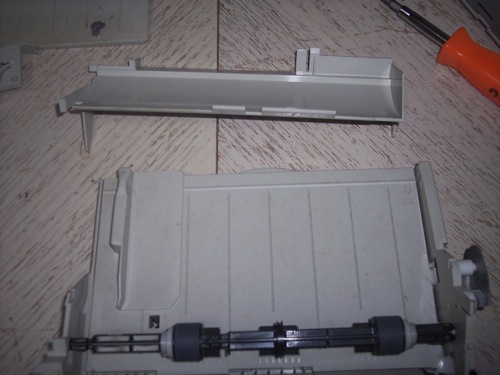
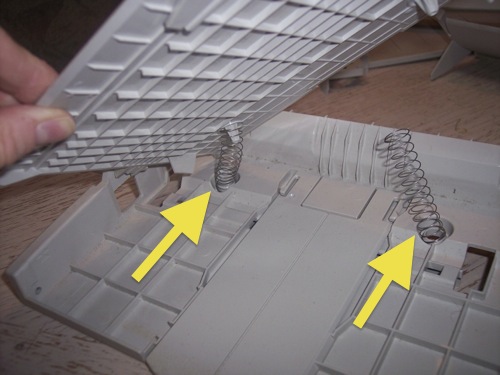
Separate the 2 halves of the paper tray.
And remove the 2 springs.
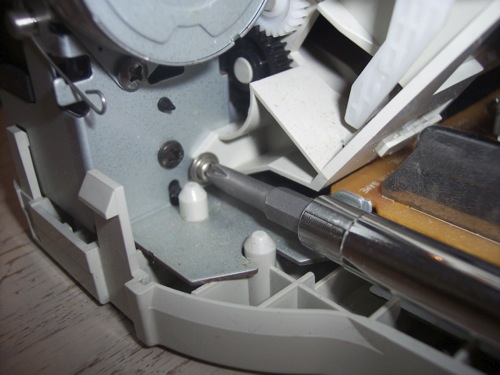
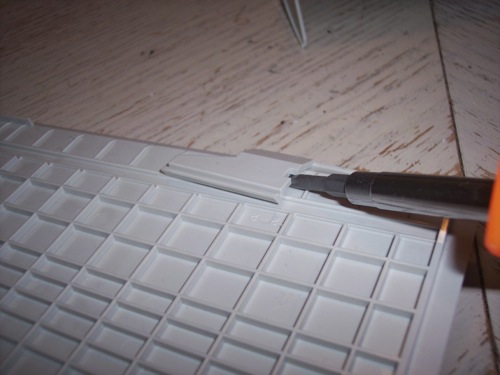
Use a screw driver and lift this piece off.
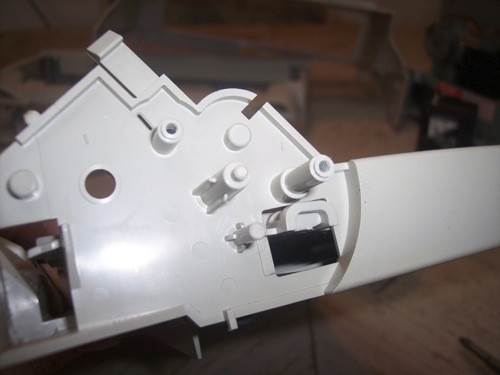
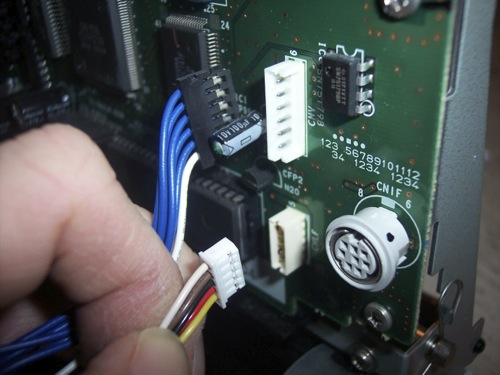
Remove these two plugs,
Remove this screw...
...and this one
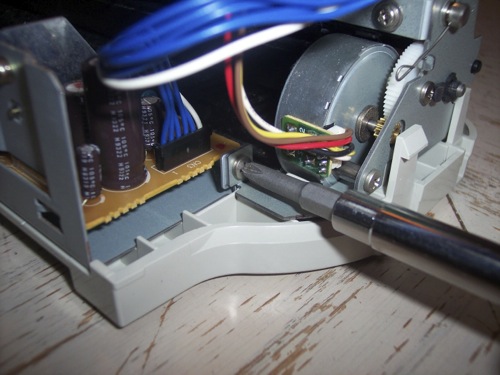
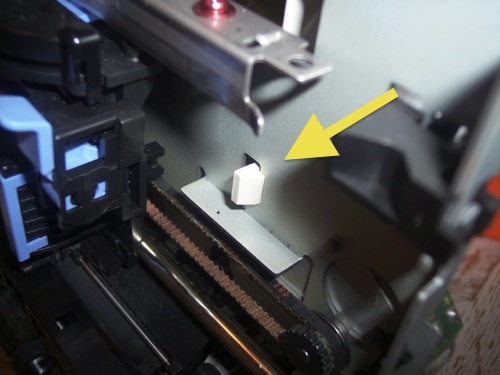
Pop the clips around the base that hold in the guts
As well as the ones on the sides....
...and the back.
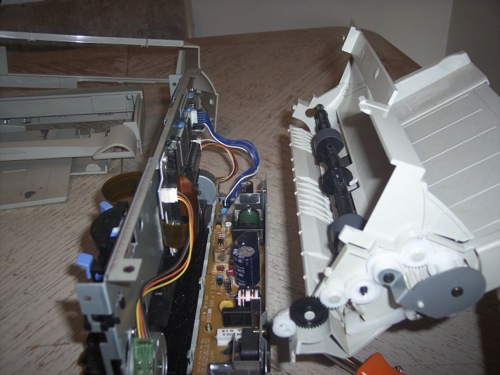
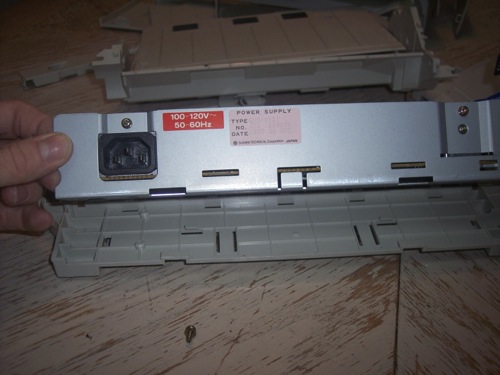
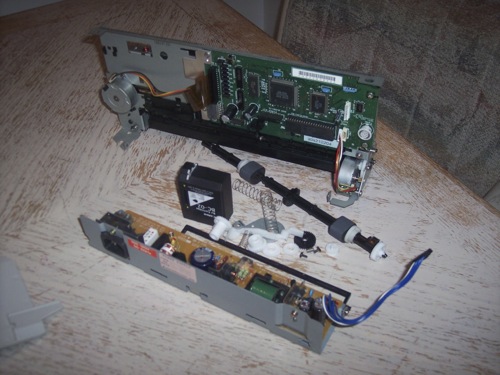
The guts should pull free from the base.

The power supply should also just lift out.
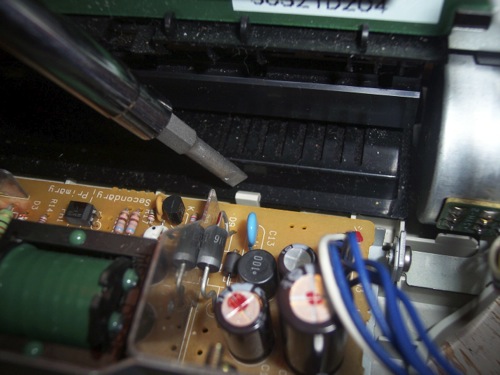
Pop these clips to remove this piece. Watch out it is soaked in ink.
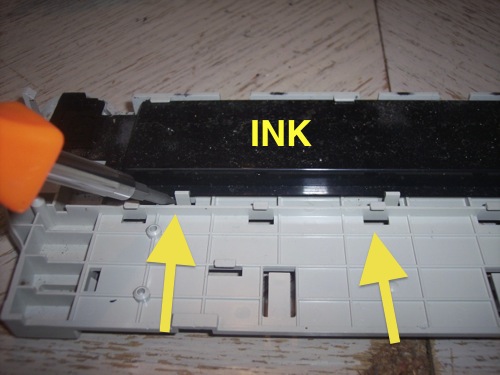
This part too is covered in ink so be careful when handling it.
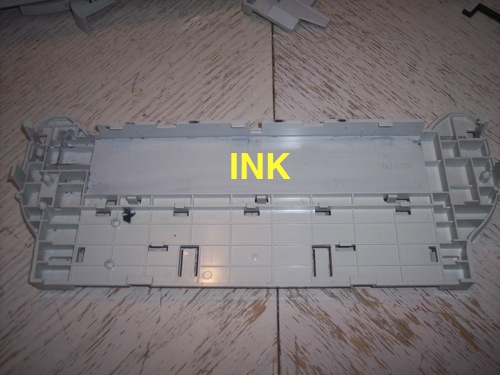
These are all the parts that will not need any peroxide treatment. The ink cartridge is garbage.
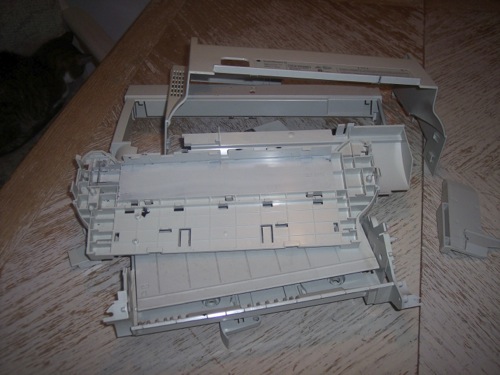
These are all the parts that will get the peroxide treatment.
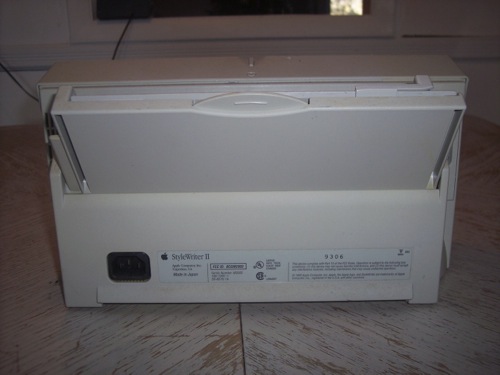
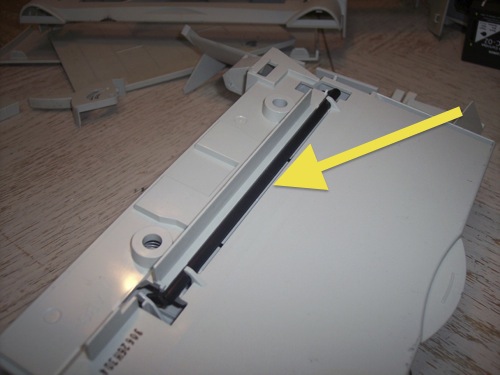
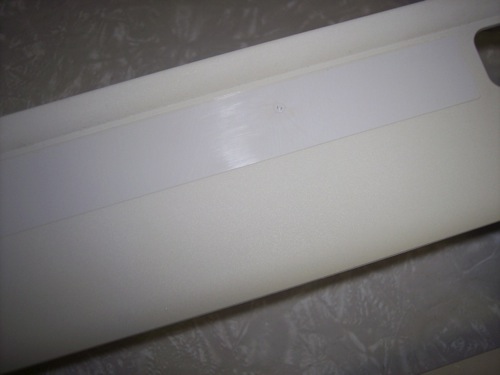
I removed the StyleWriter II label from the back panel. You can really see the discoloration as compared to the gray plastic underneath the label.
Now that it’s all taken apart, all that’s left to do is dip it in some peroxide.