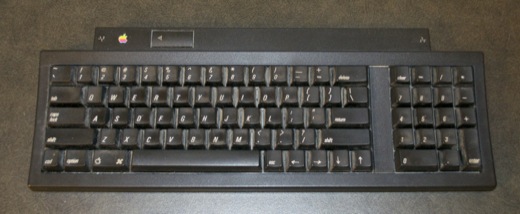
Let’s clean this thing up, starting with the peripherals. Man are those things filthy!
Disassembly is the same as the beige Keyboard II. No surprises.
Remove the 3 screws from the back.
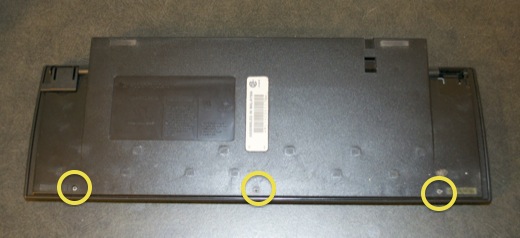
Once the front bezel has been removed, remove the 3 screws securing the logicboard to the keys.
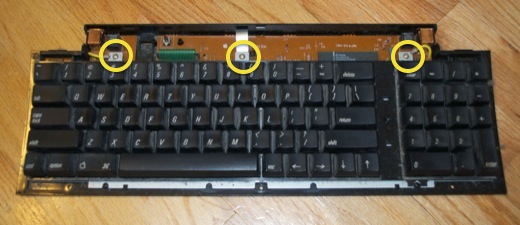
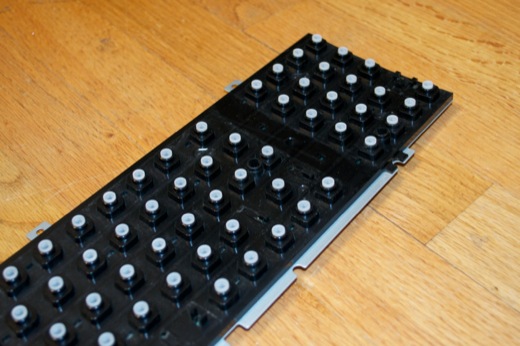
Everything will then just lift right out. You can also disconnect the keys from the logicboard via the green ribbon cable.
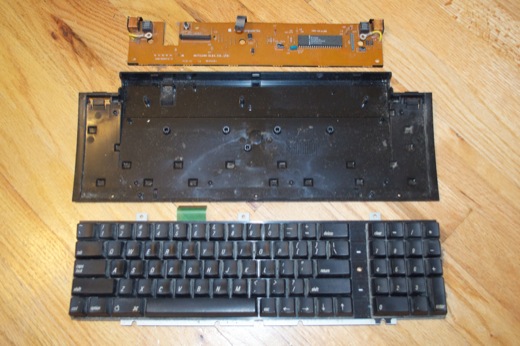
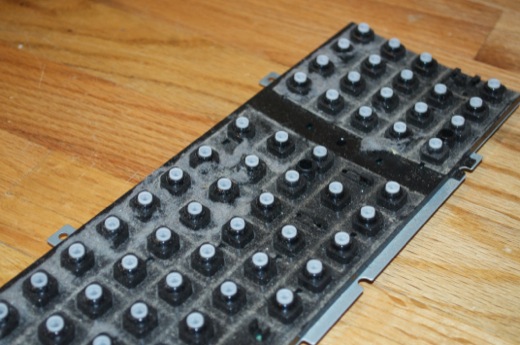
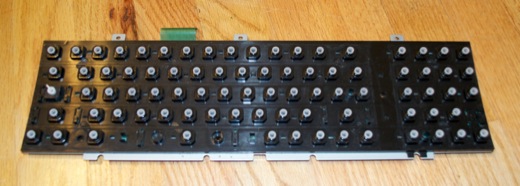
I then pulled all the keys off. Wow is it disgusting under there!
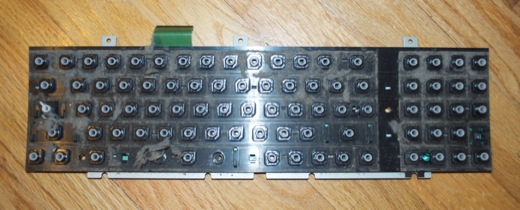
Probably the dirtiest keyboard I’ve ever seen.
I took the keyboard outside and brushed off all the dust.
I then used some Q-tips dipped in alcohol to get into some of the tight spots.
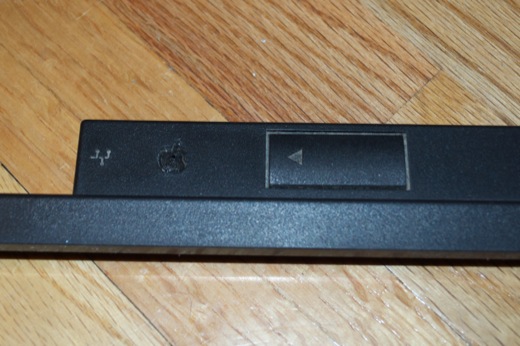
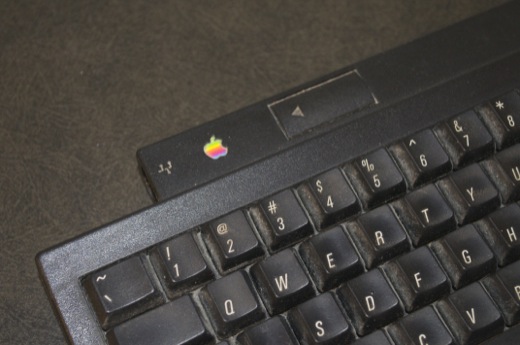
I removed the Apple logo from the top bezel so I could really get in there with a Q-tip.
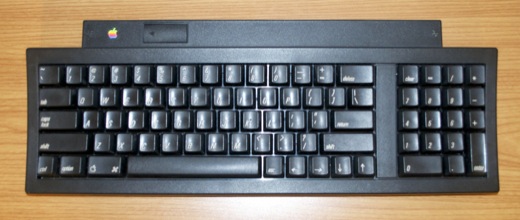
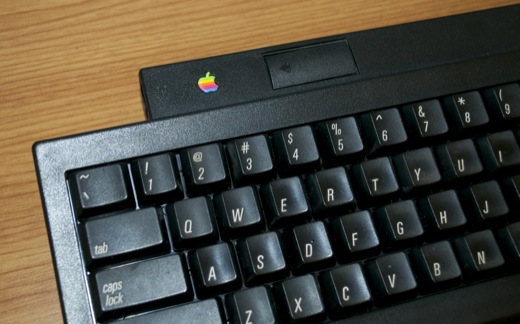
I then washed the enclosure and the keys in the sink and laid them out in the sun to dry. Once they were dry, I put everything back together. What a difference! It looks like new.
Before:
After:
I don’t think I’m ever going to find a black leg to replace the one that’s missing. For now, I replaced it with a beige one from another keyboard that I’ve been cannibalizing. At least it’ll keep the keyboard even.
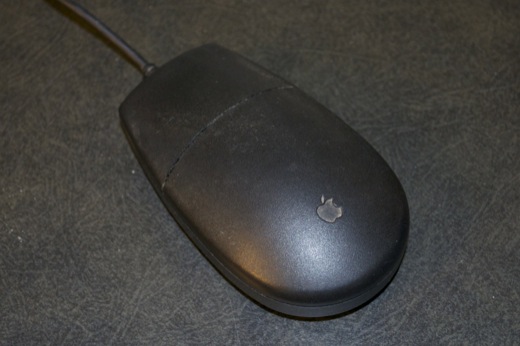
Just like the keyboard, filthy. I’d love to take it apart and wash it in the sink, but trying to separate the two halves is risky business. Using a screw driver will just hew up the side. I also don’t want to risk breaking the tabs that hold it together. I think I’ll just clean it with a rag and some Q-tips.
Before:
After:
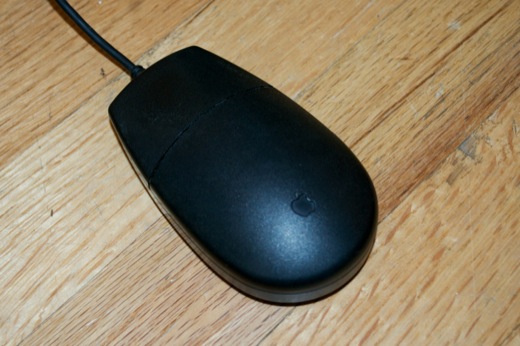
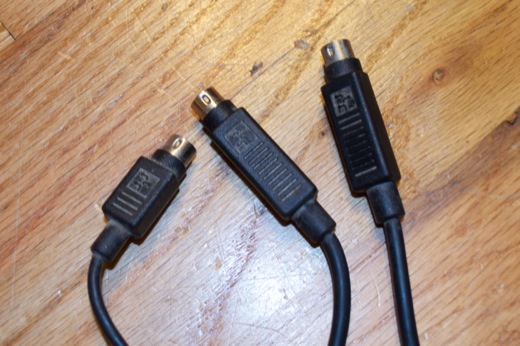
Not bad. I also cleaned the connectors for the keyboard and mouse with some Q-tips.
Before:
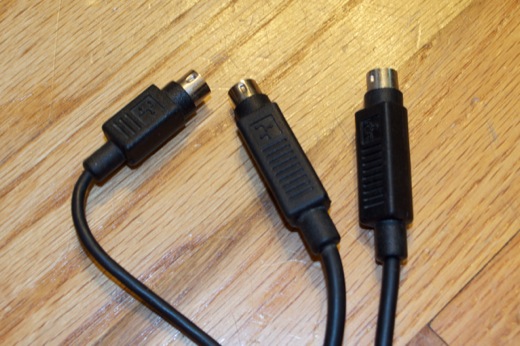
The dirt was pretty tough to get out, but I got it.
After:
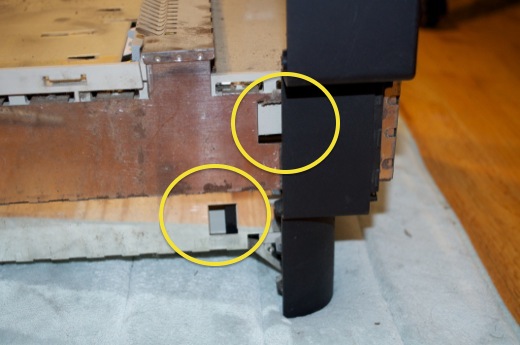
Now for the enclosure.
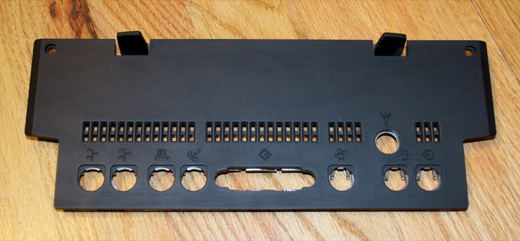
Starting with the back bucket, remove the I/O panel.
I just got in the holes with a small brush to dislodge all the dust and dirt and then cleaned it with some alcohol. I didn’t want to wash it under the sink since the back of it has a sheet of metal that would probably rust out.
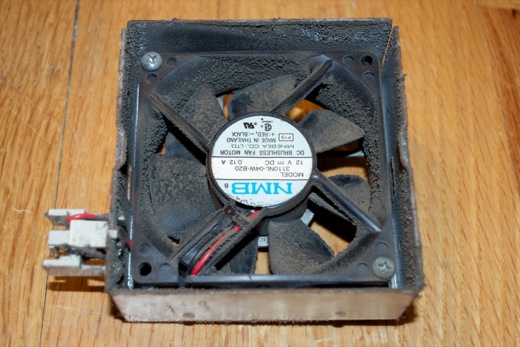
Remove the fan from the back bucket buy popping the two latches that hold it in.
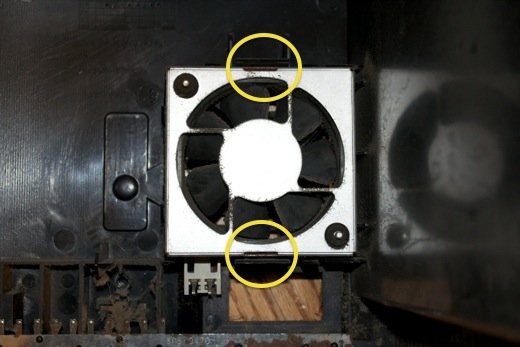
Yikes! I felt like I needed a Tetanus shot after handing the fan.
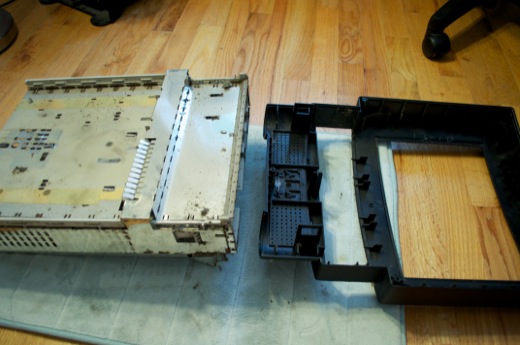
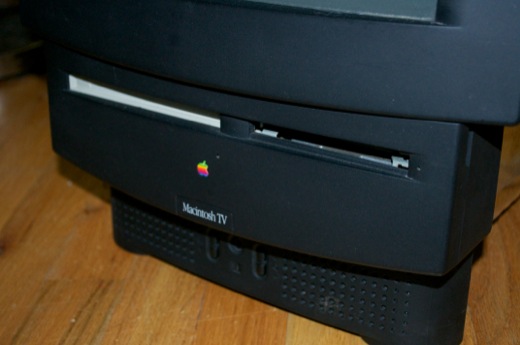
Now for the front bezel.
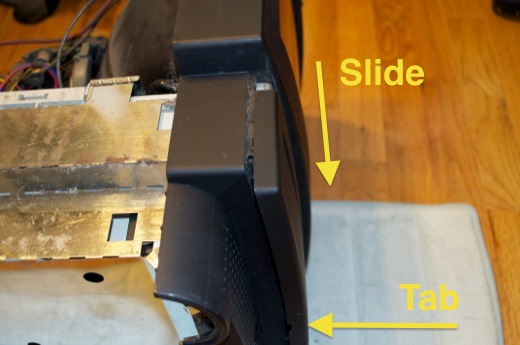
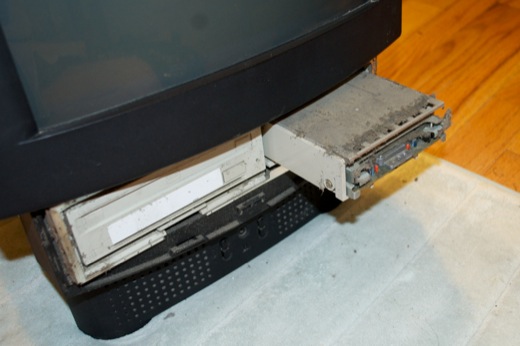
Seeing as this machine is basically a larger Color Classic, the teardown is very similar. Start by removing the front drive panel. There’s a latch you can pop from underneath with a flathead screwdriver. Once the latch is popped, the drive cover will slide down.
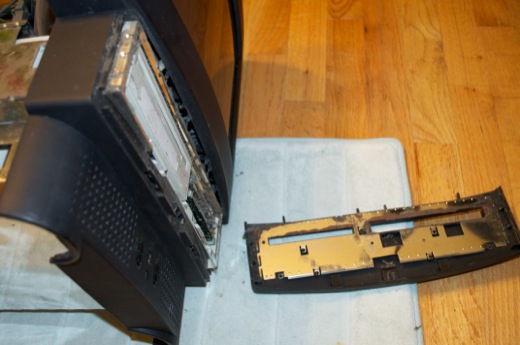
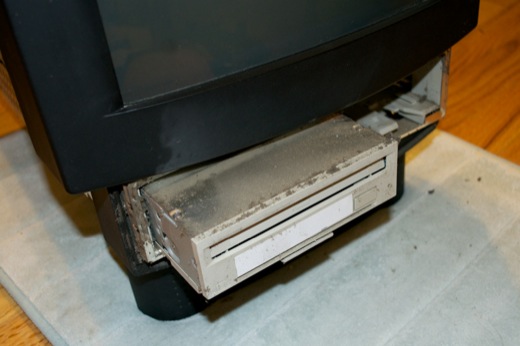
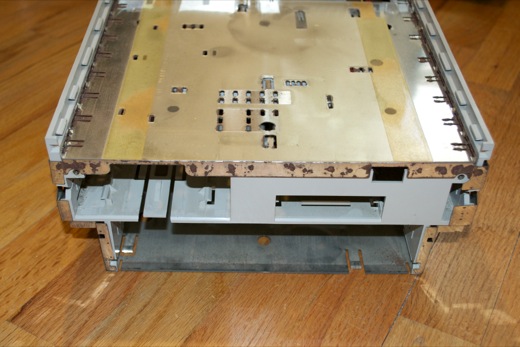
Wow that’s pretty dusty in there! The drives can be removed by pressing the latches underneath each one and then sliding them out along the rails.

Push down on the one locking in the floppy.
Push up for the one locking in the CD-ROM.
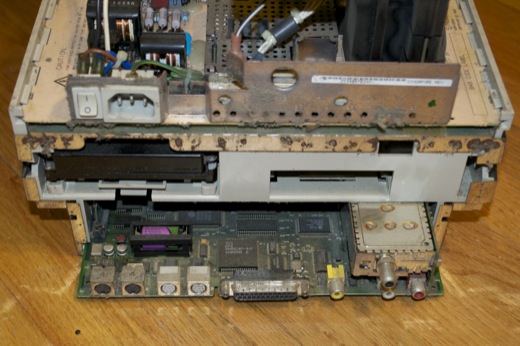
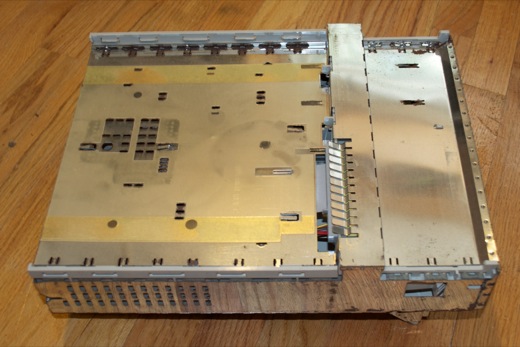
Flip the machine around and pull out the hard drive and logic.

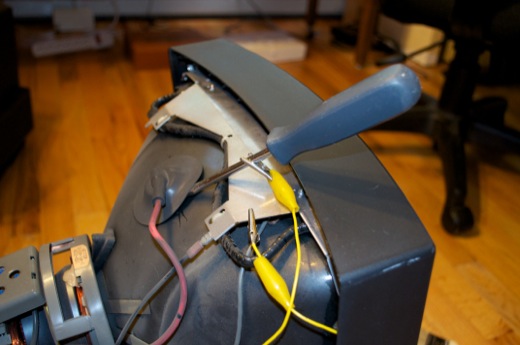
Supposedly all Macs discharge their CRT through a resistor at power down, but you never know what state it’s in if the analog and logic boards aren’t functioning properly. Who knows if the CRT has actually been discharged? Better to be safe than dead.
Ground the yoke and discharge the CRT.
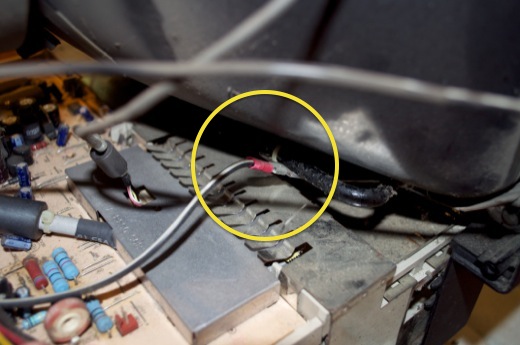
Next up is disconnecting the analog board.
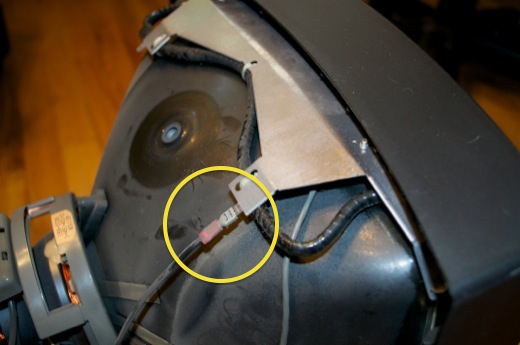
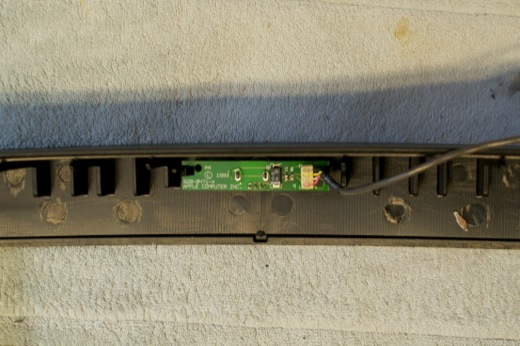
Disconnect the IR receiver.
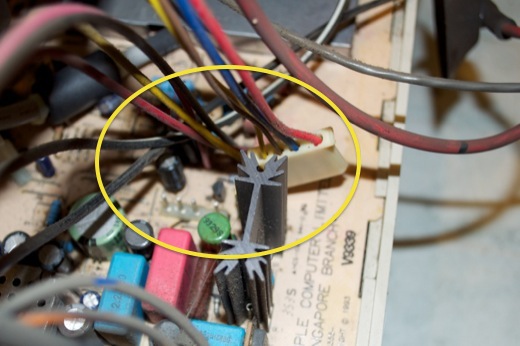
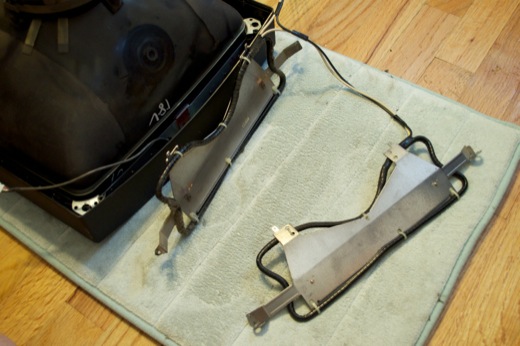
Disconnect the two ground cables from the degauss panels.
Disconnect the degauss panel connector from the analog board.

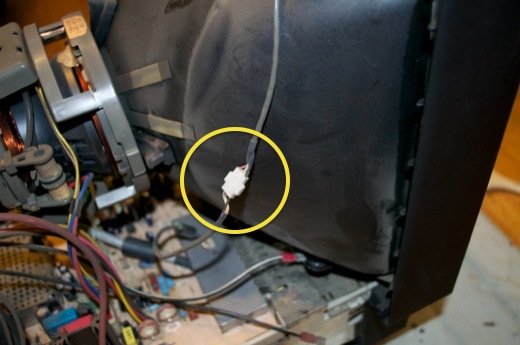
Disconnect the CRT from the analog board.
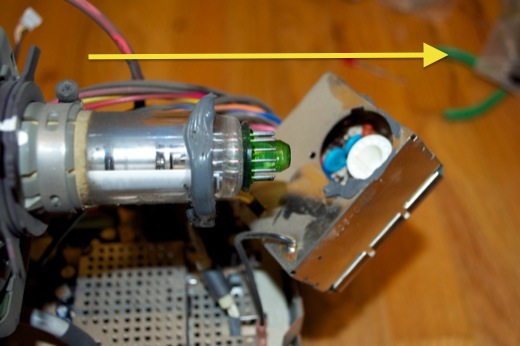
Remove the CRT board assembly from the back of the CRT.
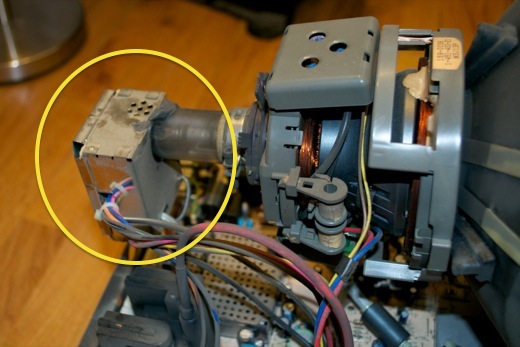
You’ll notice that the box is glued on with rubber cement. You can run a razor blade in between the box and the cement to separate it.
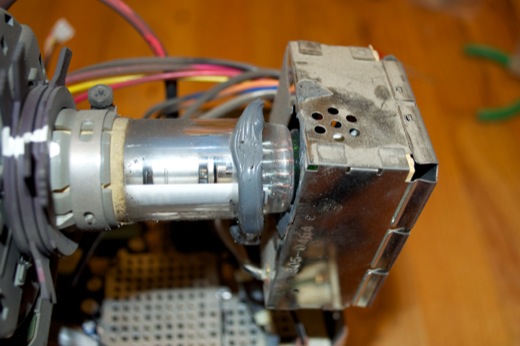
Pull the box straight off so you don’t break or bend any pins.
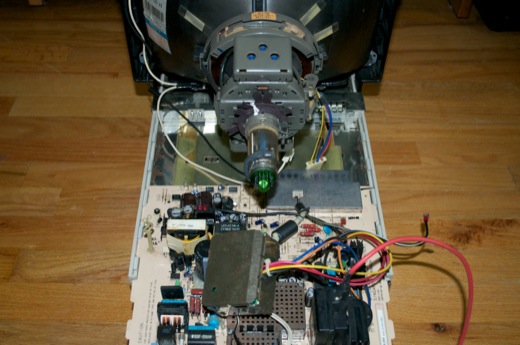
Once the CRT is free, the analog board will slide right out along the top of the chassis.

Wow, look at the dust bunnies under there! There’s also a little oxidation on the shield.
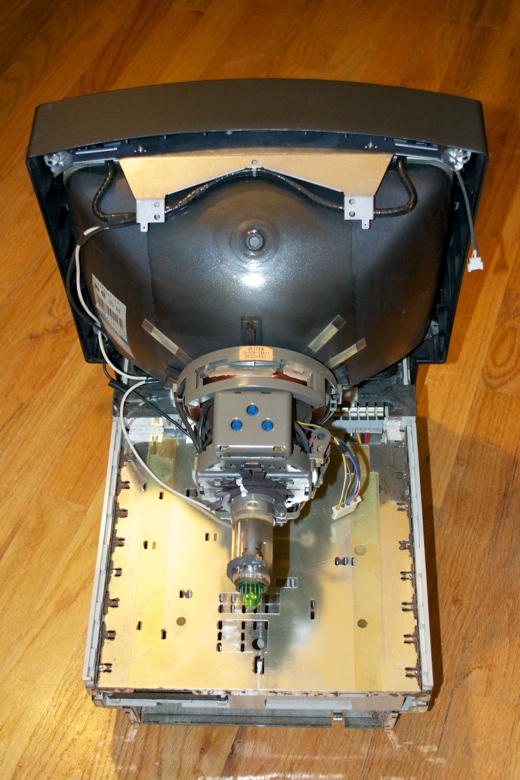
Lay the Mac face-down to remove the CRT. The CRT and degauss panels are secured via four screws.
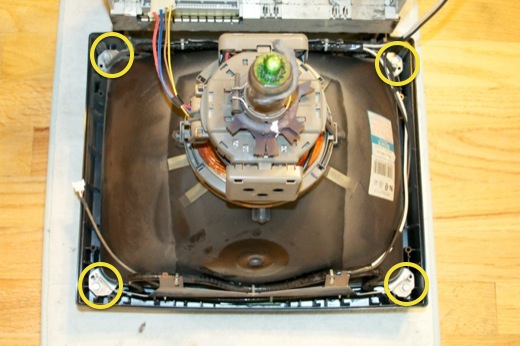
Once the screws are out, lift out the degauss panels.
Followed by the CRT.
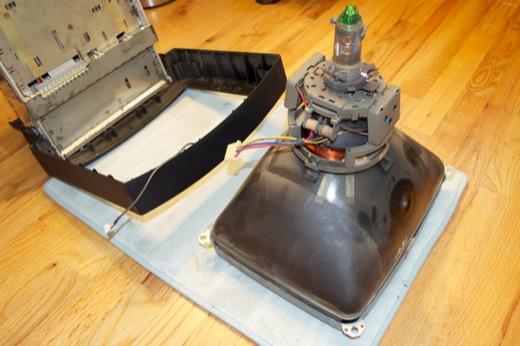
Once the CRT is out, you can then get to the IR receiver board. There’s a plastic latch at both ends that secure it to the front bezel.
Lastly, remove the front bezel from the chassis by popping the 2 latches on both sides. That top latch is actually easier to get from the front.
The front bezel will then pull away from the chassis.
The chassis was pretty dusty. I took it outside and cleaned it out with a small brush. I then wiped it down with a damp cloth.
Nice and clean!

Wow, that was a pretty easy teardown. Messy, but easy. My hands are filthy, and there’s dust bunnies all over my floor. Once I clean myself up, I’ll wash all the plastics in the tub and put it back together.
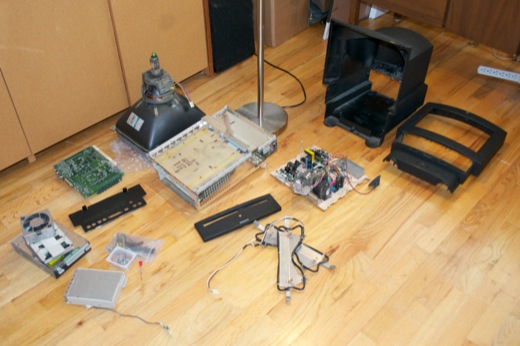
I didn’t take pictures, but I cleaned all the drives too. There was a lot of dust on them, in them, and in between the drives and the drive mounts. What a mess. Once everything was clean, I put most of it back together. I’m not going to put the analog or logic boards back in until I can replace them.
It’s nice and clean and looks as good as new.
I scored a replacement analog board on eBay for only $20. The new one is on the right. It looks good and all the necessary wires are present.
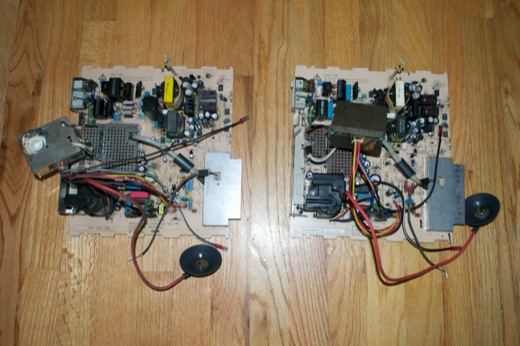
I just had to slide the new board in….
…and connect all the wires.

I plugged it in and powered it on. Errrr! Still no life from the green LED on the front. Even without a logic board, the green LED should still illuminate. Looks like this board is dead too.
The search continues. More to come….