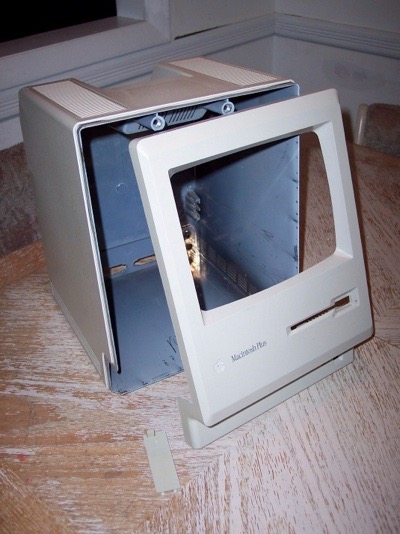
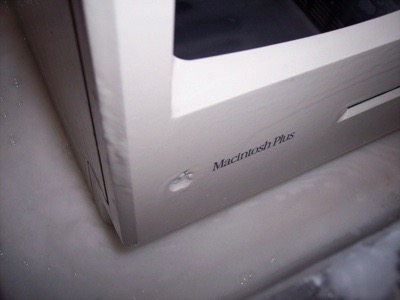
One Mac Plus case all ready for restoration!
After the LC III trial run, I am fairly confident that I can restore the finish on this machine without destroying it.
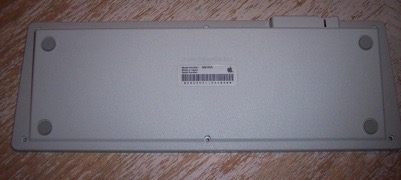
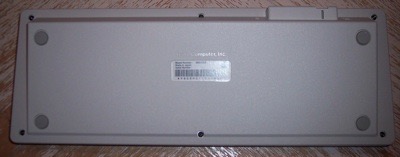
The overall color of the case isn’t bad, but it could use an hour in the sauce. The bottom has a lot of yellowing. Of course, I forgot to take a “before” picture of it before I started.
I might not even do the keyboard and mouse since they already look pretty good.
First, I started with about 16 ounces of 30% hydrogen peroxide.
I then mixed in some corn starch to thicken it up.
Finally, I added a few teaspoons of Oxy laundry booster.
Once that was all mixed up.....
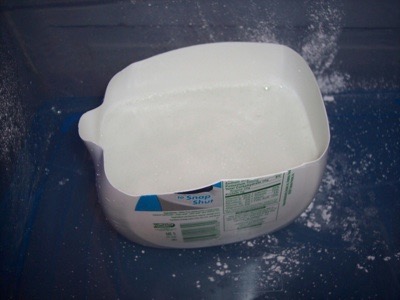
... I dumped it into a bigger bucket to increase the surface area.
I then blasted it under UV light until the solution reacted.
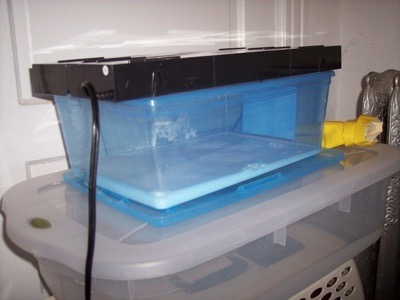
This batch didn’t “fire off” until about the 6 hour mark. I know it was a pretty cool night and it was especially cool in the foyer, but once this solution started to react, it was hot enough to give off steam.
I quickly placed the Mac Plus case into the solution and applied it to all sides.
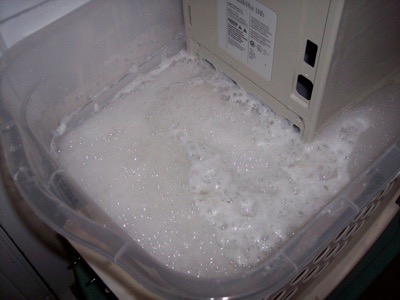
Ever 15 minutes or so I gave it another coat. I did that for about an hour. I used a paint brush to get into some of the harder to reach places.
This time, the solution was not as thick as it was for the LC III. Then again, this solution didn’t sit overnight. I suspect that this solution too would have become thicker and thicker the longer it was left.
I didn’t want the Mac Plus to become bleach white. I just wanted to take the yellowing down a notch. So I didn’t want to leave it in too long. An hour goes a long way.
I removed the case from the solution and washed it off in the bath tub.
The reassembly was a snap. I had the machine put back together in about 20 minutes. The hardest part was sliding the back cover on.
I threw my Dark Castle disk in and turned the machine on. It booted right up. No problems.
All I need now is to make a cable for the keyboard. That’s tomorrow's project.
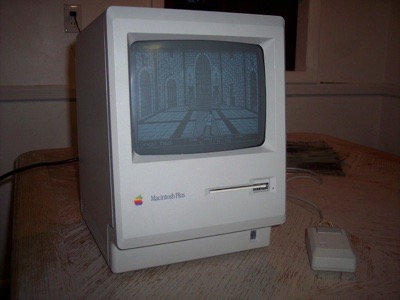
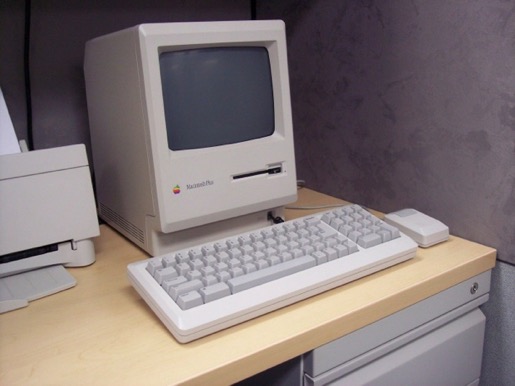
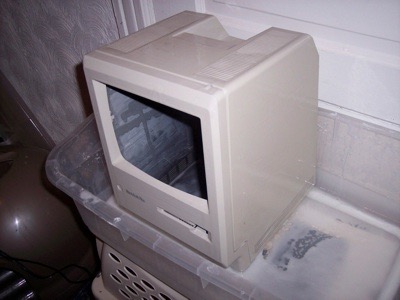
I know the “after” pictures don’t do it justice, but just one hour in the peroxide made a really big difference. All the yellowing has been removed and this Mac Plus once again looks “platinum”!
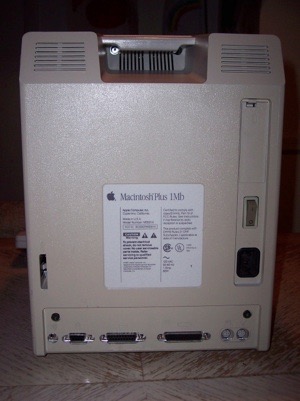
Before:
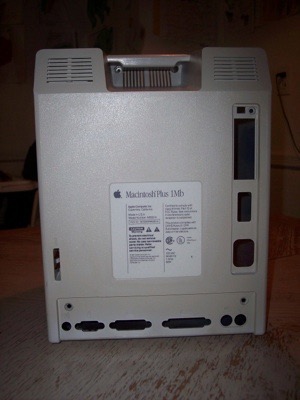
After:
You know what? Maybe I will do the keyboard and mouse after all. After seeing how “platinum” the case can be. I think the keyboard and mouse could use a dip too.
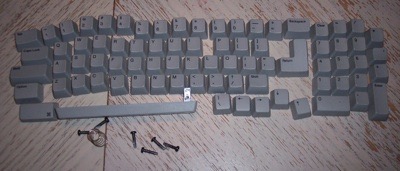
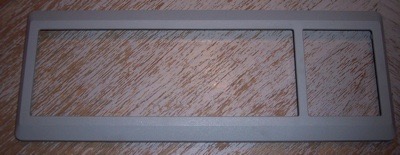
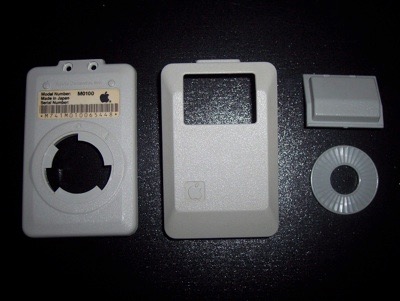
First I have to disassemble the keyboard and the mouse.
Again, the photos do not show that much yellowing since the discoloration is minimum and the camera flash is bright.
I hope, at minimum, an hour in the peroxide will at least make it look a little cleaner, and just a tad brighter.
I mixed up another batch of peroxide tonight. It took about 4 hours to fire off. I left the keyboard and mouse sitting in it for about an hour.
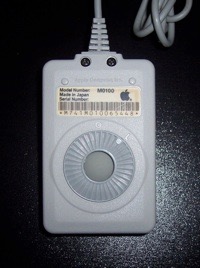
Here are some after shots:
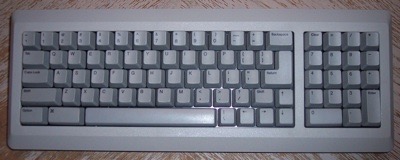
The keyboard looks mint. I know it’s hard to see a difference between the before and after pictures, it the color is very grey and doesn’t show the slightest hint of yellow.
Even the mouse shows an improvement. What looked pretty grey to begin with now looks yellow compared to the after pictures.

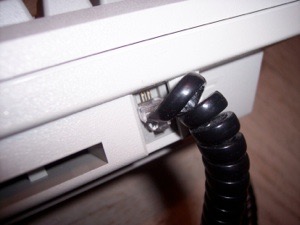
All that is left to do is make a new keyboard cable. I couldn’t find RJ10 connectors anywhere, so I picked up a crimper and some RJ11 connectors.
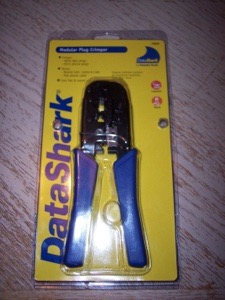
The RJ11s are a tad wider than the RJ10s. RJ10s are 4 pin only. RJ11s come in 4 and 6 pin varieties. I picked up the 4 pin versions and buzzed it down with my Dremel.
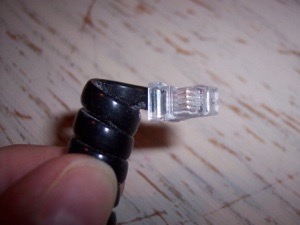
It worked like a charm!
I had to pick up a new battery since the old was toast. It was only a few bucks. I had to order it online since no one locally carries it.
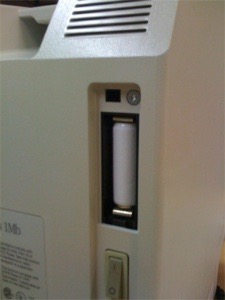
I also picked up a 4 Meg RAM upgrade on eBay for $3. Since I have the machine at work in my cube I had to do the RAM upgrade on my lunch. No big deal. I had the machine up and running in 10 minutes.

My cube at work is so big that I dedicated one side to my Apple stuff. It’s sort of an Apple Museum. What a nice addition.