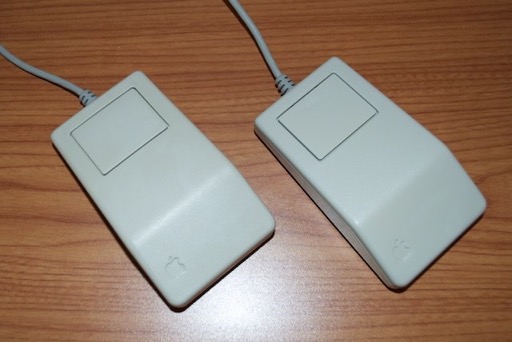
I’ve had 2 ADB mice tucked away for some time now. I know I scored one with the Mac Portable, but I don’t remember how I got the other one. They were pretty ugly and really needed a good dipping so I never had them out on display. I figured I’d just toss them in a box and save them as spares
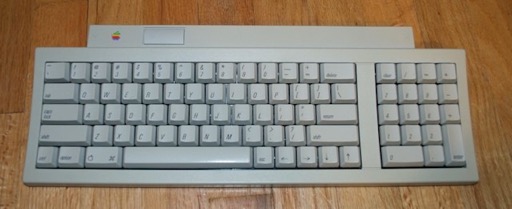
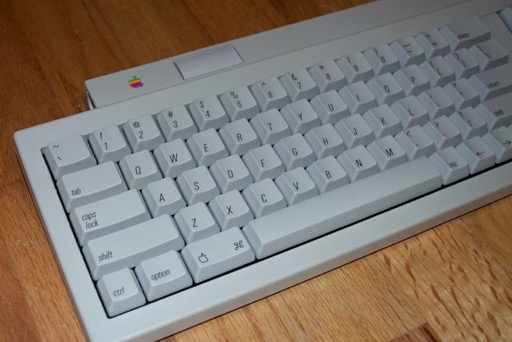
As for my AppleDesign Keyboard II, I picked it up to replace the one I was using with my Classic. Two keys were defective on that one. The replacement keyboard wasn’t too badly yellowed, but it could use a quick dip just to freshen it up. Since I’ve been spending the past week restoring the iMac Pro Keyboard, I figured I’d toss whatever little things I had lying around in the mix.
Here’s the mice:
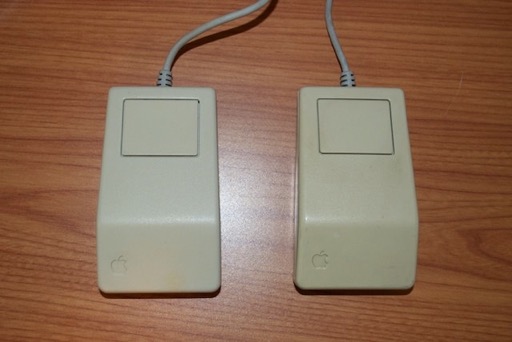
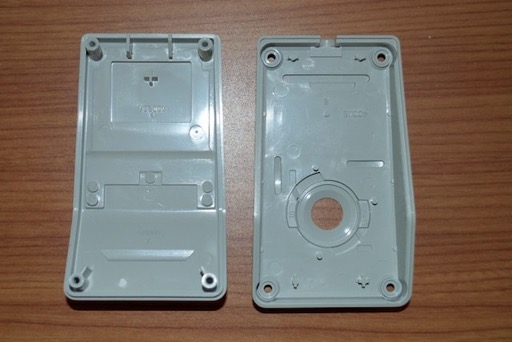
Yikes! Pretty gross. At least the bottoms aren’t that bad.

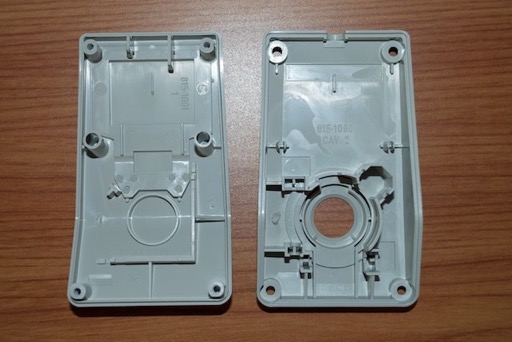
Once I cracked them open, you could tell from the inside what color they were supposed to be.
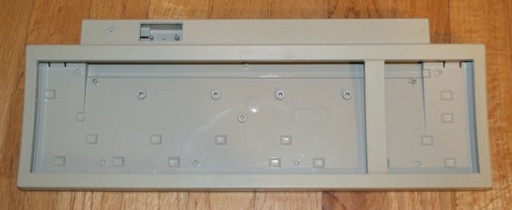
As far as the keyboard goes, it’s not terrible. I have a spare keyboard that is pretty nasty. So I know how bad they can get. I’m not gong to restore that one. I’ll use it for parts.
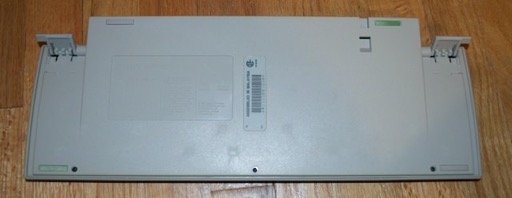
It’s also missing two feet, so I’ll have to rob them from the spare one.
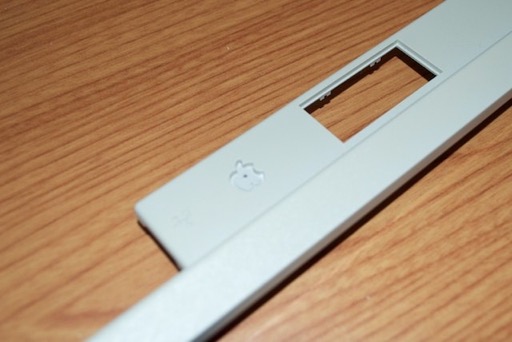
Overall, I think the keys might be a tad lighter than the bezel. Luckily, the spacebars on these keyboards don’t seem to suffer the extreme darkening that’s common on Apple’s older keyboards.
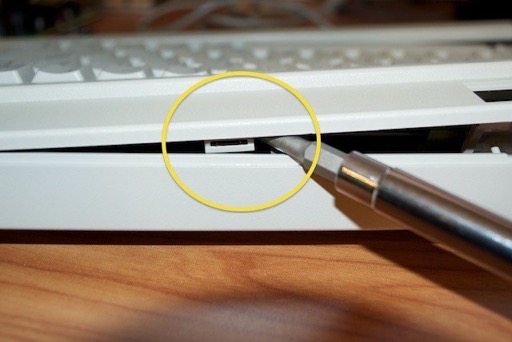
Disassembly on these is pretty easy. Once the 3 screws on the back have been removed, you have to pry the top away from the bottom. Start at one end. There’s a tab over each stand that needs to be popped before you can inch along the back.
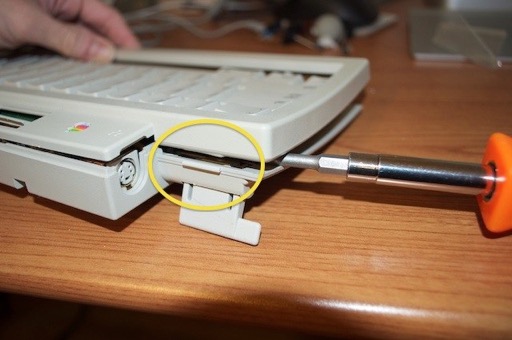
You have to be careful not to break the 3 clips that hold it together. They snap pretty easily.
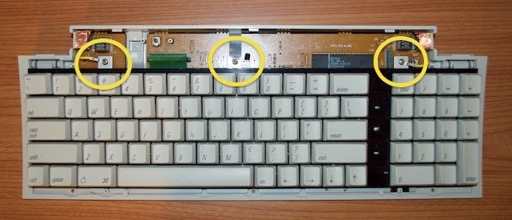
Once the top bezel is off, you have to remove the 3 screws that secure the logicboard to the back housing.
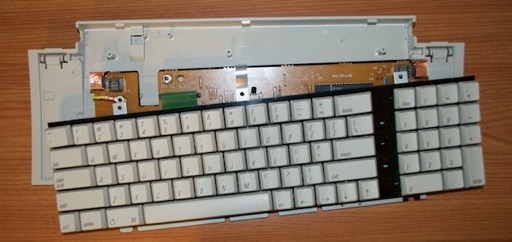
The internals will then lift right out.
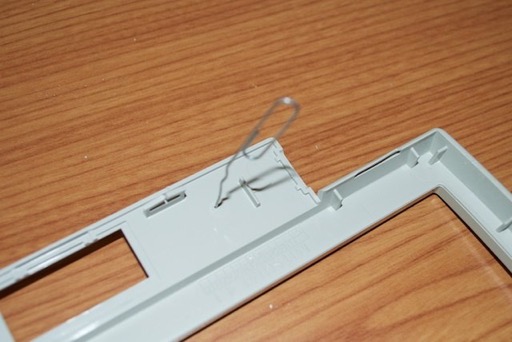
Flip the bezel over and push a paperclip through the hole to remove the Apple logo.
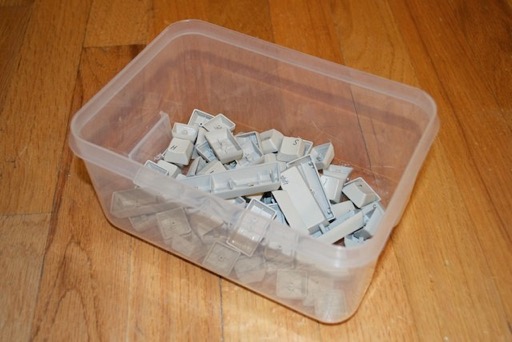
You can then start popping the keys off. Make sure not to lose any of the rubber thingies that hold the keys up. If you lose one, your key will constantly be in the pressed position. That makes the keyboard sort of useless.
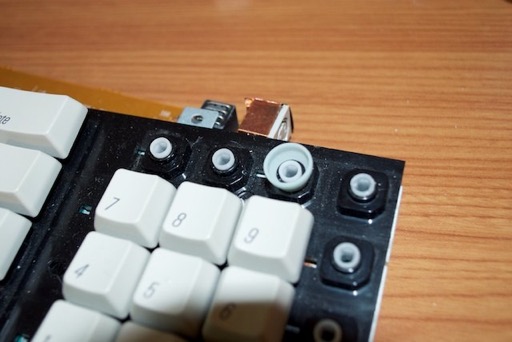
Also take not of the orientation of the metal brackets that are attached to some of the larger keys. It’s just one less thing to have to figure out when you put it back together.
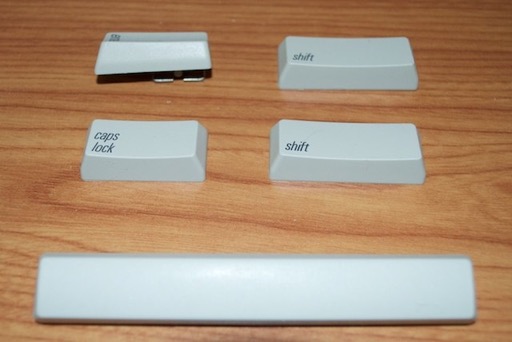
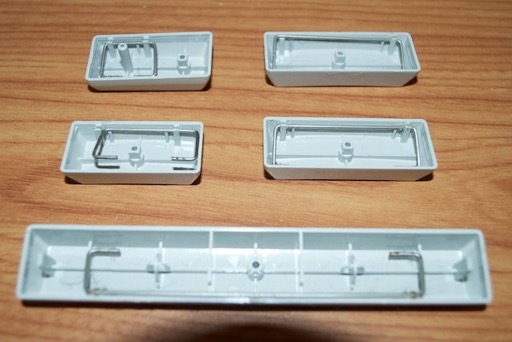
And there it is. All the parts ready to go.
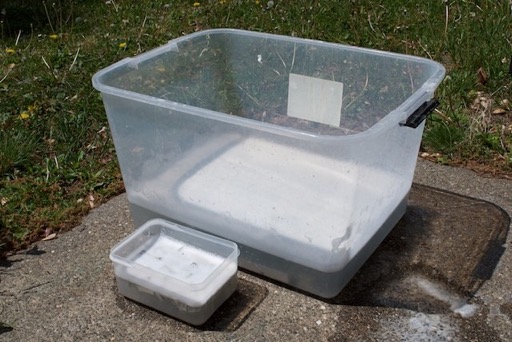
I threw the keyboard and the mice in with the iMac Pro Keyboard I’m restoring. It’s a pretty strong solution, so I’ll have to keep my eye on things so I don’t burn them.
After a few hours, I took the pieces out and washed them off. They look pretty good. They look like new.
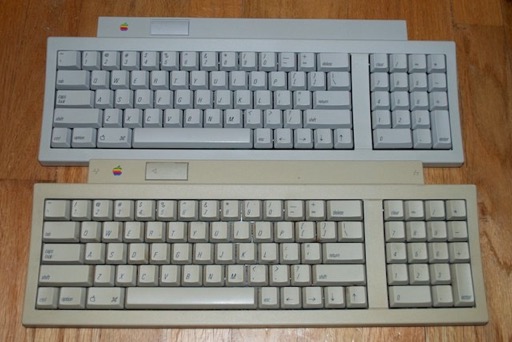
Just for a laugh, here’s a comparison between the restored keyboard and my spare that I never bothered to dip; just so yo can see how bad they can get.
I gave one of the mice to my Mac SE since the one it had was a very early retr0brite attempt from years ago. I cooked it too long and it was pretty ashy.
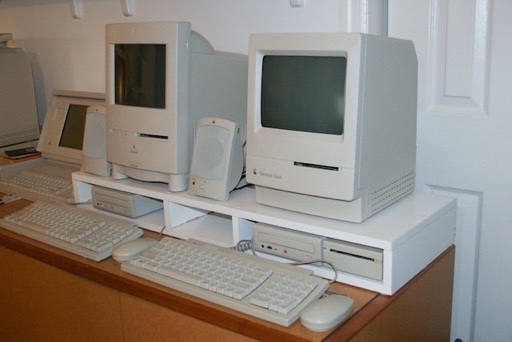
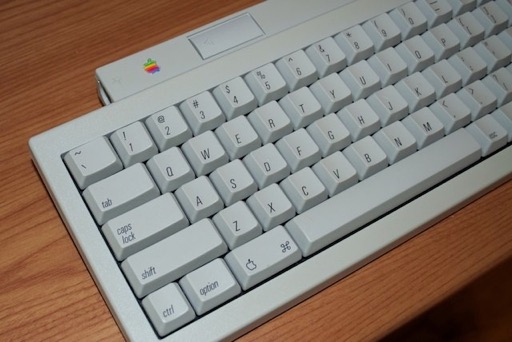
It’s nice to finally have a clean keyboard in front of the Classic.