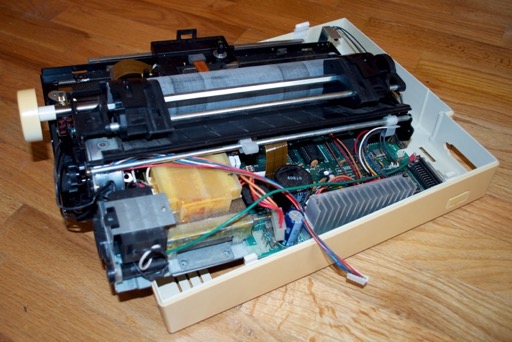
Time to tear this guy apart. I’m hoping this is an easy tear-down. Let’s get to it!
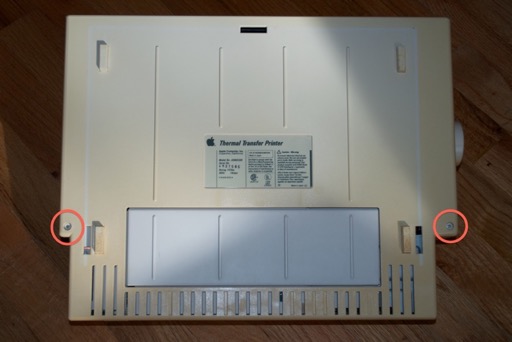
Remove these 2 bottom screws:
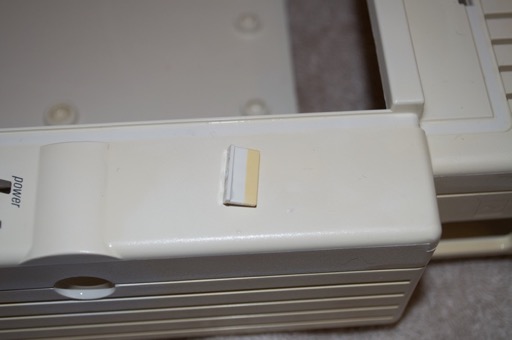
Flip the unit over. Towards the front you’ll see the top cover is secured via two white plastic clips. They’re a real pain to disengage. I used a flat head screwdriver to pop them out.
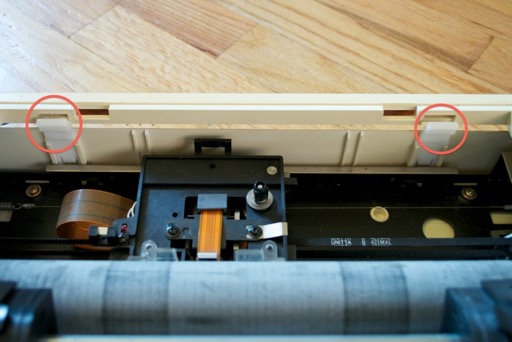
Once those have been popped the top cover should come off. Be careful, it is still attached by the keypad cable and two ground wires.
Disconnect the front ground wire by removing this screw:
Then disconnect the keypad cable here:
Followed by the rear ground wire:
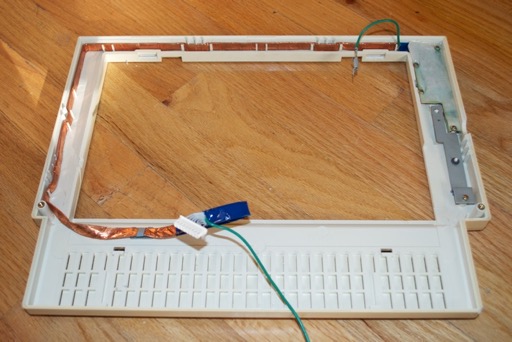
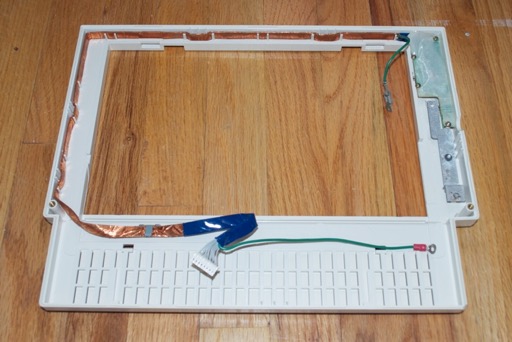
Since I’ll be dipping this whole top cover in retr0brite, I’ll have to remove all the wires as well as the board for the keypad.
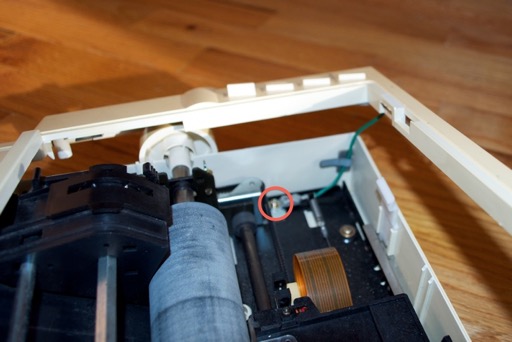
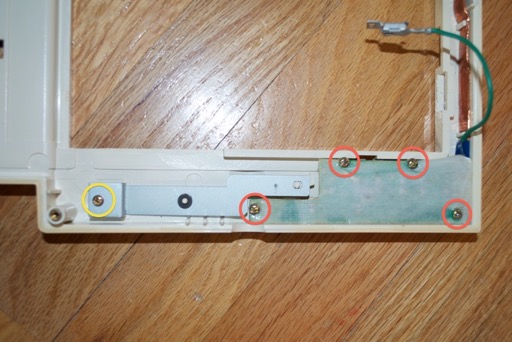
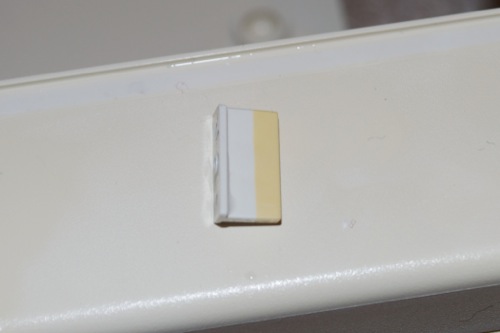
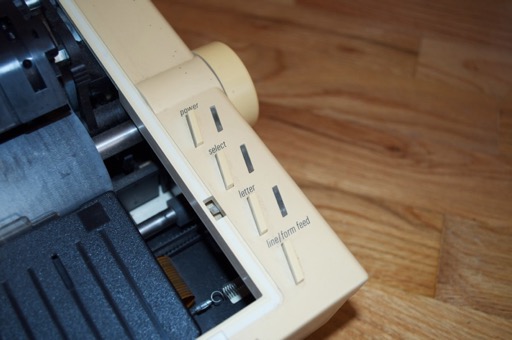
Remove the 4 screws on the right. The screw on the left circled in yellow does not have to be removed. It just has to be loosened enough to free the power button. I didn’t remove the metal bracket as it will not be harmed by the retr0brite. Once that’s been done, the board and foil-covered wire peels right out.
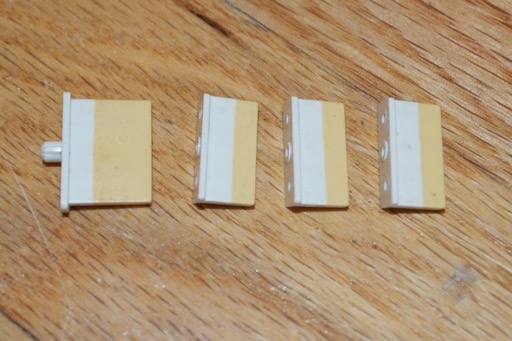
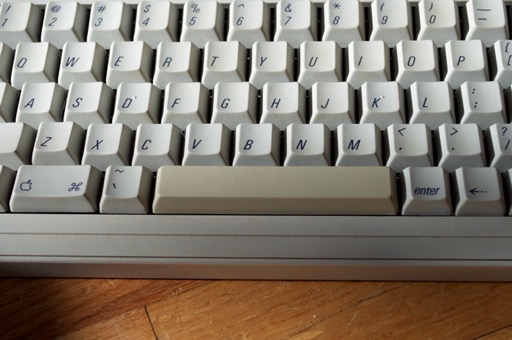
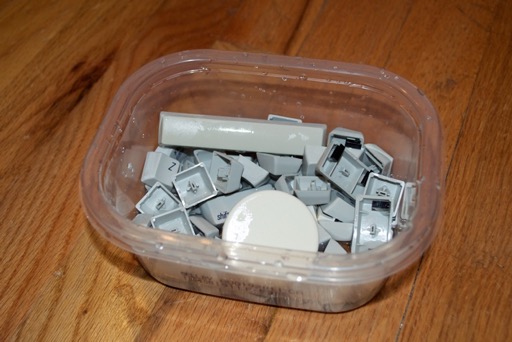
Once the wires and board are free, you can get at the buttons. Wow, that’s some serious discoloration!
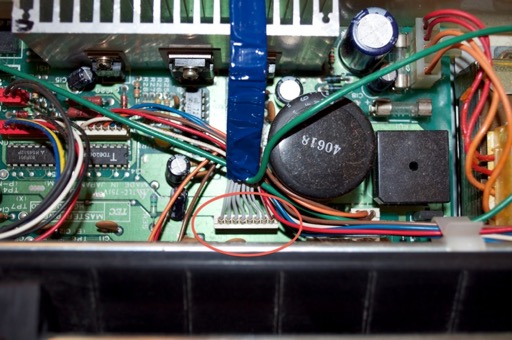
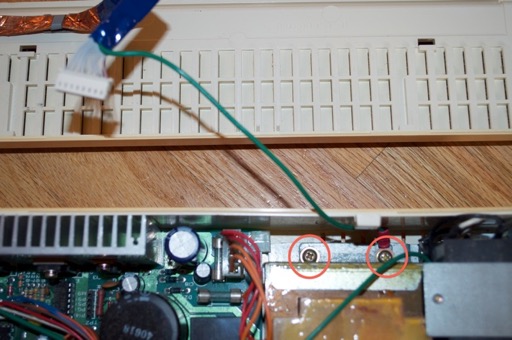
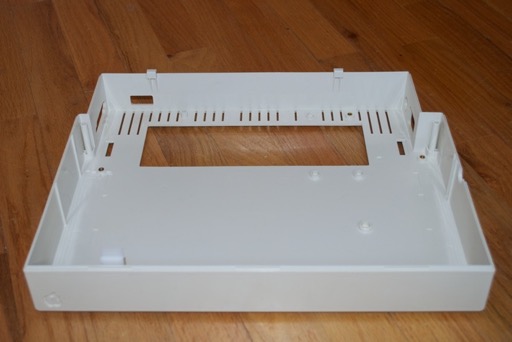
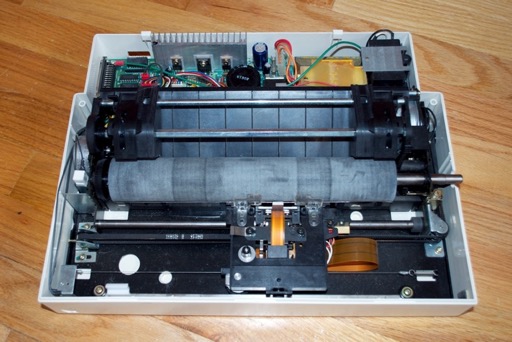
Once the top cover has been liberated, it’s time to move on to the bottom. The red circles indicate screws that have to be removed. The yellow circles indicate connectors that have to be removed. Now that I look at it, I’m not sure if removing all of those connectors was entirely necessary. Some of them could have stayed where they were.
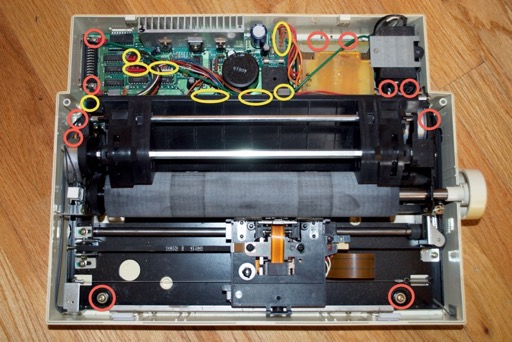
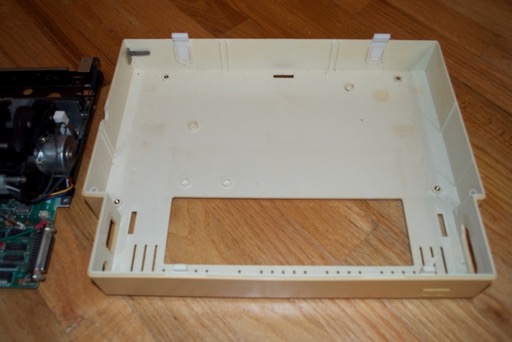
In any case, I removed them all. Once complete, the whole assembly just lifts out of the bottom case. Careful with the top right corner where the power supply is. It’s a little tricky lifting out.
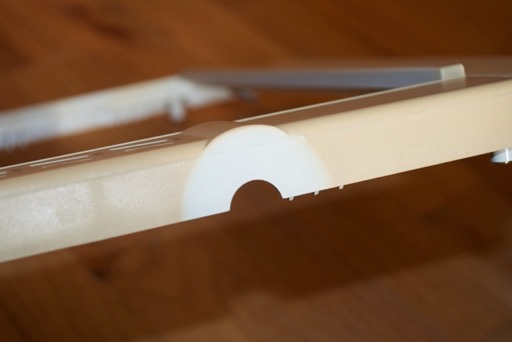
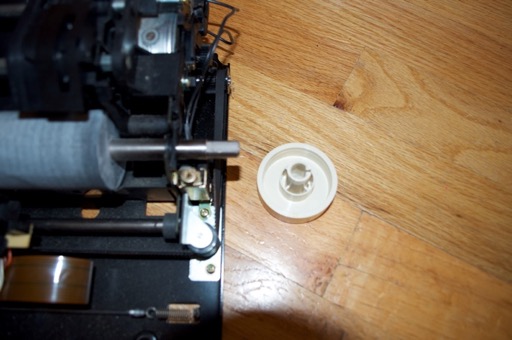
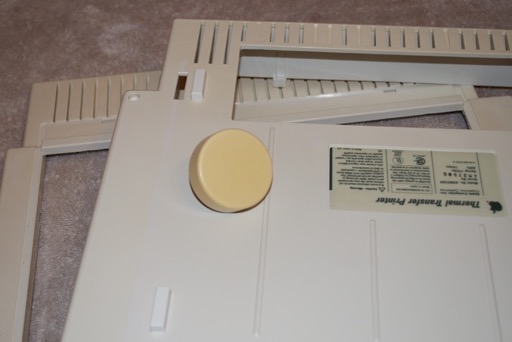
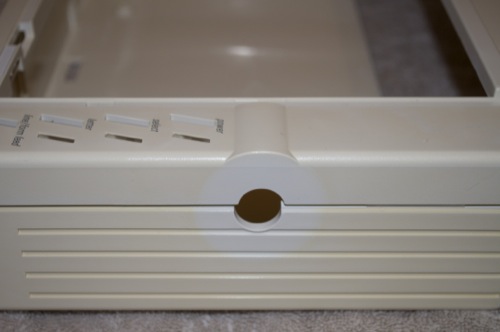
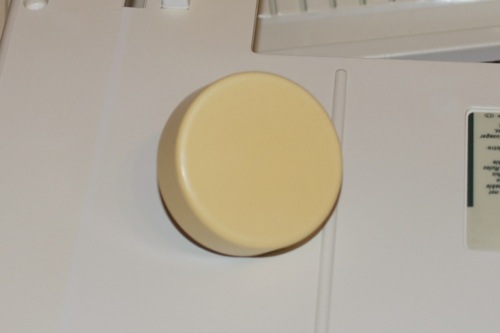
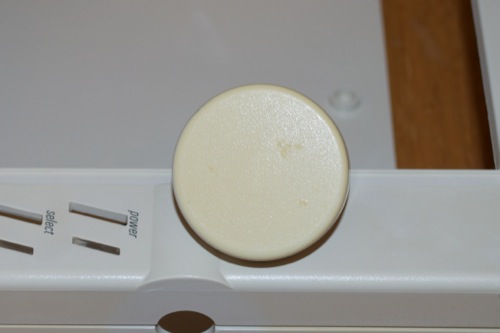
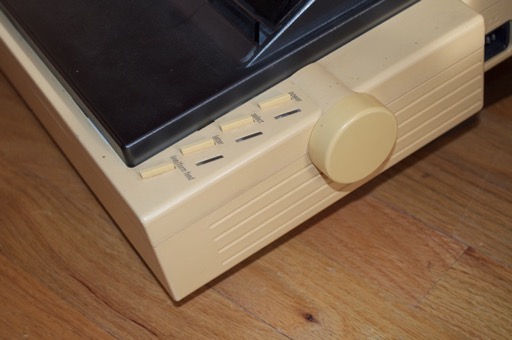
One last thing remains: the knob. It just pulls right off.
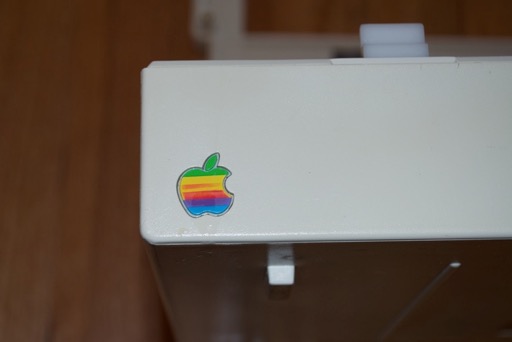
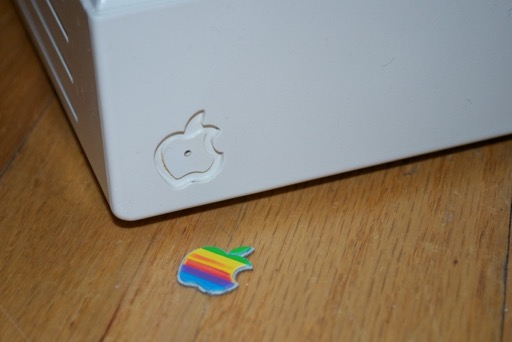
I try to make it a habit of protecting the Apple badge from the retr0brite solution. Ever since I ruined that LCIII. If you look on the other side of the Apple badge, you’ll see a tiny pin hole. It’s usually just large enough to accommodate a paper clip.
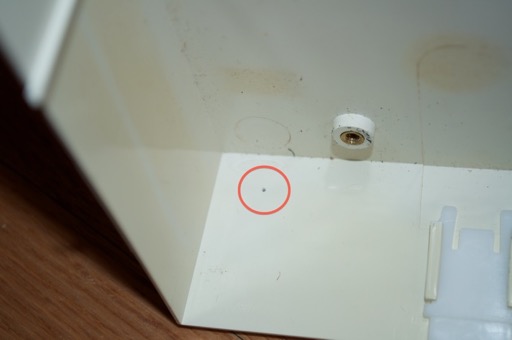
Usually you can just pop the Apple badge out from behind with a paper clip. In this case, it just wouldn’t budge. Rather than press too hard and risk poking right through, I opted to mask it off with tape and take my chances. I think it’ll be fine. This badge looks silk screened; not so much like the delicate ones used on the LCIII.
I wasn’t going to start restoring hardware until the Spring/Summer, but this printer is just too yellow to display. I have the rest of the week off. I figure I go for it.
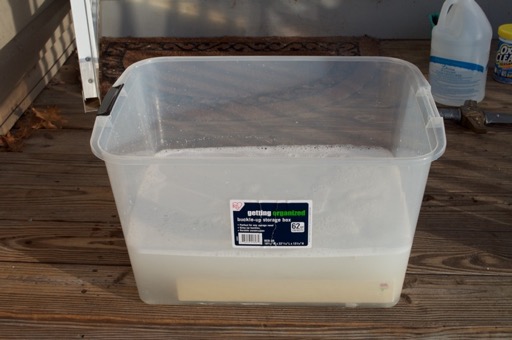
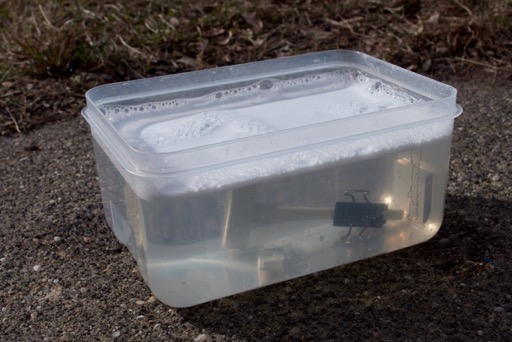
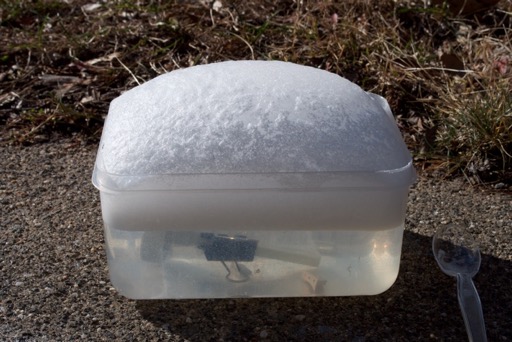
DAY 1I mixed up some Oxy/peroxide in a big bucket and submerged all the parts. After being left outside for a few hours, there was still no visible change in color. I guess it’s just as I had suspected. It’s just not sunny or warm enough this time of year.
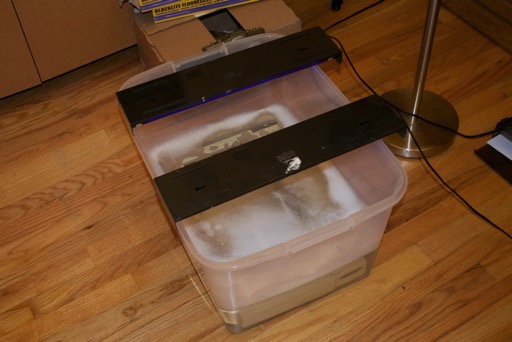
I decided to bring it inside and throw some black lights on it.
 DAY 2
DAY 2I let it sit overnight. The change is slight, but you can definitely tell it’s a little lighter. The feet are nice and clean as compared to before. At this rate, it’s going to take a lot longer than I thought to restore this printer.
It’s a little sunnier today so I put it back outside and poured in more peroxide and Oxy.
When the sun went down I brought it inside and put the black lights back on. I also added more peroxide and Oxy.
DAY 3Repeating yesterday’s routine, I renewed the retr0brite solution and put it back outside. Once the sun went down, I brought it inside and put it under the black lights.
After about 10 hours of treatment today, I took it out of the retr0brite and dried it off to take some photos. I can definitely see a result. It’s looking pretty good.
Maybe it’s time for some before and after photos.
Before:
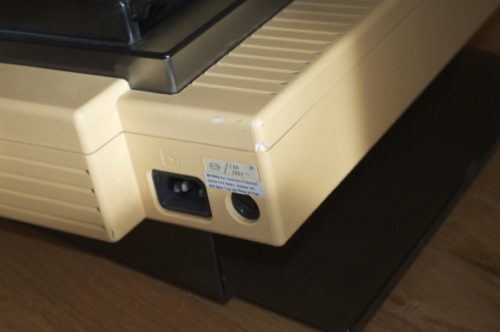
After:
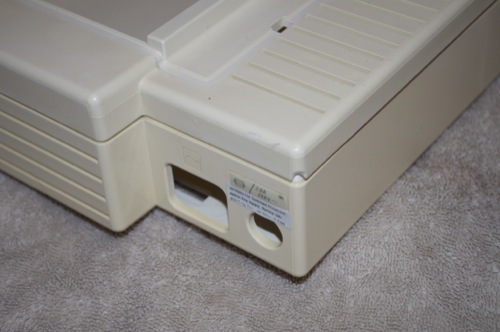
Before:
After:
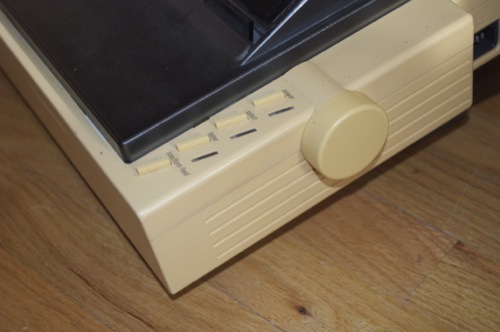
Before:

After:
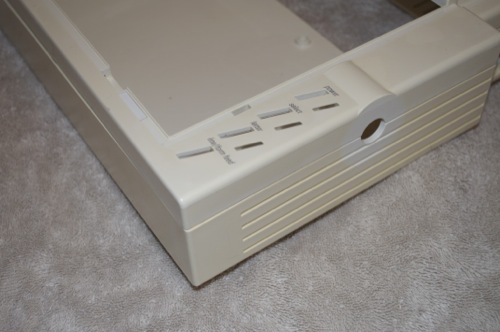
As you can see, it’s come a long way, but there’s still some discoloration. The knob and keys seem to be immune to the solution. They tend to drift underneath the covers and don’t have much direct exposure to UV. I thought it was the solution that needed to be exposed, and not necessarily the plastic. Maybe that’s not the case at all. Maybe it’s just the nature of the plastic. Maybe those parts have a different concentration of fire retardant in them. In any case, I might have to give them a separate, more concentrated treatment.
Back in the solution it goes. I’ll check on it in the morning.
DAY 4More progress has been made. It’s almost white. This restoration has been slow-going; mainly due to the extent of the discoloration combined with the total lack of sunlight outside. It’s freezing out! If I had done this on a bright and sunny day in July, I gather the restoration would have been completed in half the time. Not to mention I would have used half the supplies. I’ve used almost 2 gallons of peroxide and a 1.3 lb tub of Oxy!
There’s only a small hint of discoloration now. You can still make out where the knob protected the plastic underneath, but overall it’s orders-of-magnitude better than it was.
Before:
After:
Before:

After:
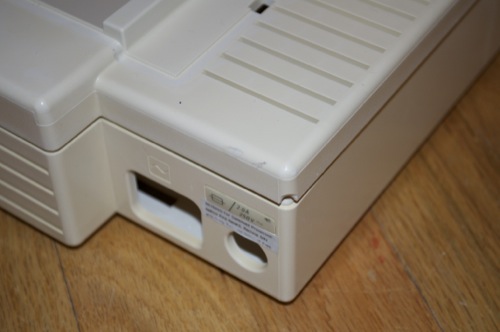
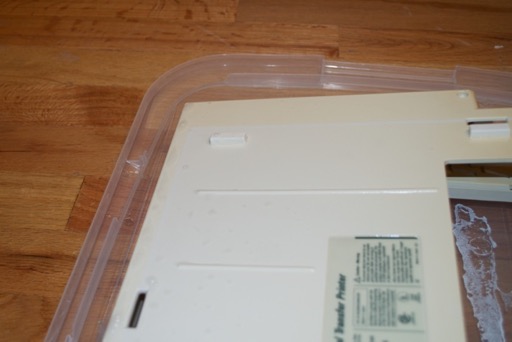
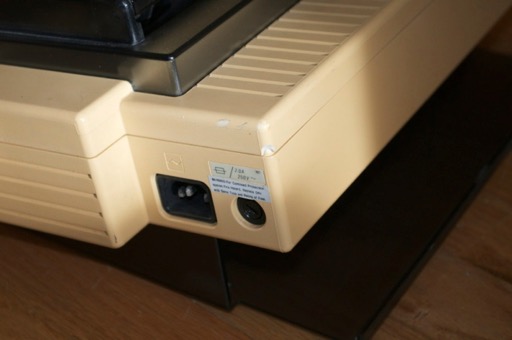
One disadvantage of having parts soak for days on end is the increased chance of labels soaking off, as did the label by the fuse. I’ll have to reaffix that with some adhesive.
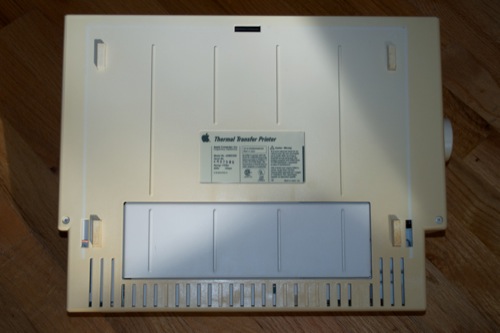
Looking at the bottom case, you can barely make out the slight yellowing on the top right. Maybe it’s just the pictures, but it’s hard to see any at all on these shots.
I’m really impressed with how clean the rubber feet turned out. They’re snow white.
Before:
After:
Before:
After:
Before:
After:
Despite my best efforts to protect the Apple badge by reapplying the mask daily, the retr0brite has managed to leech under the tape and has slowly eaten away at the red and orange paint. I’ve tried several times to remove the badge. I was hoping that the glue holding it in would have weakened after days of soaking, but it’s glued in for good.
I don’t know how I’m going to fix that. It’s hard to think that I’d be able to repaint it and make it look convincing. Needless to say, I’ve covered it with a much stronger tape.
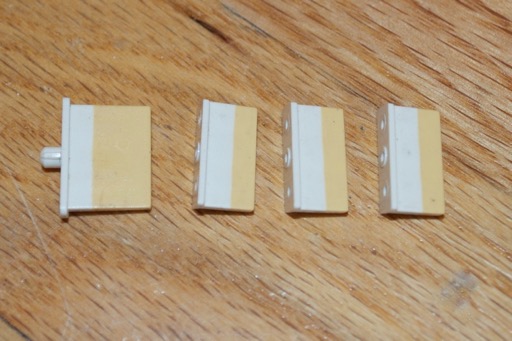
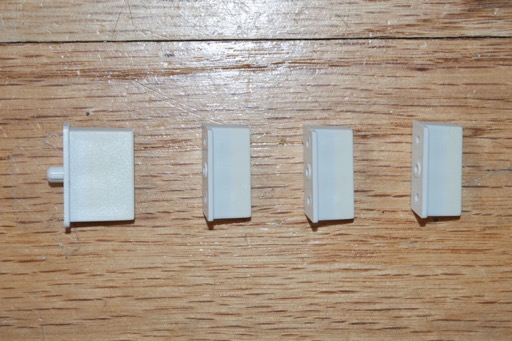
Progress has also been made on the knob and keys. I’ve had them soaking for the past 24 hours in a smaller bucket of their own. Although an improvement can be seen, they still have a long way to go.
Before:
After:

Before:
After:
 DAY 5
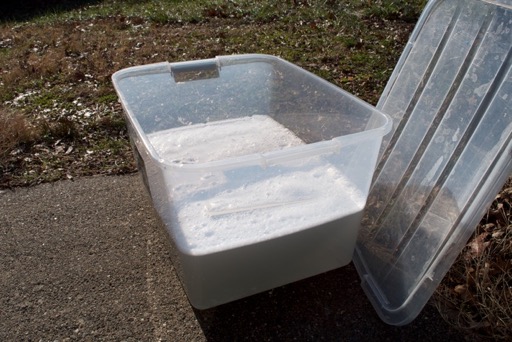
DAY 5I gave it another 5 or 6 hours outside. It’s pretty cold today, and not much sun at all. In fact, it looks like it might even rain. Needless to say, there doesn’t seem to be much of a change in the plastic at all.
I took the covers out and let them dry. They look pretty good. Even though there’s the slightest hint of discoloration, I’m not sure if another treatment would be wise. I might run the risk of bleaching the plastic. I have work tomorrow, so I won’t be around to babysit it. I did leave the knob and keys to soak overnight in a weak solution as they’re still pretty yellow. I don’t think I’ll run the risk of bleaching them any time soon.
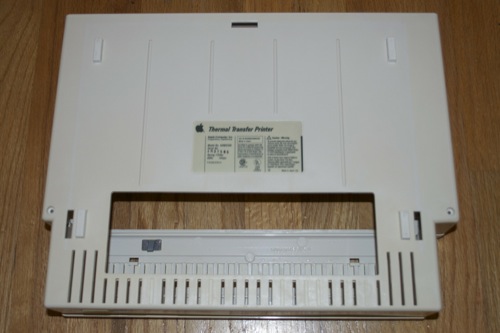
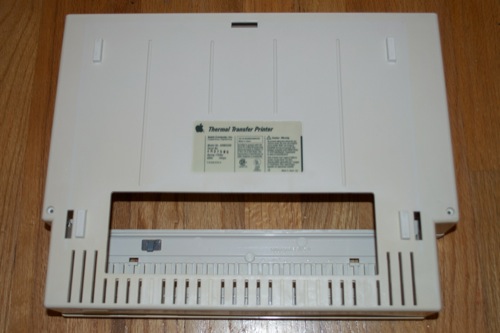
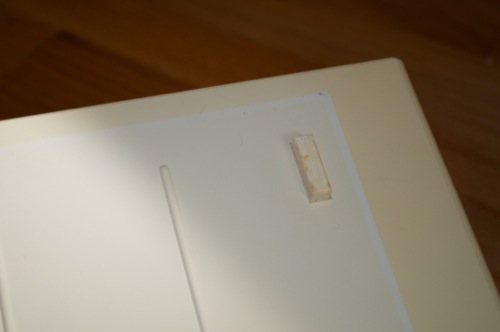
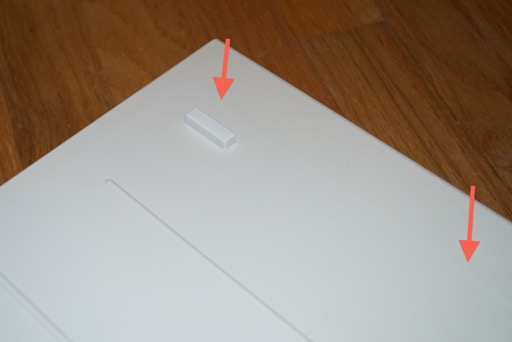
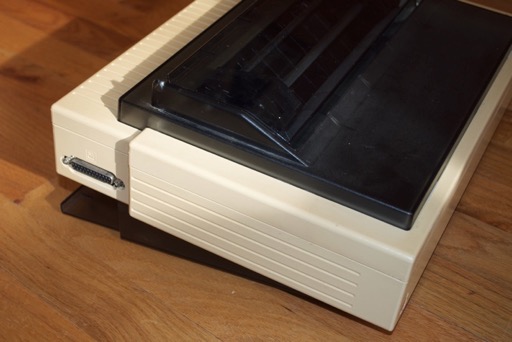
If you remember, the bottom paper tray protected an area of the bottom cover from discoloration. That is the true color of the plastic, and my target.
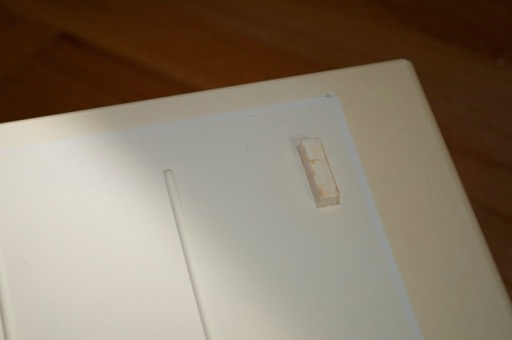
If you look at it now, you can barely make that line out. It was only slightly visible on the raw image. I marked it with red arrows, but once I shrunk the image down, you can’t even make it out.
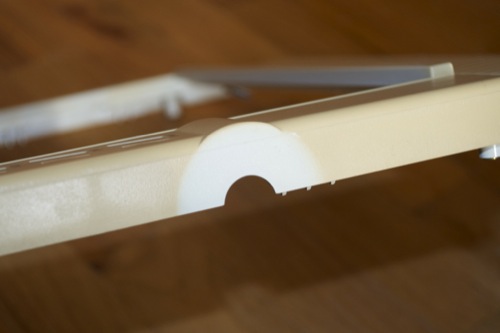
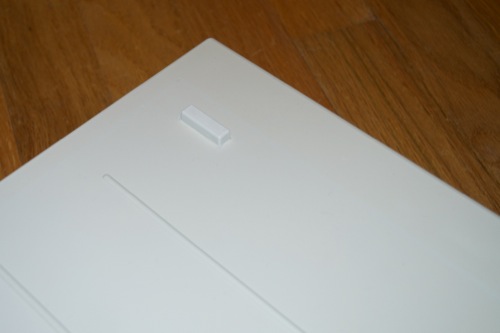
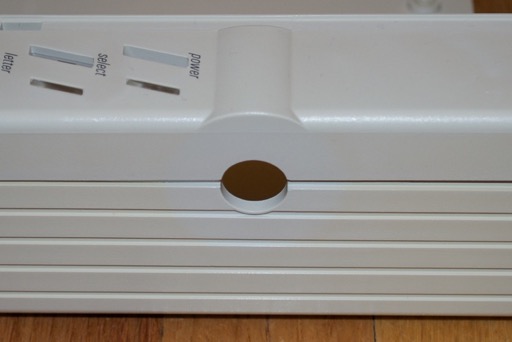
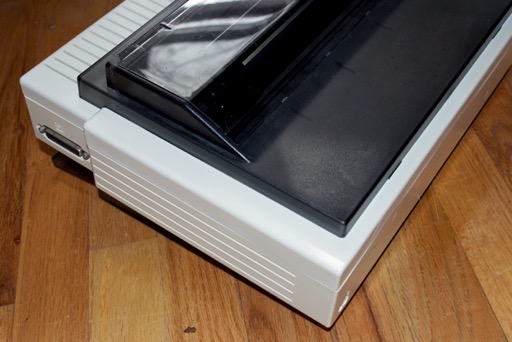
The side where the knob was has shown significant improvement. Here’s what it looked like 2 days ago:

The discoloration now is so slight, that it’s barely noticeable.
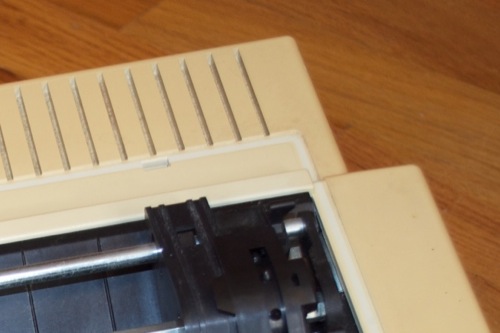
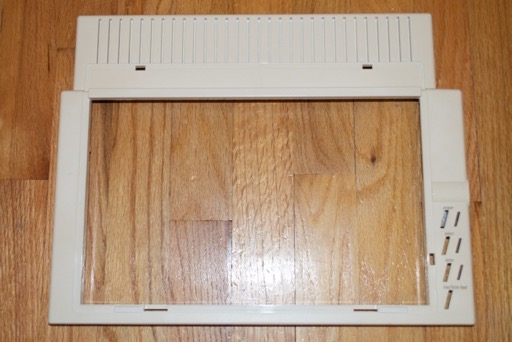
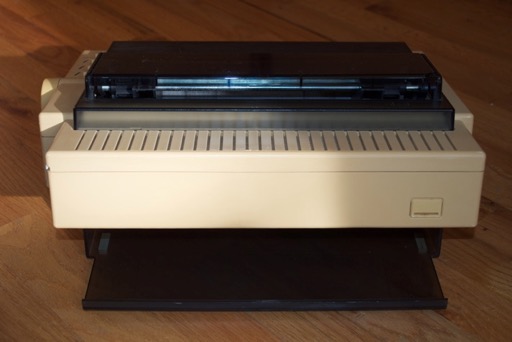
Looking at the top, you can see the target color from the area protected by the acrylic cover.

Now, there’s barely any discoloration at all.
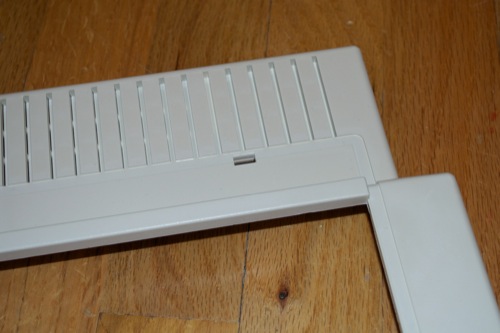
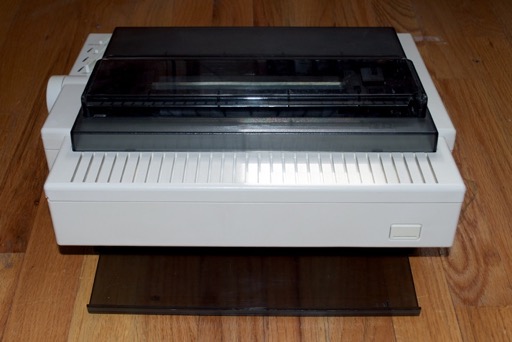
Here’s another angle...
... and how it’s improved.
Once the knob and the keys are complete, I can put the whole thing back together and take some final shots.
DAY 6Before I was weary about using something too sharp to remove the Apple badge. At this point, it’s ruined so I don’t care if I punch right through it. It has to come off because once the printer is reassembled I’m not going to want to take it apart again to swap it out.
I pushed as hard as I could with a small flathead screwdriver and it popped out. It has a pretty descent amount of adhesive on the back so it’s no wonder it gave so much trouble.
With that out of the way, I can start to reassemble the printer.
Some parts were trickier than other putting back in. I strongly recommend when you’re taking it apart that you make a sketch of the printer and tape the screws to it so you remember where they all go. Take lots of picture too for reference. Some things have to go over and under each other just right or things don’t line up.
I have to wait to put the top back one since the buttons still have a little more discoloration than I’d like. I’m going to give them another treatment before I wrap things up.
Again, pretty sunny today, but also pretty cold. I just can’t seem to get thee guys white.
 DAY 7
DAY 7Apparently the knob and switches are just immune to the Oxy. Yesterday’s session showed zero improvement. Today I’m going to put them in a really strong solution and cook ‘em.
Wow, that got bubbly pretty fast! It’s strong alright. Just to show you, I threw in the keys from my Macintosh Portable for a couple of hours. Check out the difference in the spacebar.
Before:
After:
As you can see, the Macintosh Portable spacebar shows a huge improvement after being in the solution for just a few hours. However, the Scribe parts are still slightly yellowed.
It wasn’t until I looked back at the “before” pictures that I realized I’m just being picky. Compared to what I started with, the yellowing is barely noticeable.
Before:
After:
 DAY 8 - Reassembly
I put the buttons back into the top assembly and screwed it all back together.
OK, it doesn’t look bad at all.
I then reattached the ground connections, ribbon cable, screwed the cover back on, and attached the lid. Good to go.

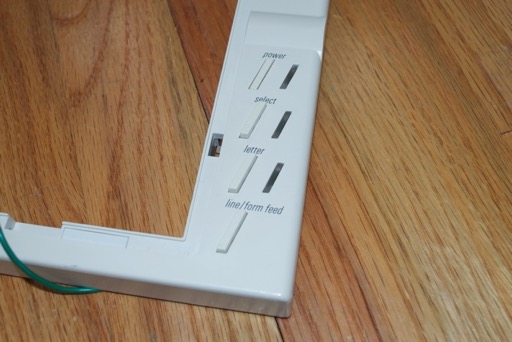
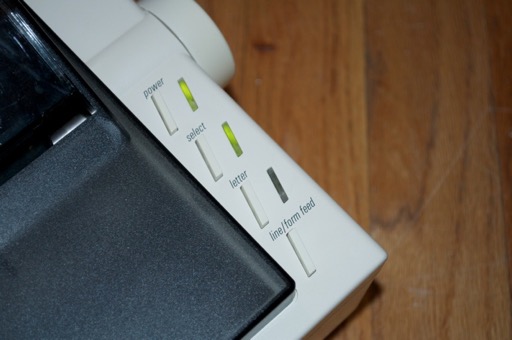
I plugged it in to check that it still “works”. There’s no way to know for sure until I actually connect it to my //c and try and print. For now I’m just testing that it’s not dead.
We have lights!
Looks like the restoration is complete, sans the damaged Apple badge. I’ll have to keep my eye out for a new one to replace it. All in all, I think the printer came out amazing. Not bad for 99 cents! Not bad at all.
Here’s some before and after shots just to recap:
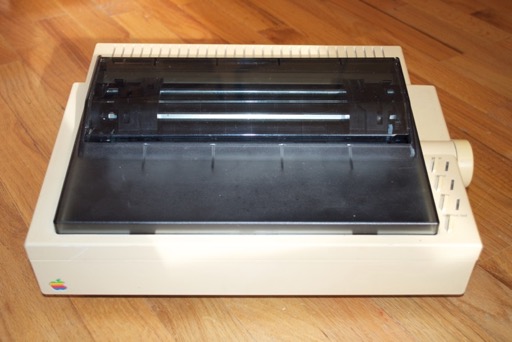
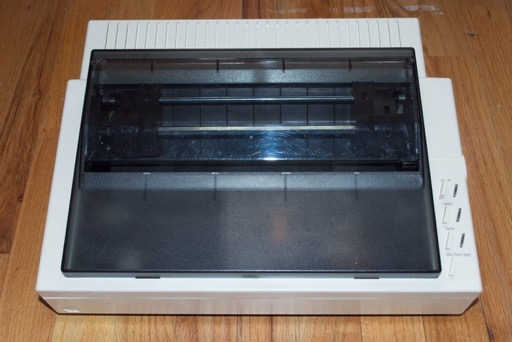


All in all, I think the printer came out amazing. Not bad for .99 cents! Not bad at all.