I picked up my
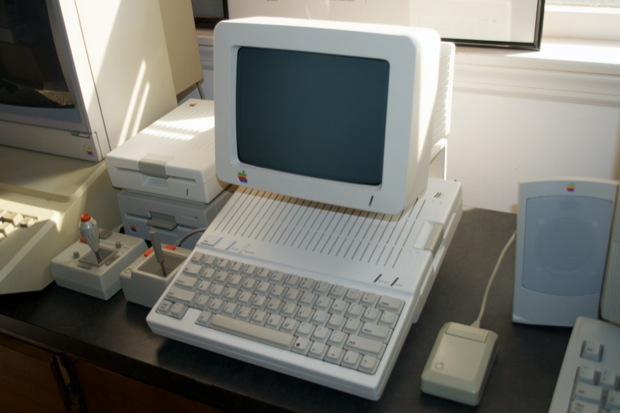
Apple //c in January. I was going to restore it right away, but I didn’t have the time to spare. Shortly thereafter, I picked up an
Apple Scribe Printer to match. I was going to wait until the summer to restore everything, but I figured I’d just go for it. I started with the printer. Unfortunately, it took forever to
restore, and I used way more chemicals than I should have. I attributed it to the cold temperature outside, and the complete lack of sun. My experience restoring the Apple Scribe Printer convinced me that I’d wait until the summer to retr0brite the //c.
Well, the summer is quickly coming to an end and I feel that I’m running out of sunny weekends to retr0brite the //c.
It’s pretty yellow. I’ll have to do the //c, the monitor and the external floppy drive all together so I can get all the colors to match.

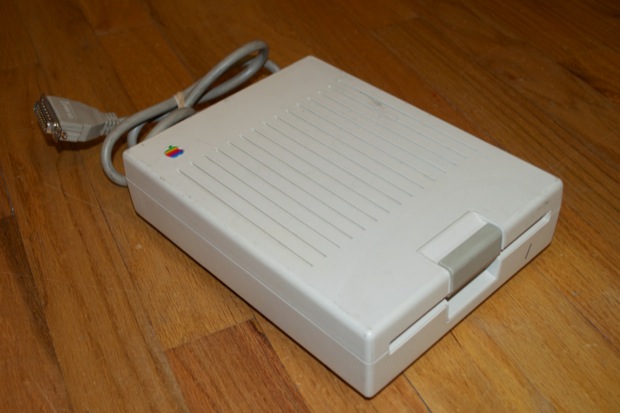
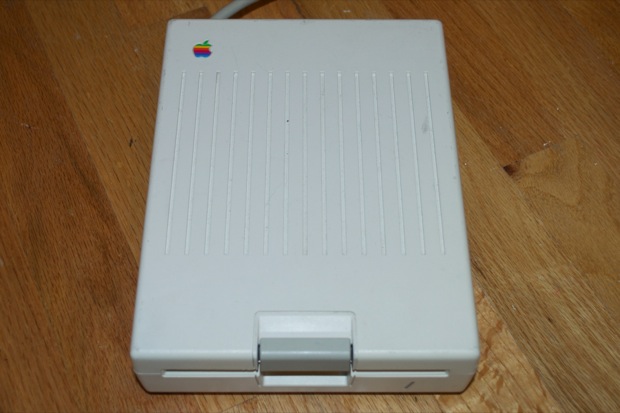
The external drive isn’t terrible, but it could use a quick dip just to brighten it up a bit. It’s a little dirty too, so the Oxy will help clean it up.
OK, let’s get to it. The tear-down:
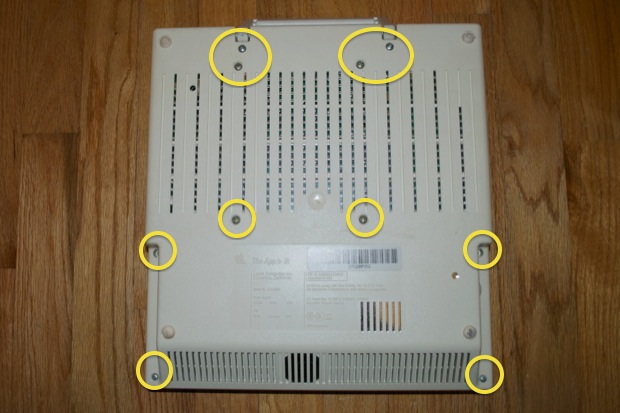
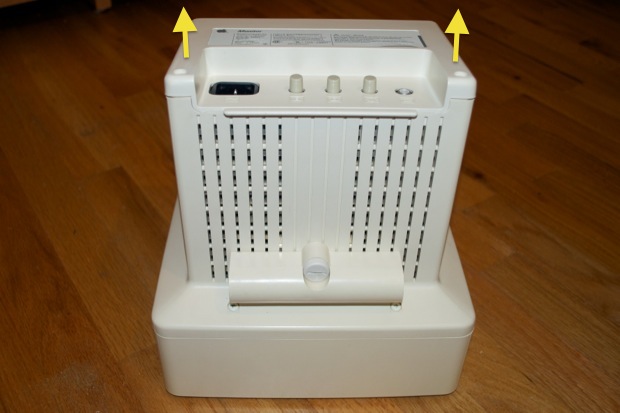
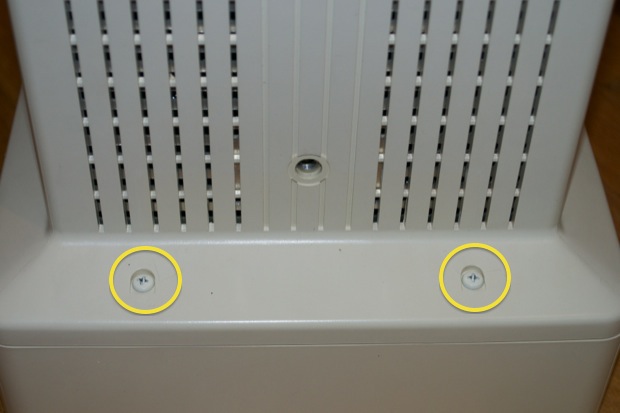
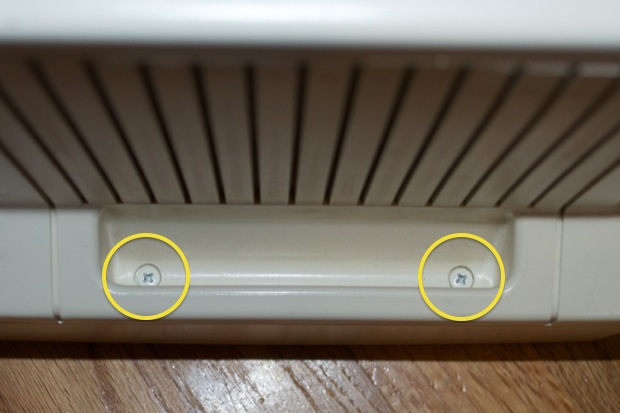
There are several screws on the back of the //c that have to be removed in order to get the top cover off. The 4 in the center secure the floppy drive. Remove all 10 screws.
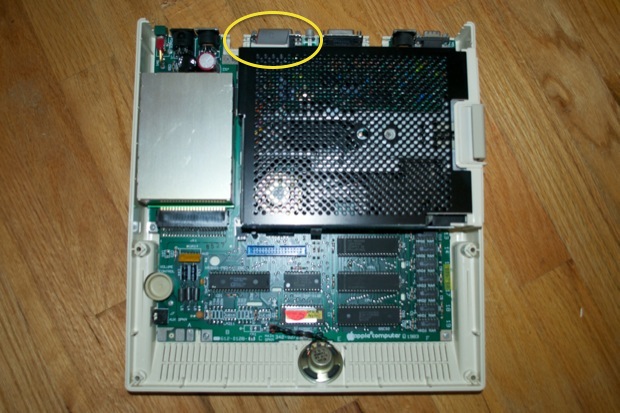
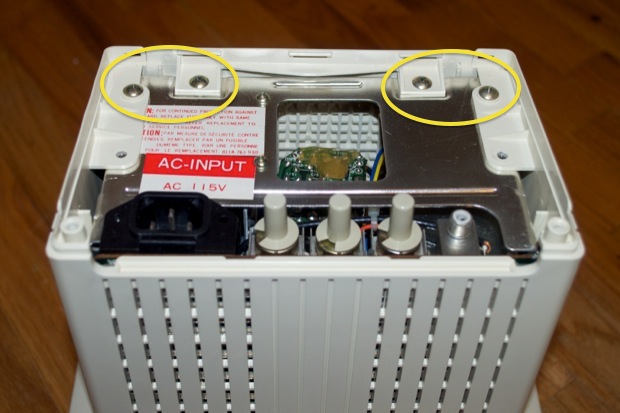
Once the top cover is off, disconnect the floppy drive ribbon cable and lift the whole drive assembly right out.
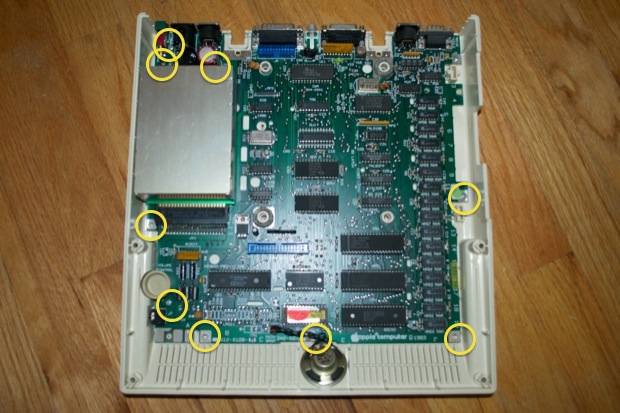
Once the drive is out, remove the 9 screws that secure the logicboard. The logicboard will then lift right out.
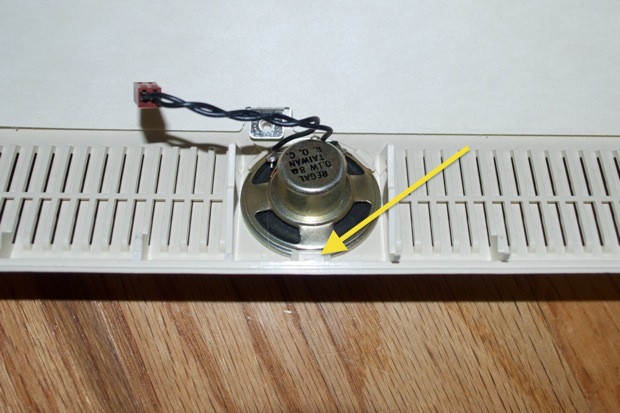
Remove the speaker by popping it out from under the 3 tabs that secure it. I used a flat head screwdriver.
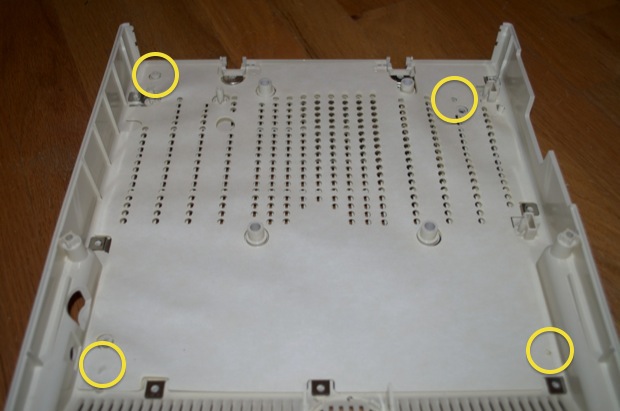
Once you take the logicboard out, you’ll notice that the bottom of the enclosure is lined with a metal shield. The shield is also covered with a tyvex-like sheet of material. There are 4 little plastic posts that have been melted at the tips to secure the shield and sheet.
If you give it a little wiggle and a pull…
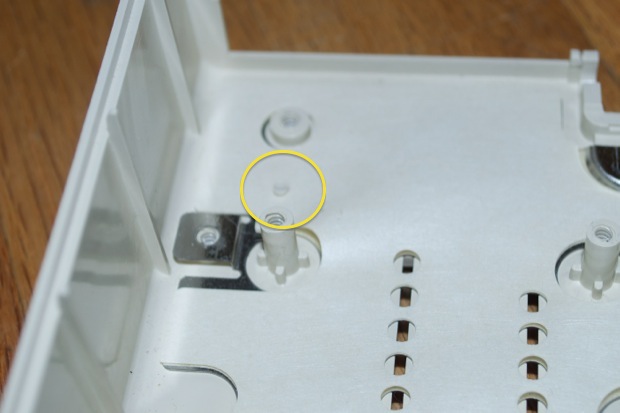
…you can easily pry the sheet up and over the melted posts to remove it.

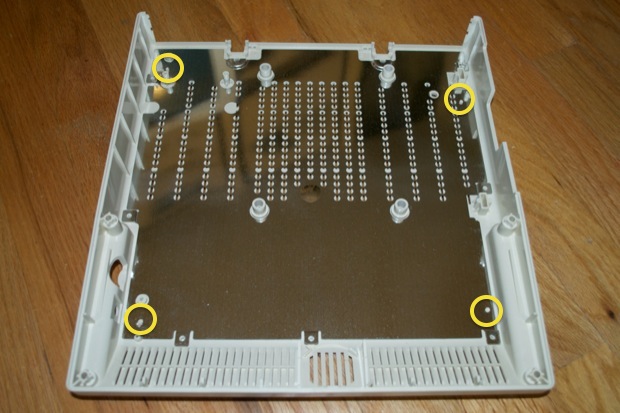
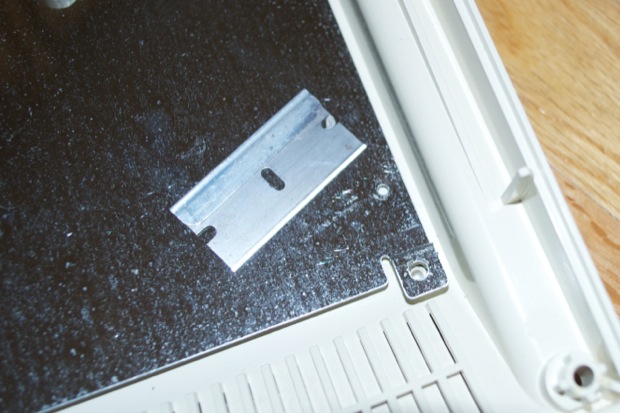
Once the sheet is removed, you can remove the shield. However, it won’t come out as easily as the sheet that covered it did. (Not without bending it or slicing a finger.)
Take a blade and lay it flat, then slide it across the post to slice the top off.
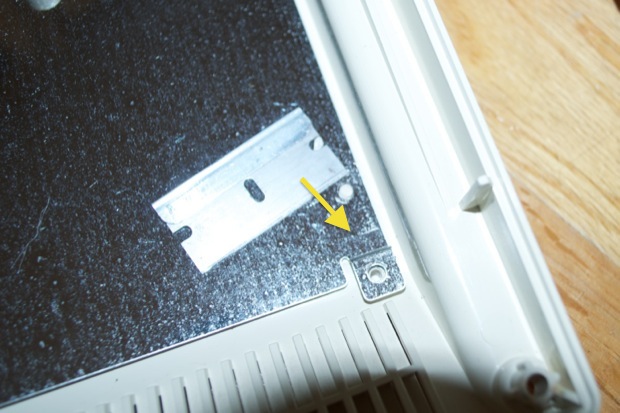
Now that the post is flush with the shield’s surface, the shield will lift right off.
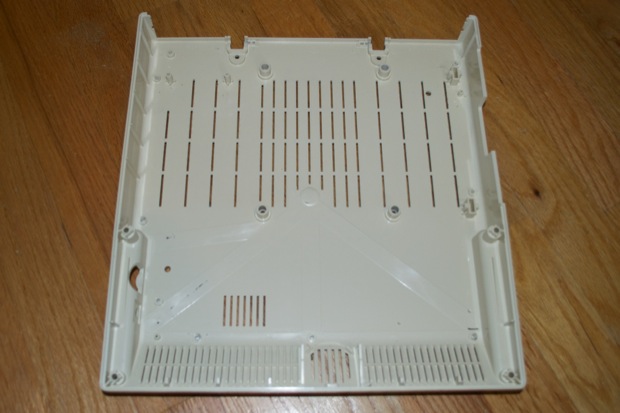
And there it is. One Apple //c enclosure liberated and ready for the retr0brite.
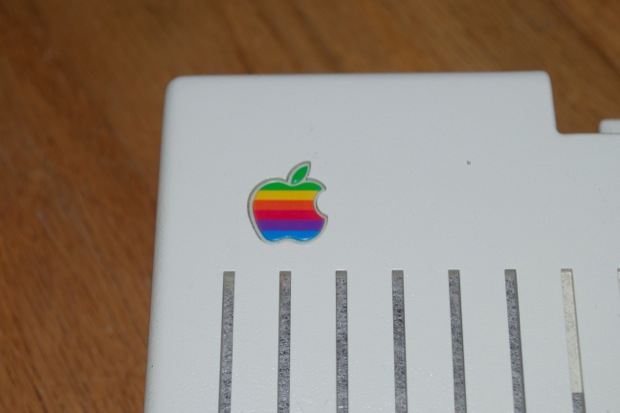
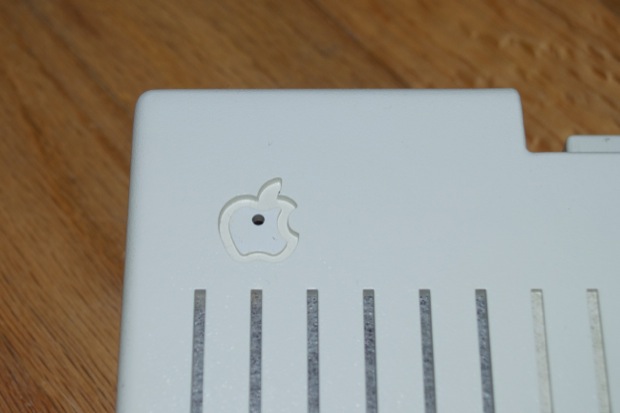
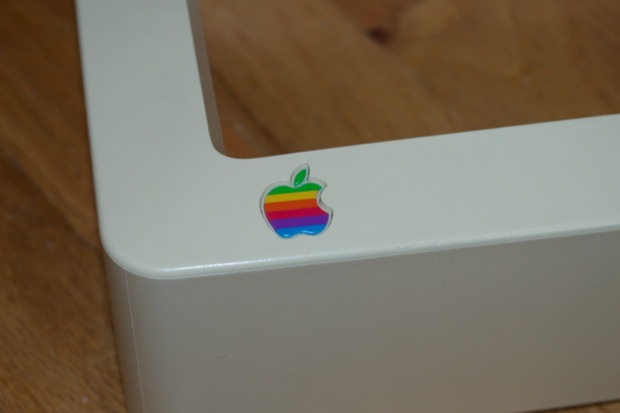
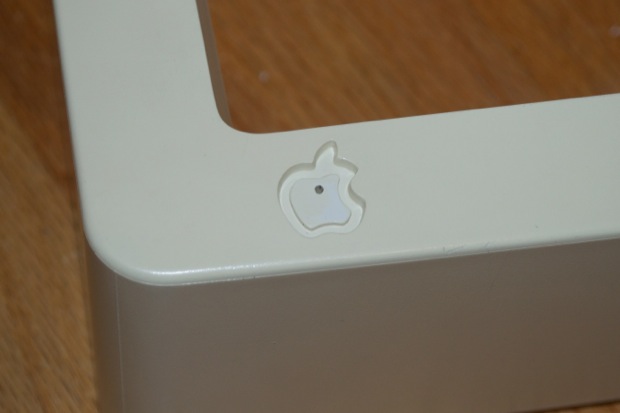
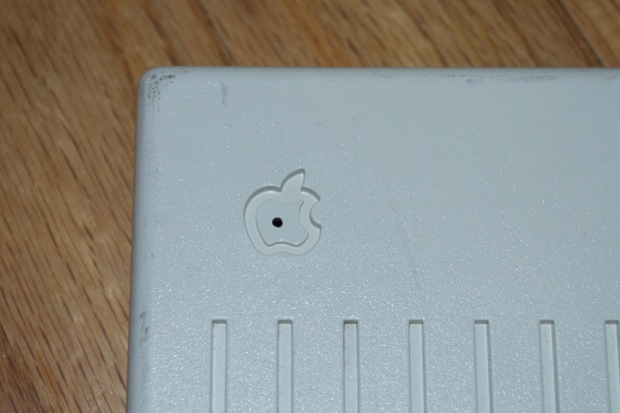
Back to the top…don’t forget to save the Apple logo!
Experience proves that these things don’t survive extended dips.
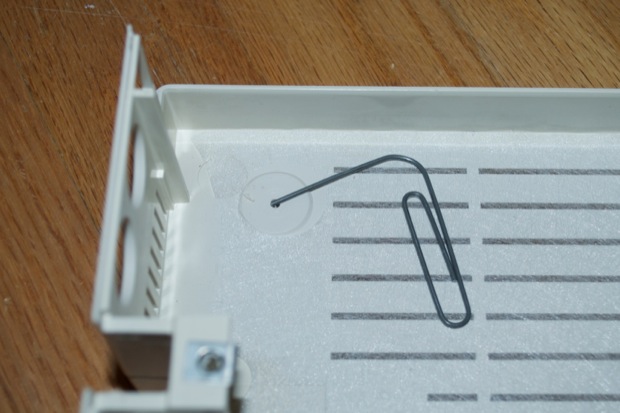
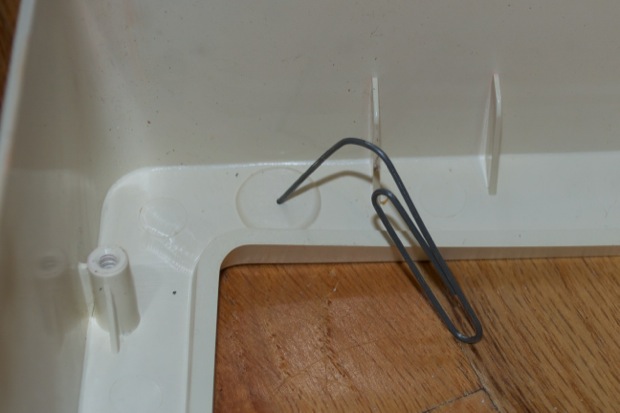
Push a paperclip through the hole in the back and pop it out.
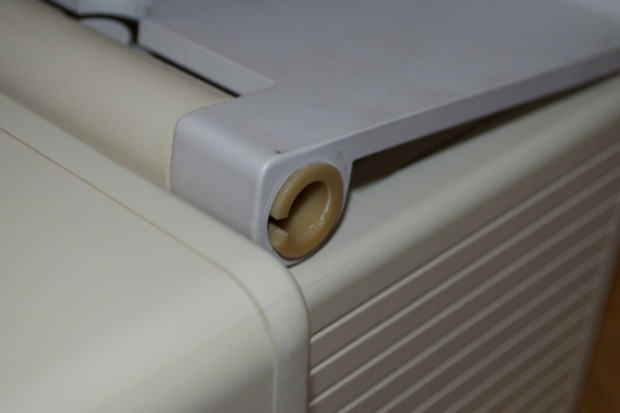
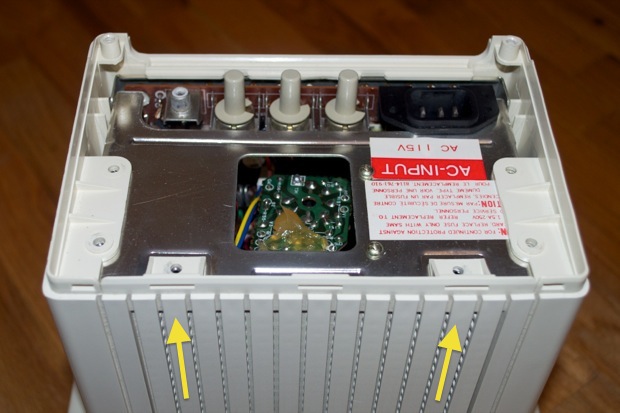
That should be it for the Apple //c enclosure. Now for the monitor. First, flip the monitor over and unscrew these two “nuts”.
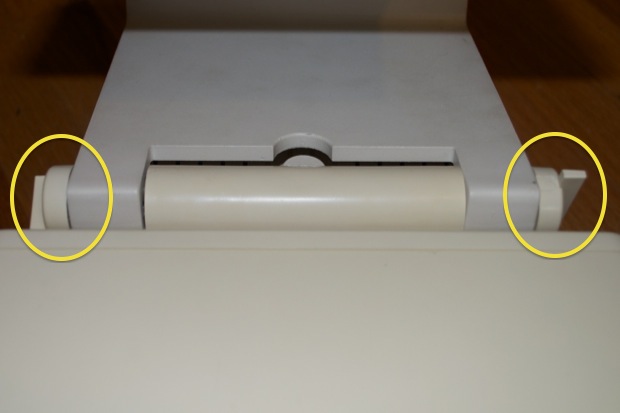
Once they’re loose, pull them out.
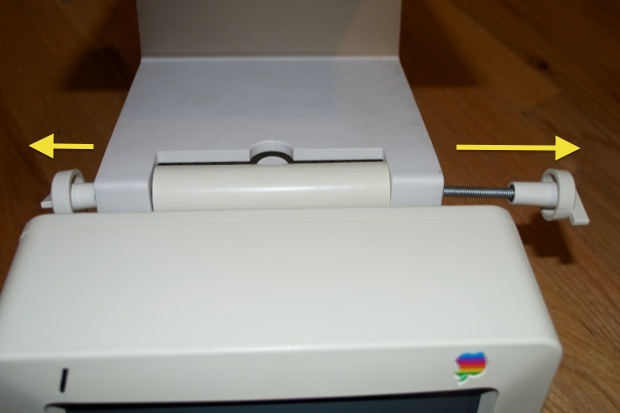
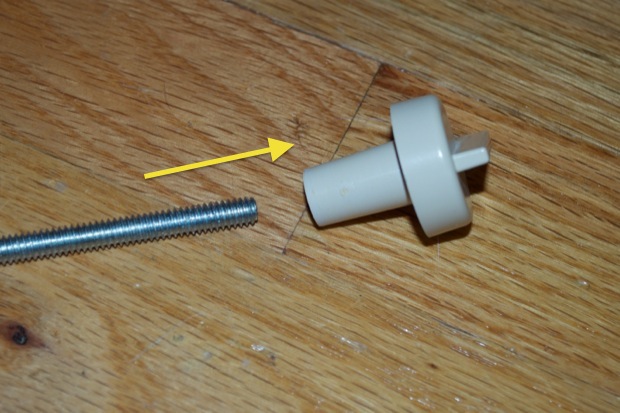
As there’s some yellowing on the nuts too, I’ll need to dip it along with everything else. It can be unscrewed from the rod.
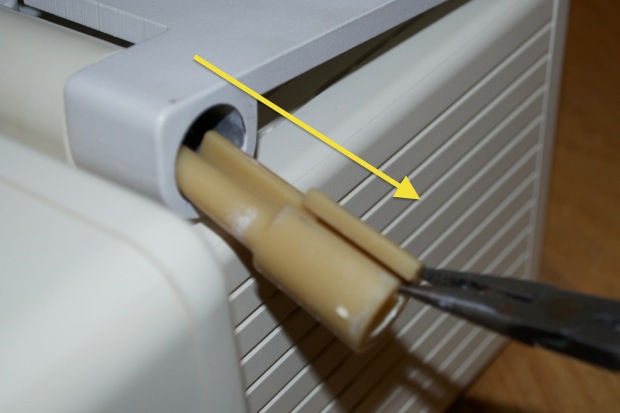
Once the rod has been removed, the two inserts have to be removed in order to separate the monitor from the metal stand.
Reach in with a pair of pliers and pull them straight out.
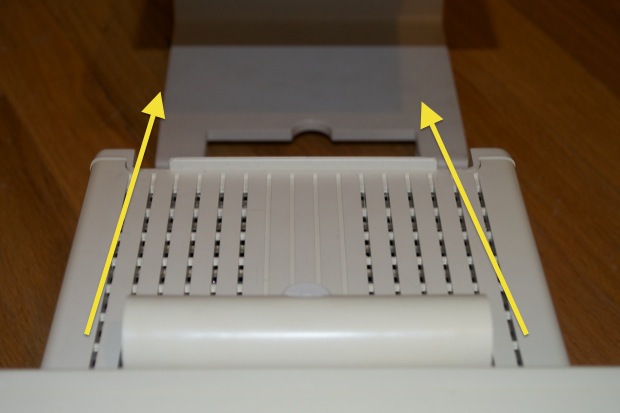
Now there’s nothing connecting the metal base to the monitor. Just slide it right off.
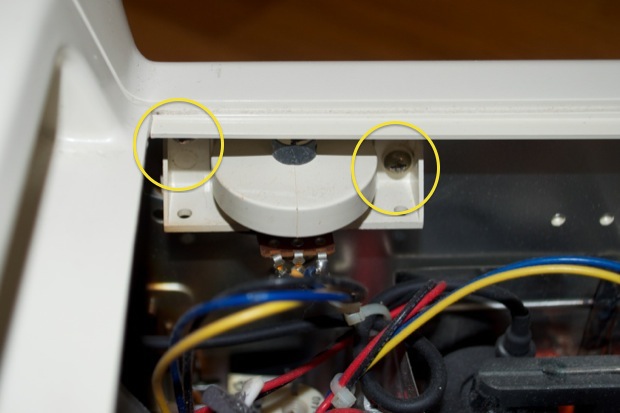
Flip the monitor over and remove the 2 screws that secure the back cover.
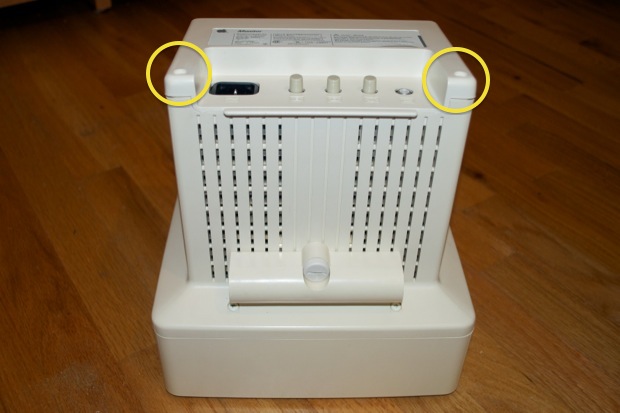
Then lift it right off.
Remove the mounting bracket by loosening this screw.

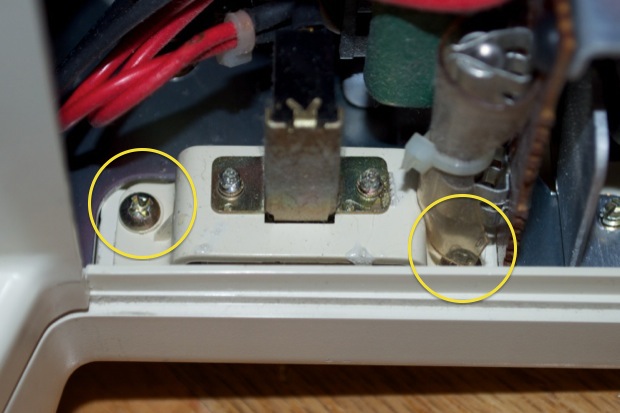
Once the bracket has been removed, you can get to these 2 screws.
On the other side, remove the 2 screws at the base of the handle.
Remove these 4 screws:
Turn the monitor around and slide the top cover up and out.
At this point it appears that there’s nothing securing the enclosure to the chassis. You’d be tempted to try and slide the cover off, but the brightness knob and power switches are in the way.

Remember, the CRT has not been discharged yet, so exercise caution reaching in there with a screw driver. Remove the 2 screws that secure the brightness knob….
…and the power switch.
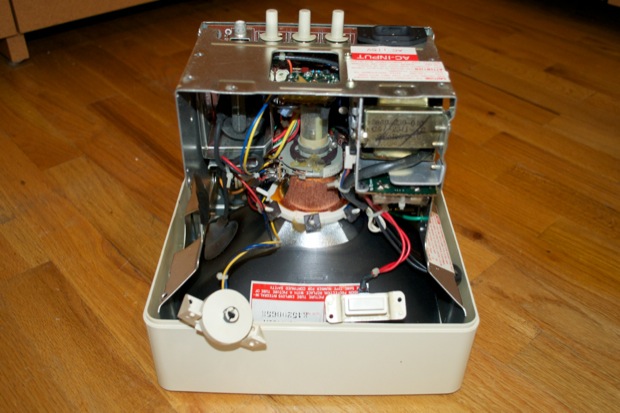
Now the enclosure will slide off the chassis, with a little wiggle.

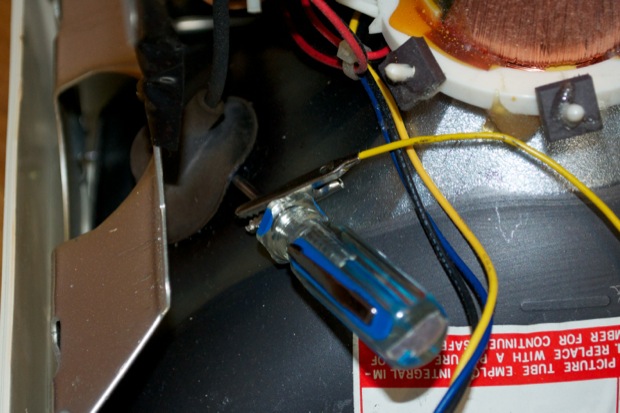
Next up is discharging the CRT.
Attached one end of your test lead to ground...

…and the other to your screwdriver. Reach in under the yoke and make contact with the clips.
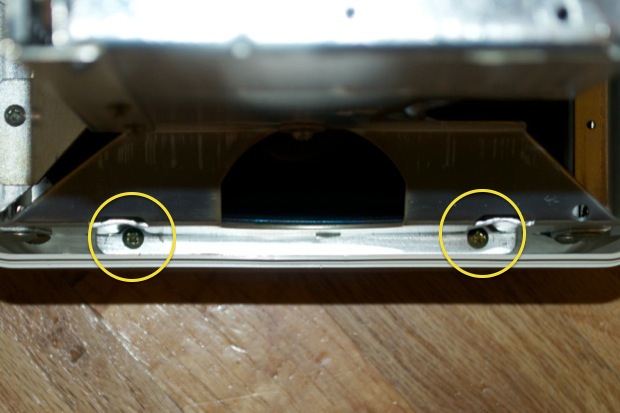
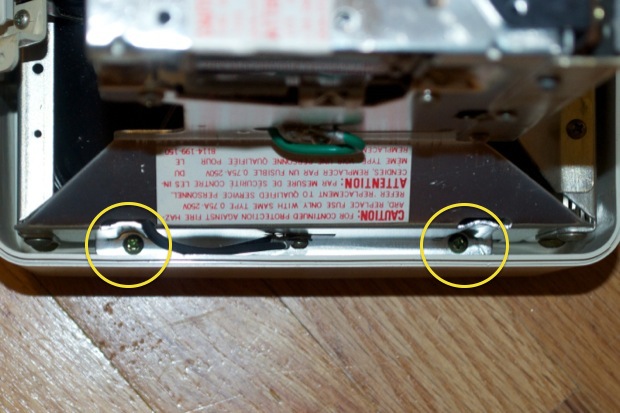
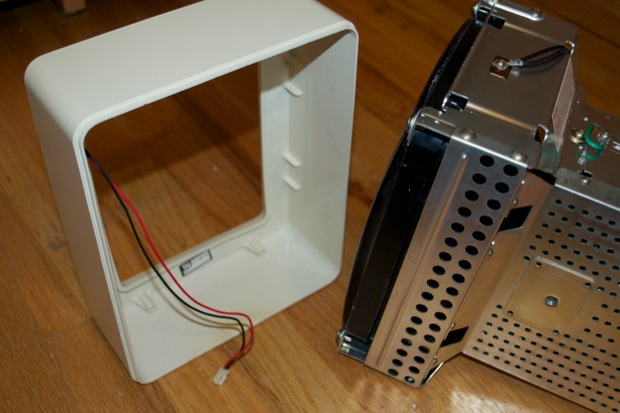
Now to remove the front cover from the chassis. Remove the 2 screws from both sides.
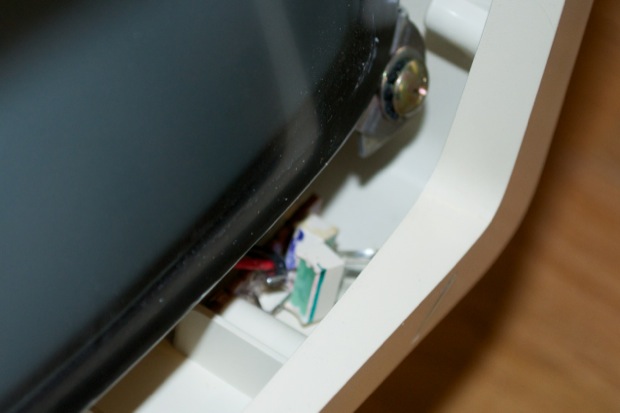
Don’t pull the front cover off right away. If you inch the front cover away from the CRT, you’ll notice that the LED on the front panel is still connected to the logicboard via 2 wires. If you were hastily and yanked the front cover off forgetting it was there, you’d tear the wires right off the LED.
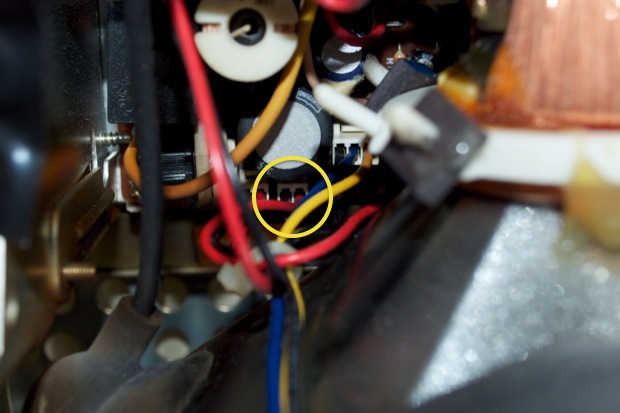
Flip the monitor around and have a look deep down behind the yoke. You’ll see a connector marked on the logicboard as “LED”.
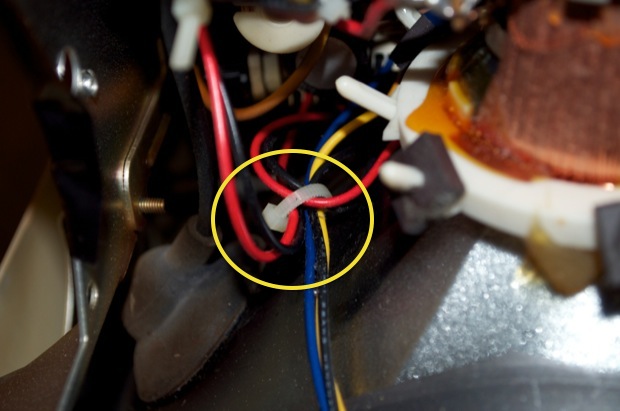
Clip the cable tie that’s holding it together with the other wires.
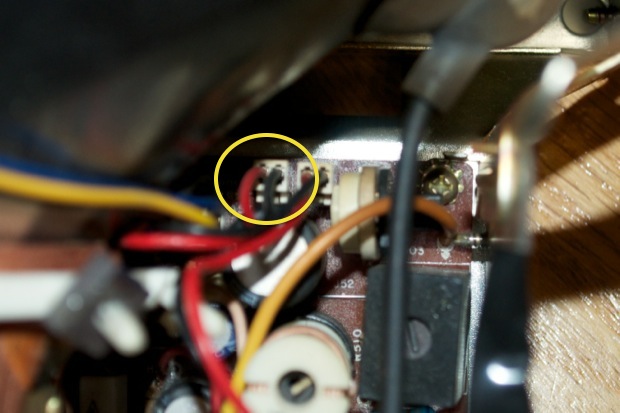
Reach in with a screwdriver and push the tab that’s locking it down.
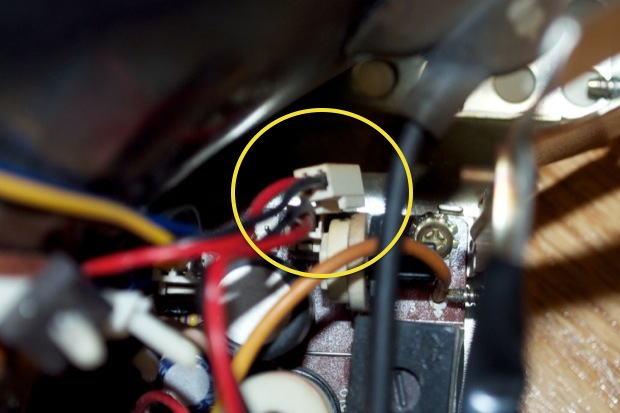
Pull the connector out.
Now gently remove the front cover while snaking the LED cable under the CRT and through the front.

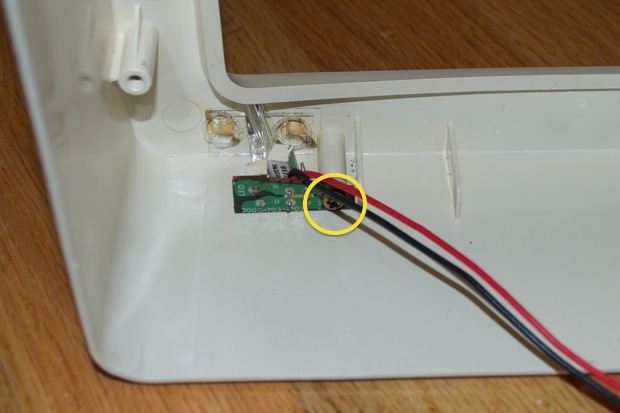
Remove the screw that secures the LED board to the front cover.
Save the logo!
Again, with a paperclip.
That’s it for the monitor. Let’s move onto the last piece: the external drive.
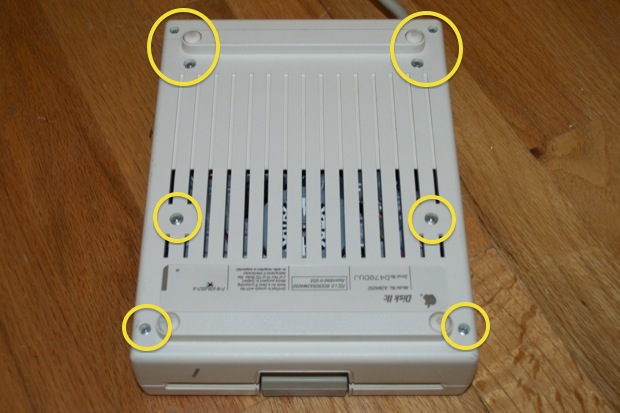
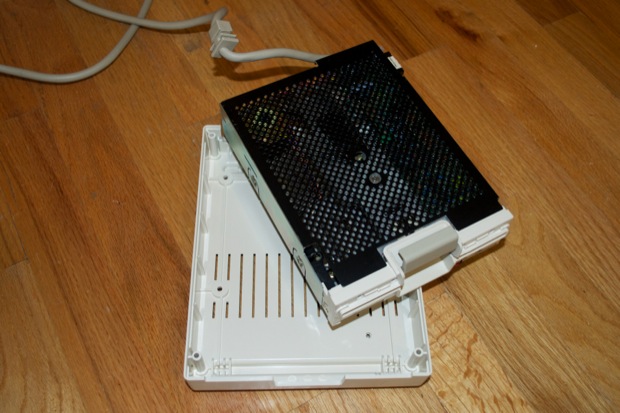
Flip the drive over and remove the 8 screws that hold it all together.
Once the top cover is off, there’s nothing holding the drive in other than the cable strain relief.
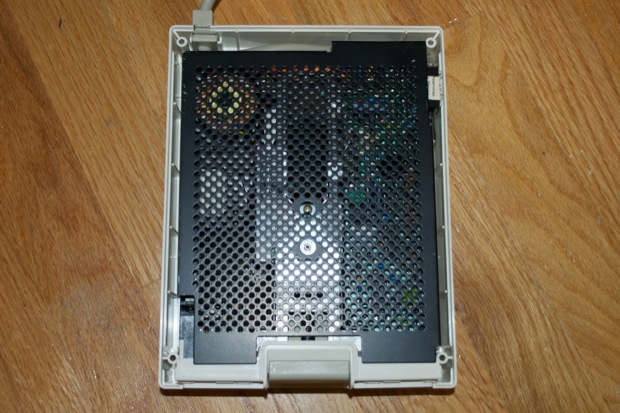
Pull out the cable strain relief….
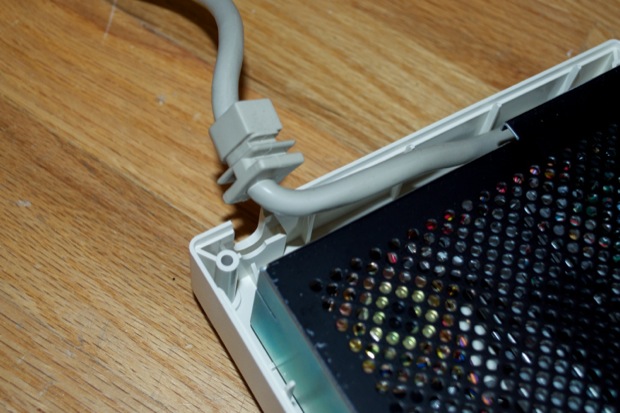
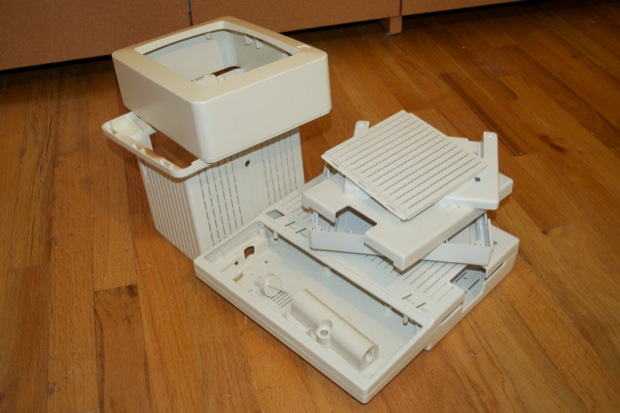
…and lift the entire drive assembly out of the enclosure.
By now, I don’t think I have to tell you about the logo.
And that’s it. All the plastics are ready for dipping.
I dumped all the parts in a large bucket filled with water, peroxide and Oxy.
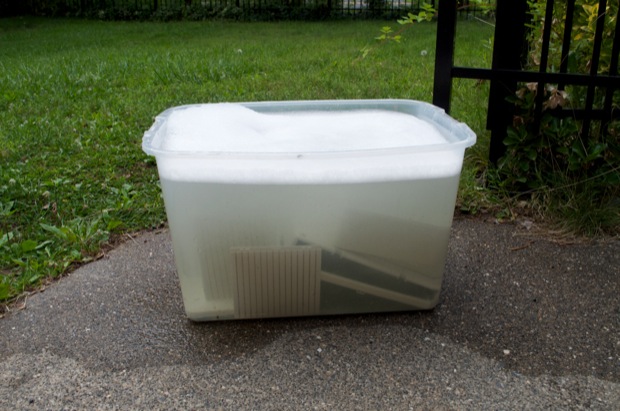
After a few hours, I pulled the parts out. I rinsed them off and laid them out to dry. The reassembly was very easy. I think the results are great. It’s like new.
Before:
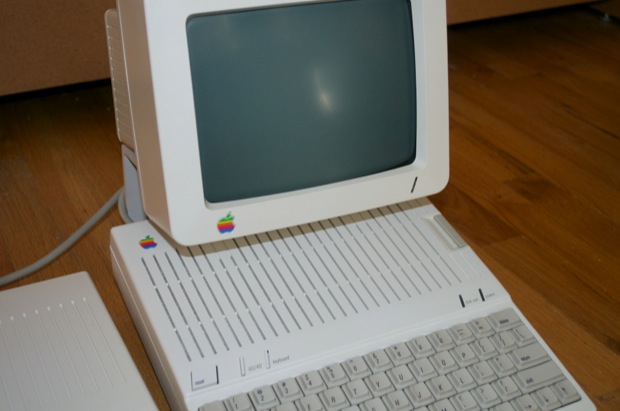
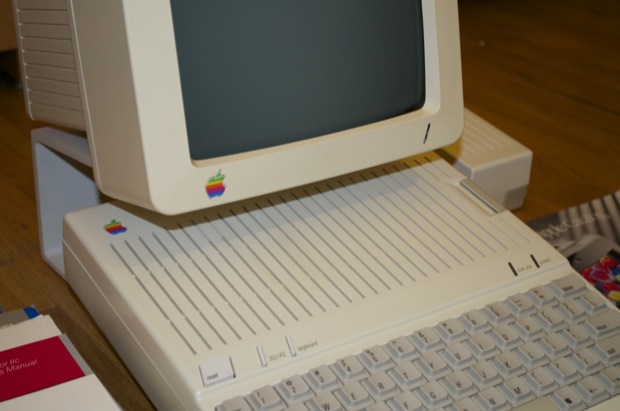 After:
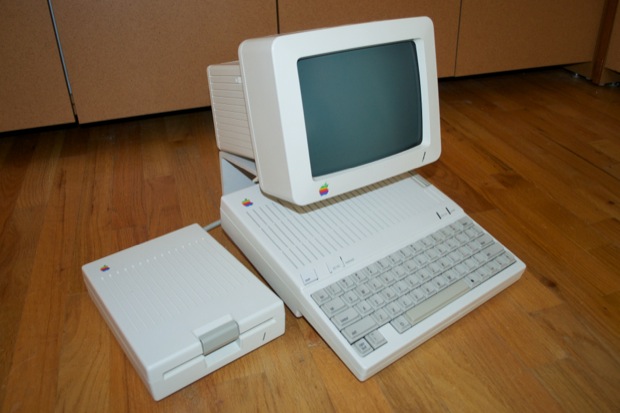
I seemed to have forgotten to do the spacebar. I was thinking that the keyboard was OK, but after seeing it fully assembled it’s pretty clear that the spacebar needs a dip. I’ll have to revisit that another day. In the meantime, it looks great back on the credenza.