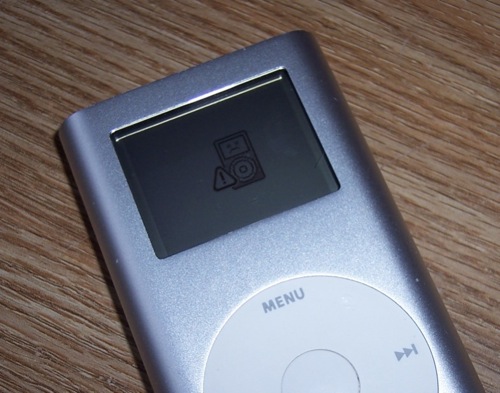
eBay was good to me yet again. I snagged a 4 Gig 2nd generation Mini for $40 because it displays the “needs service” icon. If you saw my previous posts for the Shuffle and the Nano, you’ll notice that I have taken to the “silver” theme.
I just got it in the mail today. Cosmetically, it looks really good. Not bad at all for an almost three year old iPod. It has a few tiny little dings on the top and bottom rims, but nothing noticeable without close inspection.
It powers up with an error. It’s most likely the hard drive.
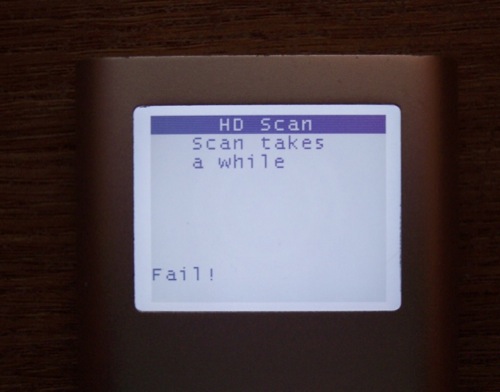
Diagnostics reveal that the hard drive is indeed toast.
What I want to do is not just replace the hard drive, but upgrade it to a higher capacity flash drive. Since the price of Compact Flash is still pretty expensive, I’d like to try and get this iPod to run off an SD card. They are way cheaper than Compact Flash, and are always on sale. I think a SD to CF adaptor should do the trick.
Now I have to shop eBay for an adaptor and flash card.
OK, let’s replace that hard drive.
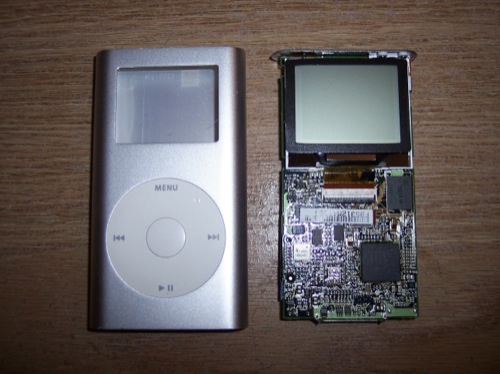
Step 1:
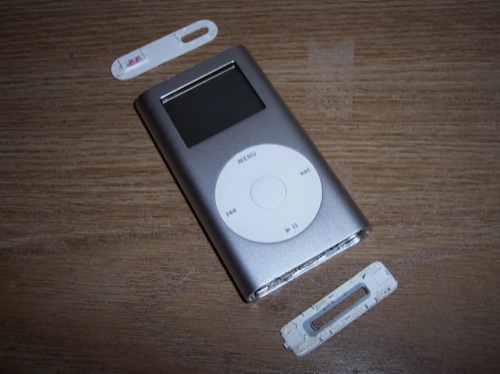
Remove the two plastic caps from the top and bottom of the iPod.
Step 2:
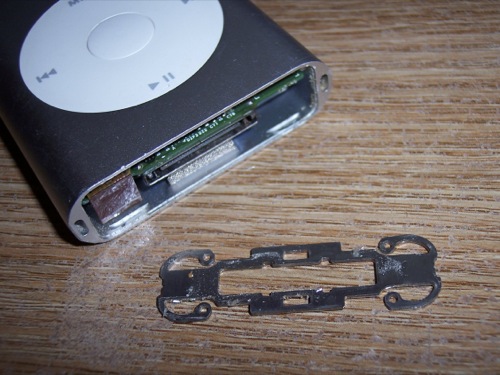
Remove the retaining bracket from the bottom.
Step 3:
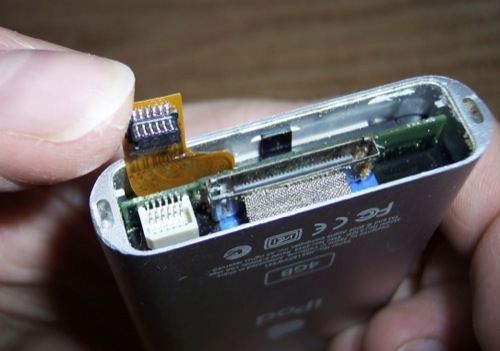
Disconnect the clickwheel from the logicboard.
Step 4:
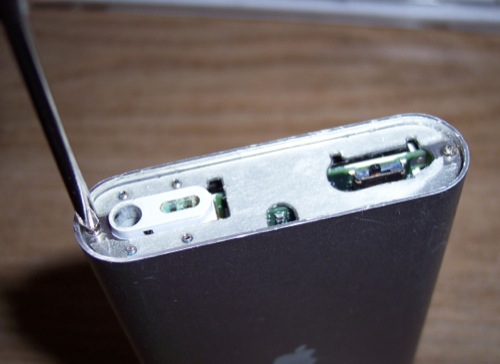
Remove the two screws from the top left and right.
Step 5:
Slide out the logicboard assembly by pushing from the bottom.
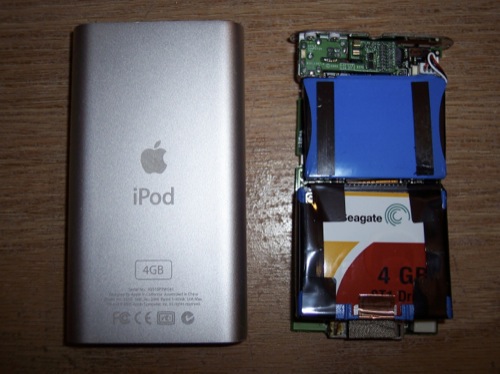
Step 6:
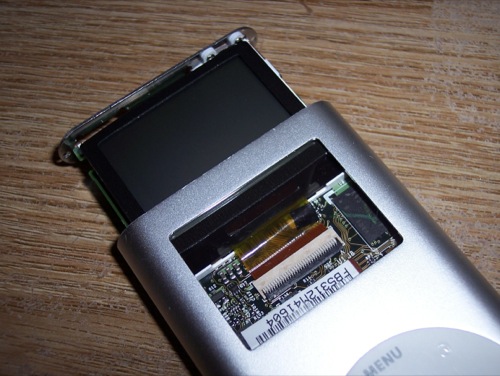
Turn over the logicboard assembly and flip up the battery to expose the hard drive connector.
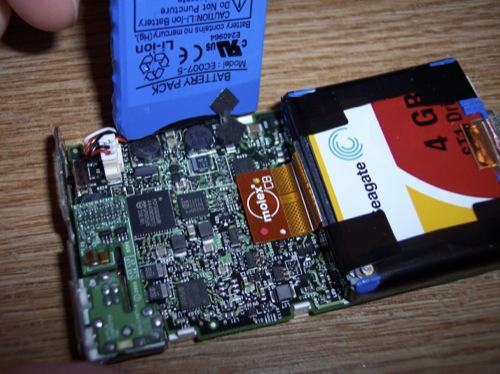
Step 7:
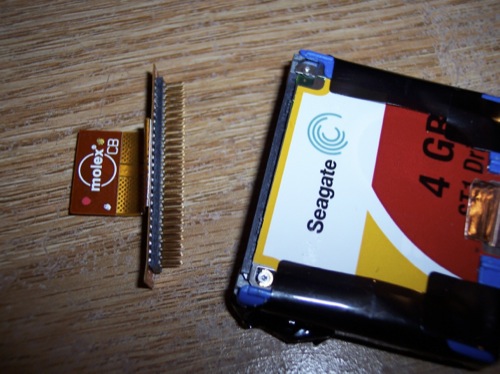
Remove the hard drive from the logicboard.
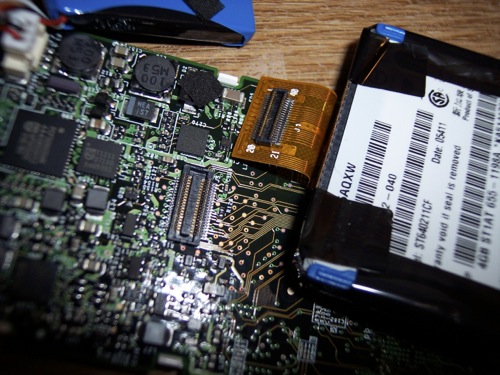
Step 8:
Pull back the black tape to expose the hard drive connector.

Step 9:
Remove the hard drive connector.
Step 10:
I picked up a SD to CF adapter. I figured an 8G SD card will be much cheaper than a Compact Flash card.
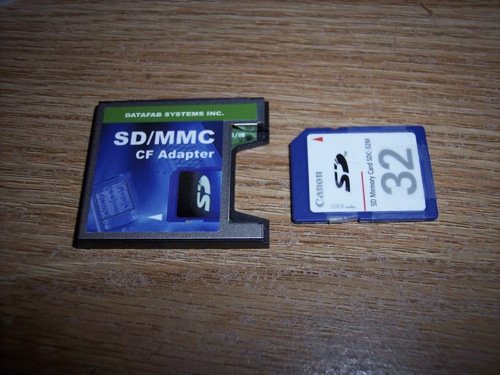
Step 11:
I tried a 32 Meg card as a test, as well as a 1 Gig . They were both unsuccessful.
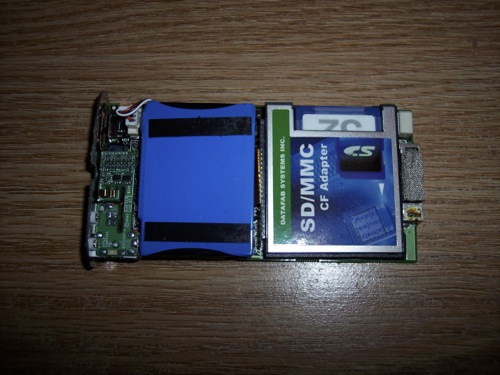
Step 12:
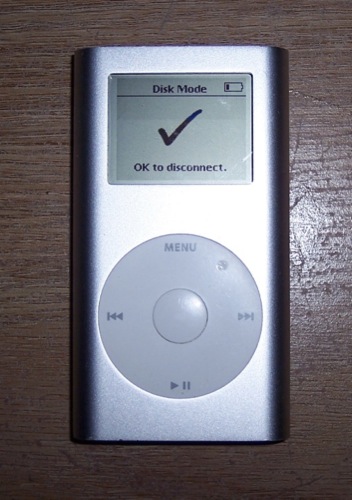
With the new card installed, I placed the iPod in disk mode and connected it to the computer.
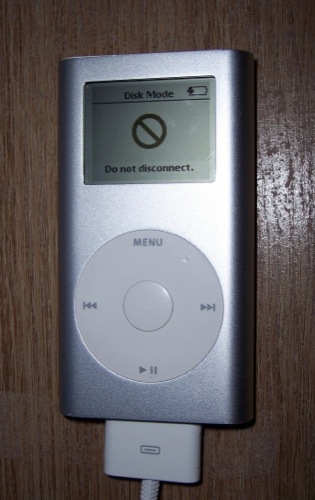
Step 13:
Once connected to the computer, the display changes to “Do not disconnect.” This is as far as it gets. The computer, as well as iTunes, does not detect the iPod.
Step 14:
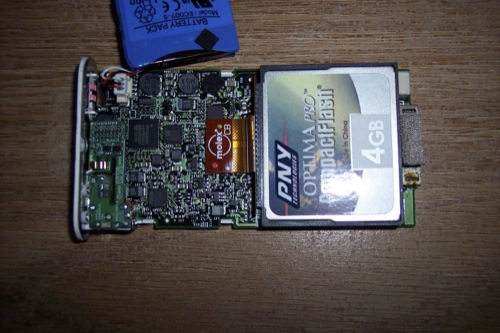
Try it with a 4 Gig Compact Flash card.
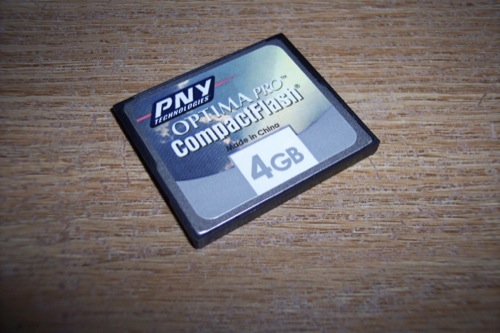
Step 15:
I took out the SD/CF adaptor and installed the Compact Flash card. Still, no luck.
Even though I can get the iPod into disk mode and it “connects” to the computer, I can’t get it to restore. iTunes does not detect the iPod. I think there is a problem with the logic board. I’ve tried everything.
Not all is lost. It was fun taking this thing apart and at least trying it out. Maybe I’ll have better luck in the future.
Meanwhile, I’m off to the store to return this flash card!