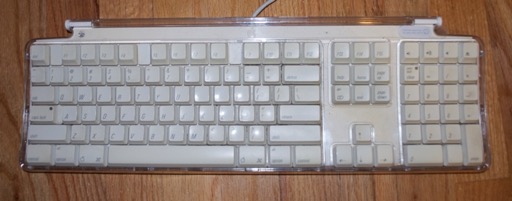
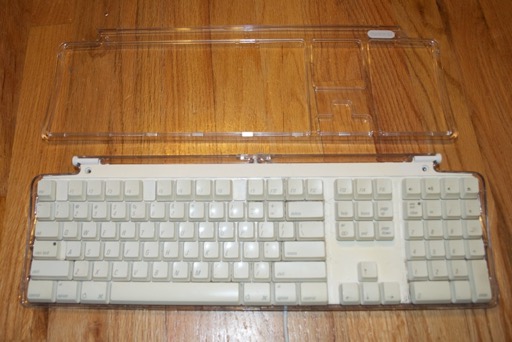
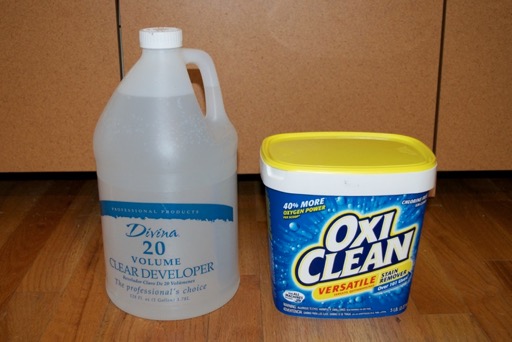
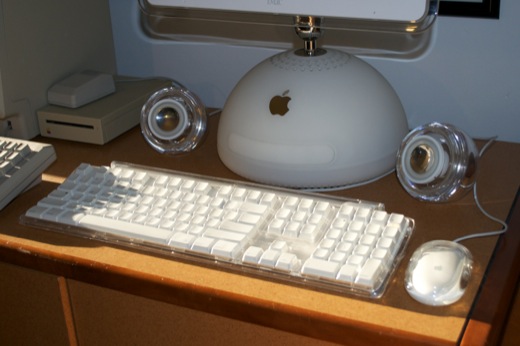
The Apple Pro Keyboard that came with my new 2002 iMac is pretty yellow, and pretty dirty on the inside. It could use a good cleaning and a dip in the retr0brite.
 DISASSEMBLY
Let’s get to it...
The front bezel is connected to the back by four really tiny screws. Not just any screws, but the ones you need an alan key for. I managed to find a 1/20 that did the trick. Pretty small.
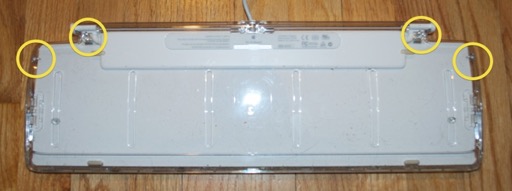
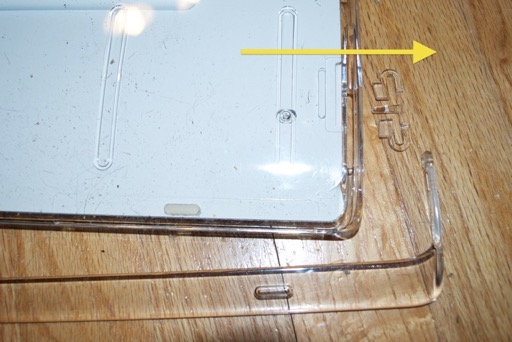
Once the screws are out, you can take a small screwdriver or plastic spludger and wiggle around the trim to pop the front panel off.
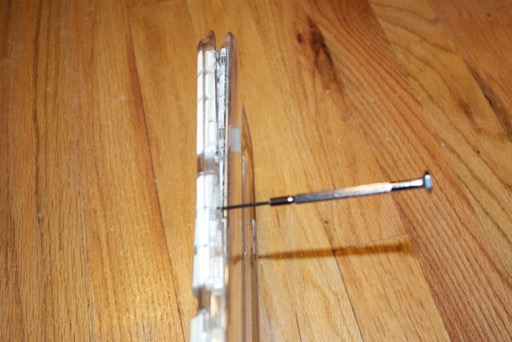
Once the front bezel is off, start popping keys. There’s a few screws underneath them that need to come out. There’s one on either end.
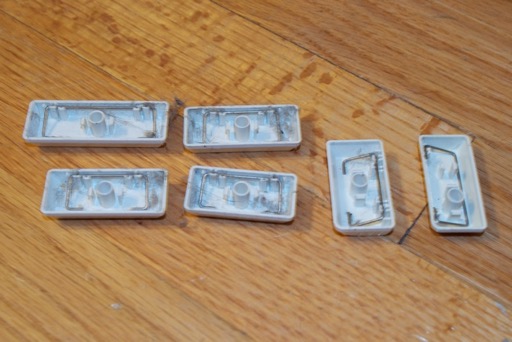
If you plan on dipping your keys, you’re going to want to take all the metal hinges off the bigger keys. Make some notes, or take pictures of them. There’s a few different sizes and orientations. You’ll want to make sure they all go back on the right keys when you’re done.
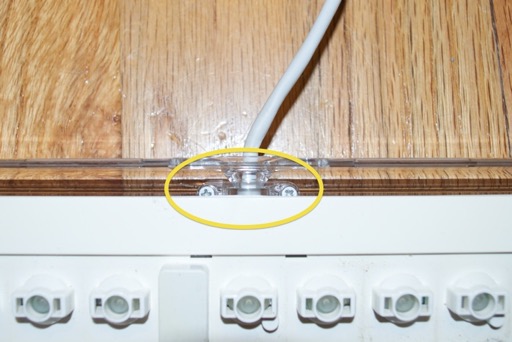
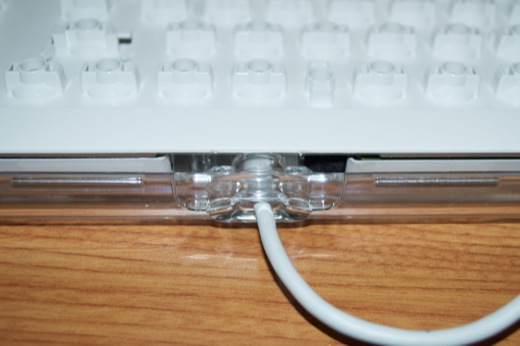
There’s two screws securing the cable strain relief that need to come out too.
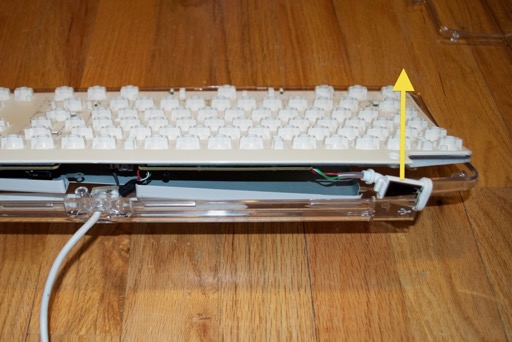
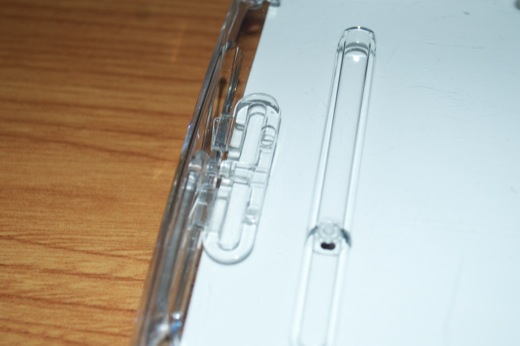
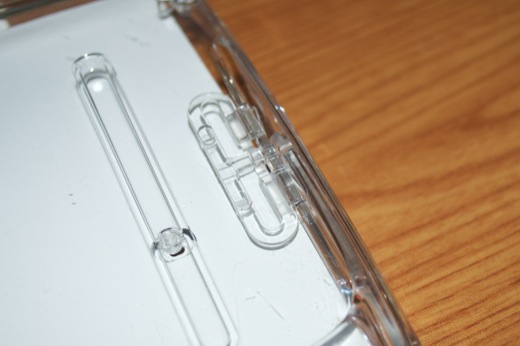
Flipping the keyboard over, you’ll now be able to remove the plastic brackets that hold the kickstand. There’s one on both ends.
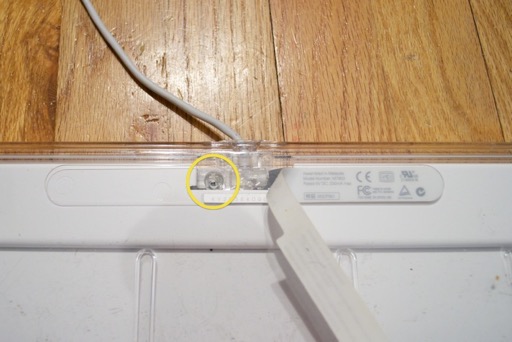
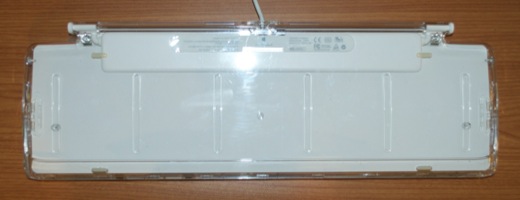
Wow, we’ve come this far and the back still doesn’t want to come off! Looking through the top, it’s clear that there’s a hidden screw underneath the back label that secures the plastic back to the inner metal chassis.
Being careful not to destroy it, gently peel back the label to reveal the ill-placed screw.
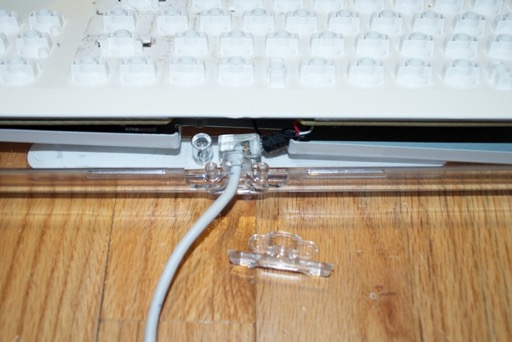
The metal chassis that holds the electronics along with the metal cover should be pretty loose now. Dislodge the two USB ports from the back.
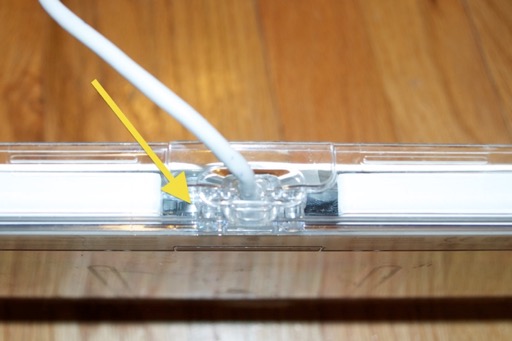
Remove the cable strain relief.
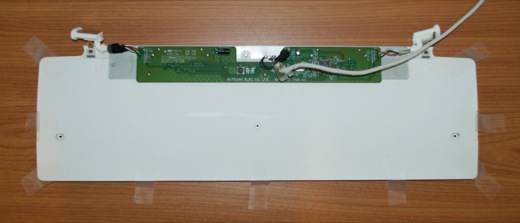
The board and metal cover will lift right out of the tray.
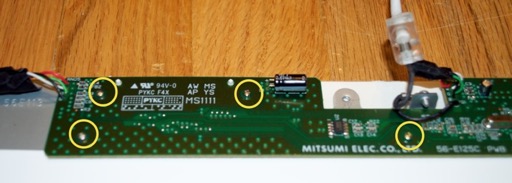
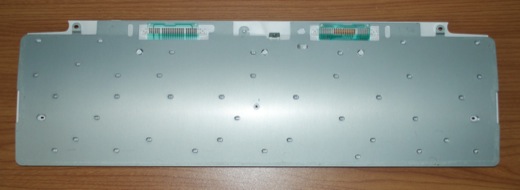
Flip the board over.
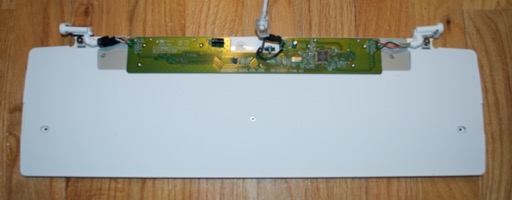
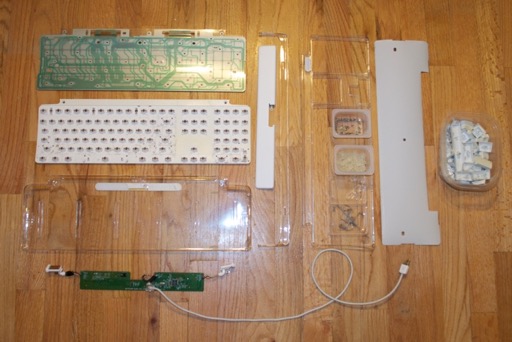
You’ll see that there’s eight screws that have to be taken out in order to remove the logicboard from the metal chassis. The middle screw for the ground wire was pretty tight. I thought I was going to strip it taking it out.

Once the logicboard has been removed, set it to the side.
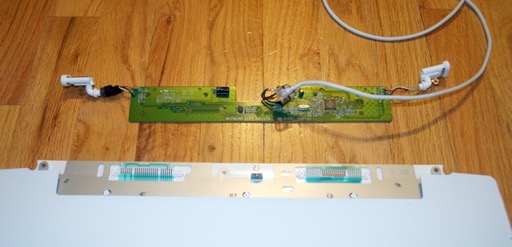
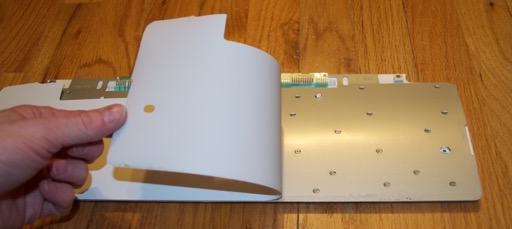
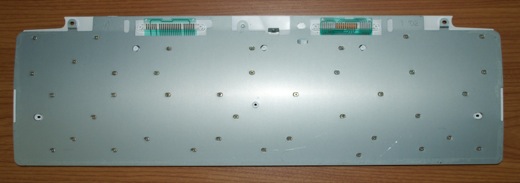
Peel the plastic off the back of the chassis.
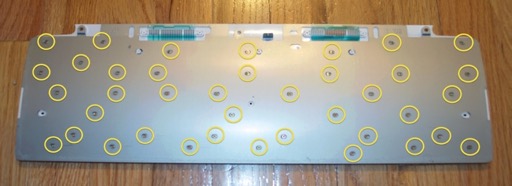
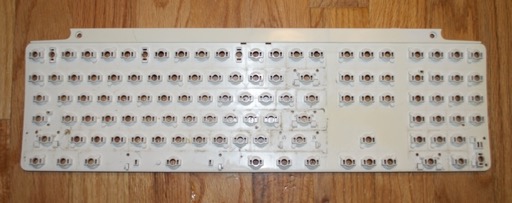
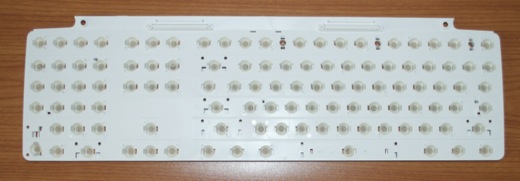
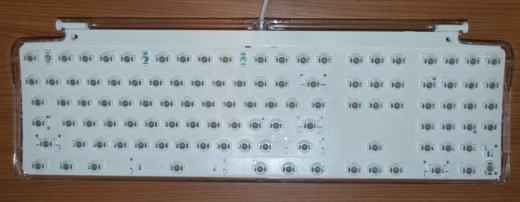
Your eyes do not deceive you. The front plastic panel is secured to the inner metal chassis by no less than 39 screws.
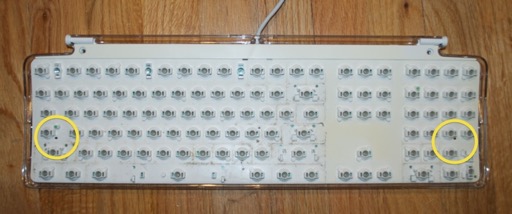
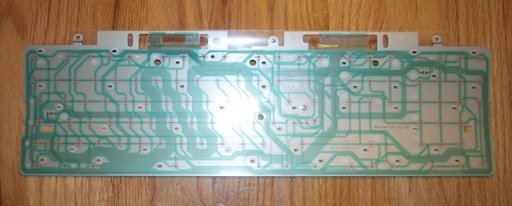
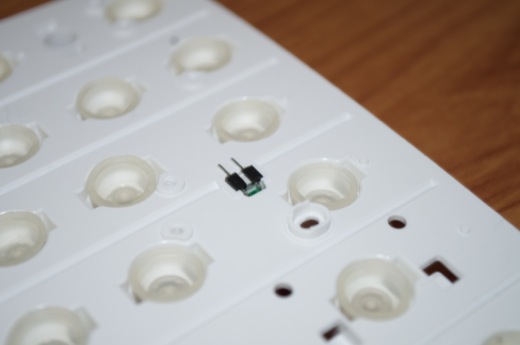
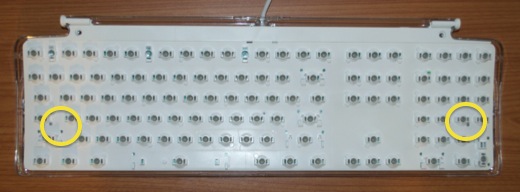
Once all 39 screws are out, flip the board over, but be careful. I didn’t know it at the time, but there’s 108 little rubber contacts sitting in between the front plastic panel and the logicboard. They all fell out and went everywhere.

There’s no need to remove the logicboard from the chassis. It can stay where it is.
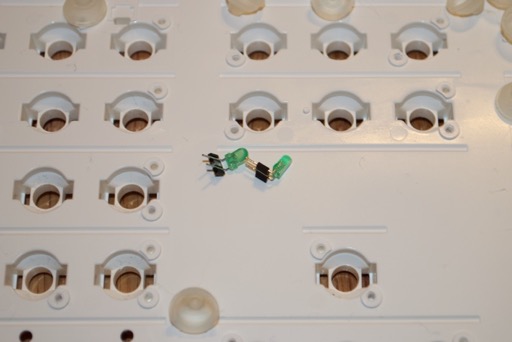
Also in the mix were two LEDs for the caps and num lock keys.
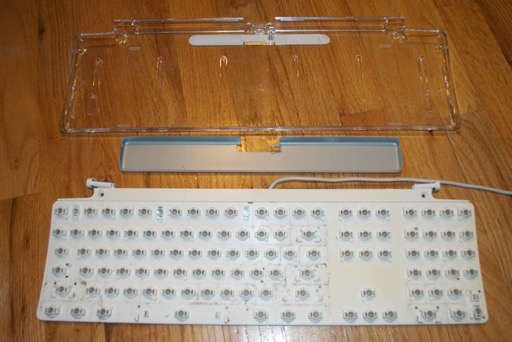
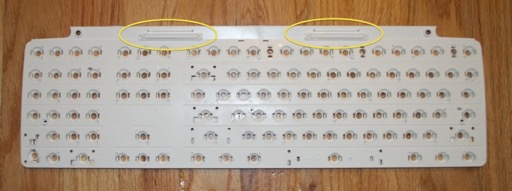
Once you’re removed all 108 of the rubber contacts, you should have a bare plastic panel ready for cleaning/dipping.
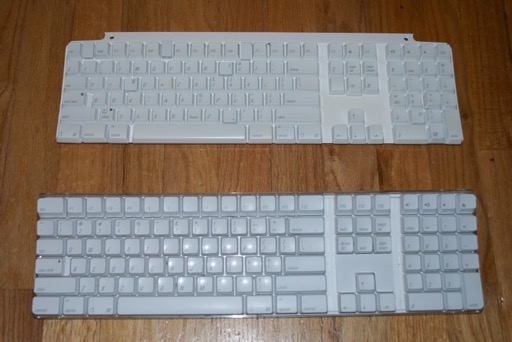
Finally, remove the two rubber bumpers from the top. You can really tell how yellow the front is by looking at the snow white back.
Wow, that was a crazy disassembly! It kind of makes you wonder what Apple was thinking. 108 rubber contacts? 56 screws? It’s no wonder why things were so expensive back in the day. The manufacturing costs must have been insane. This keyboard did not have to be this complicated. One thing’s for sure It was definitely never designed to ever be cleaned by the end user.
 RESTORATION:
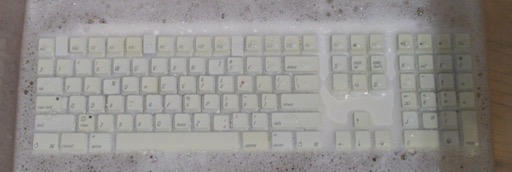
DAY 1OK, now that it’s in pieces, let’s clean it up. I washed the white plastic board and all the keys in the sink and gave them a good scrubbing to get all the dirt and gunk out of all the nooks and crannies. Then in the retr0brite it went.
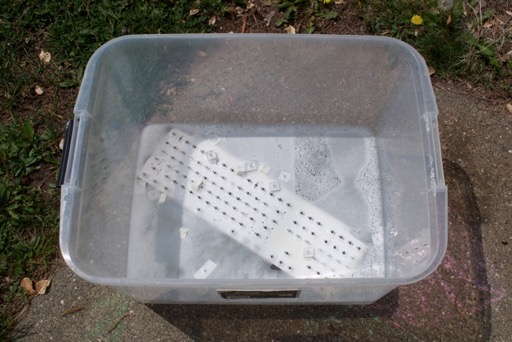
Stir things up so it’s all bubbly and submerged.
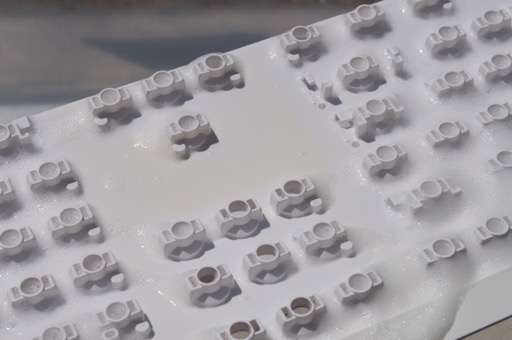
I checked on it after about an hour. There seems to be some progress, but it’ll have to stay in the retr0Brite a little longer. There’s still a hint of yellow in the middle there, and the keys are still very yellow.
Once I put the board back in, I realized that all the keys are lying face down. They must be top heavy. No matter how I stirred them up, they all someone managed to flip over and end up face down. I don’t know if that makes a difference or not, but I’d feel better if the yellow side of the keys faced the Sun. Maybe that’s why they’re still pretty yellow. I just popped them all back on the keyboard in no particular order so that when I put the keyboard back in all the keys face up.
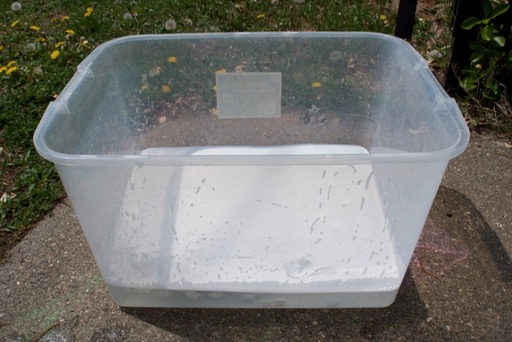
I let it soak for a little bit more, but it got pretty cloudy and cold later in the day. I had to bring it inside for the rest of the day. It looks like this restoration is going to end up being similar to my Apple Scribe Printer. That took way longer than it should have because I had to do it inside under black lights. It’s just not the same as a hot sunny day; and it uses more oxy and peroxide.
 DAY 2
DAY 2I let is soak all night under the lights. A small improvement.
It rained all day, so the restoration continued inside. Every few hours I’d mix in some more peroxide and Oxy and stir things up. I’d then check it a few hours later to monitor the progress.
DAY 3It’s getting there. Slowly but surely.
 DAY 4
DAY 4I used up the remainder of my peroxide and Oxy last night, so I just let it sit all day in whatever solution was left. By the time I got home from work all the bubbles were gone and the solution looked pretty neutral. I took the keyboard out for a closer look.
It’s hard to tell if there was any change at all. I’m not sure if there was. There’s still the slightest hint of yellow. Looking back at the pictures that I took yesterday, it looks pretty much the same today as it did on Day 2 and 3. Despite adding more peroxide and Oxy last night, it appears that it did not have any effect.
These keys seem to be similar to the keys that were on the Scribe Printer. Coincidence, I’m sure. I can’t image they are made of the same plastic. They seem to reach a certain point during the restoration and then become “immune” to the process. Even though there was still the slightest hint of yellow on those, it wasn’t enough to notice since the plastic isn’t snow white to begin with. So it didn’t bother me. This is a different story. This keyboard is supposed to be snow white. The slightest hint of yellow is going to be just enough to make it look gross.
DAY 5I picked up some more supplies. I gave it a stronger dose and let it sit overnight again.
 DAY 6
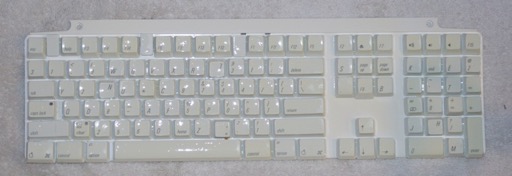
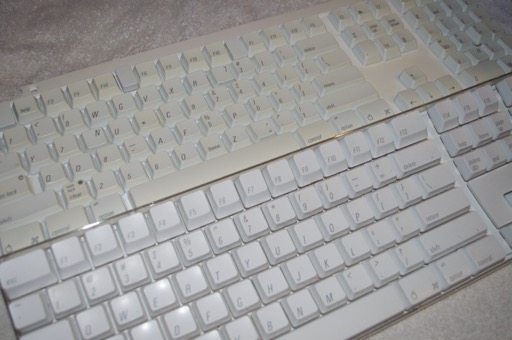
DAY 6Still no change. Comparing it to another keyboard without discoloration really shows how yellow it still is.
I can’t wait until tomorrow. No work, and it’s supposed to be a sunny day. I can finally get this thing outside for a treatment.
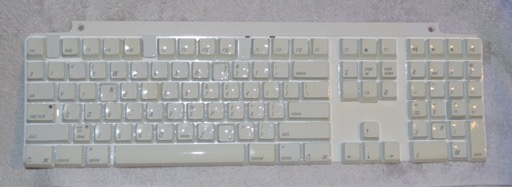
DAY 7A few hours in the hot sun with a super-super strong solution really made a difference. Look how whiter it is compared to yesterday.
It still has a shade or two more to go before its white-white, but I was right. The black lights I have are no match for the strong UV of a hot sunny day.
DAY 8
I gave it one more dip and I think it’s as white as it’s going to get. I’ve spent way more time on this and used more supplies that I should have. Time to put this one to bed.
REASSEMBLY
I don’t know if the orientation of these rubber thingies is important because they seem “keyed”. I guess I’ll find out once I put it all back together. Don’t forget to put the 2 LEDs back in.
Put the logicboard and metal plate back on.
Put all the screws back.
Glue the white sheet back on and screw in the main logic. I used some tape to hold it down while the glue set.
Put the internals back into the bottom enclosure along with the metal tray. Reseat the USB connectors.
Slide the kickstand supports into the sides from the back and reattach the kickstand.
Secure the cable strain relief. Don’t forget to put the screw back under the back label.
Secure the internals with the 2 front screws.
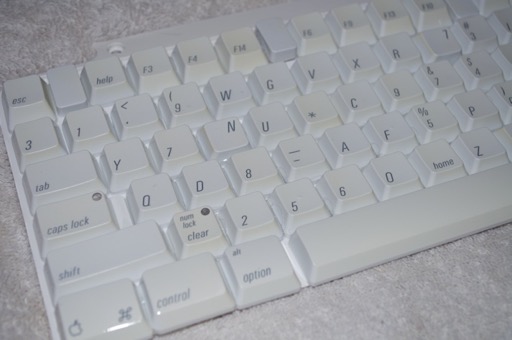
Finally, replace all the keys.
What a difference! It looks great.
Just to put things into perspective, here’s a before and after shot to show the final results.