Having a gen 1 iPod in your collection is a must. I wasn’t able to get my hands on one for the longest time, despite bidding on several eBay auctions. They keep going over $100, and that’s just a little rich for my blood. I’m starting to think I’ll never get one on the cheap that’s in any kind of collectible condition. If I’m going to get one in the box, I’m going to have to spend a good $200 bucks.
Finally, I managed to score a 5G gen 1 iPod for $45. That’s a fair price, but that’s because this thing is a mess.
WYSIWYG. No extras. No box. Scratched to all hell. Broken headphone jack. Still, it’s nice to be able to look over at the collection and see the iPod that started it all.
The battery is dead and no longer holds a charge. The iPod only works when it’s connected to a power source.
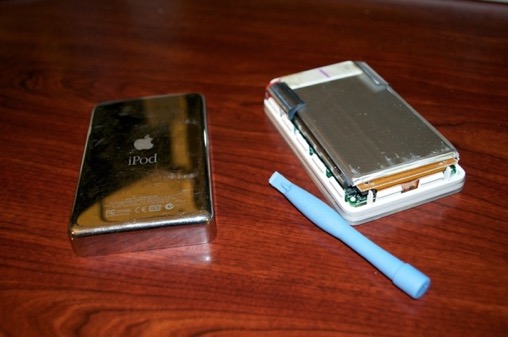
I removed the back cover using a spludger and replaced the dead battery with a new one.
The battery is easy enough to remove. Just pull it off the hard drive and remove it via the little plug that connects it to the logicboard.
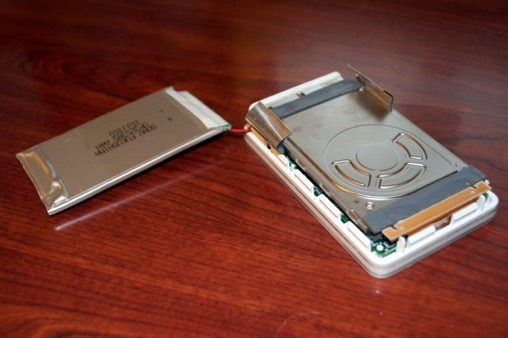
Once the battery is removed, next comes the hard drive.
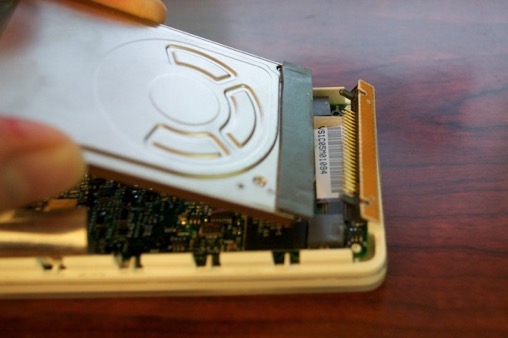
Removing the logic board requires that you first remove four screws. The one on the bottom right is under the foam adhesive pad.
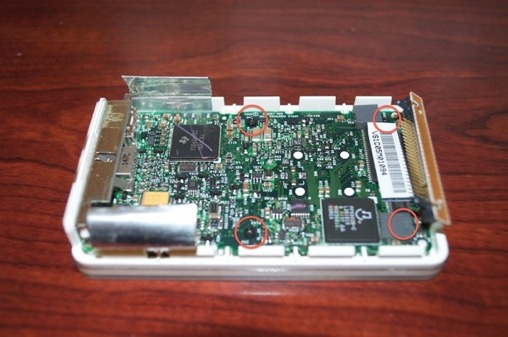
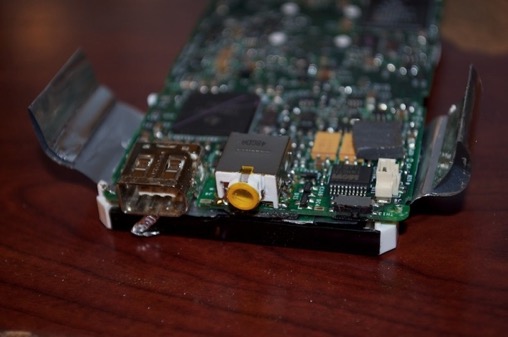
After that, the logicboard pretty much just lifts out from the front panel. Here you can see that the headphone jack is trashed. I’ll need to replace that.
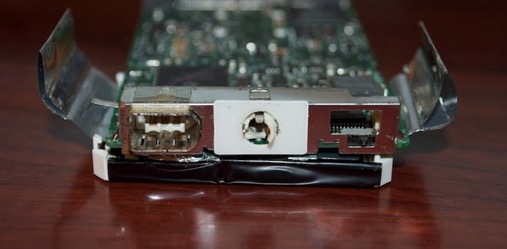
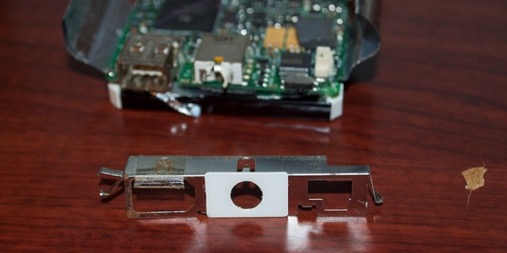
Using a soldering iron, I removed the shield that covers the ports.
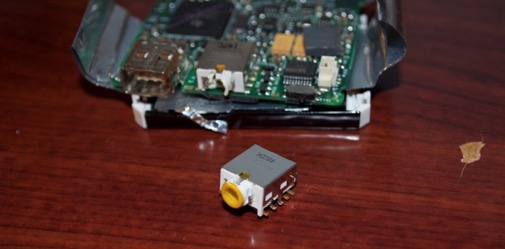
Here’s the
new headphone jack. As you can see, it’s a 10 pin surface-mounted component. Not an easy repair, and not for the faint of heart.
Tricky, but I got it.
I then soldered the shield back on.

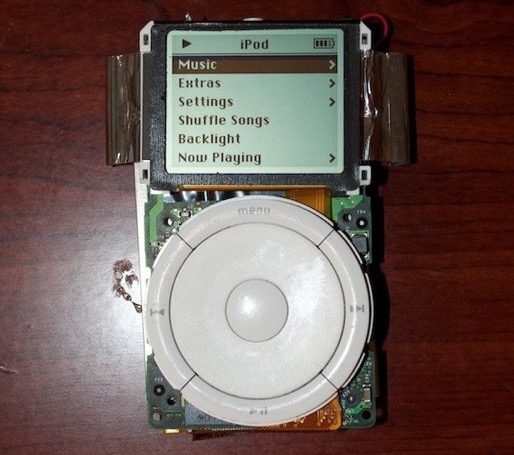
I connected the new battery and powered it up. All is good.
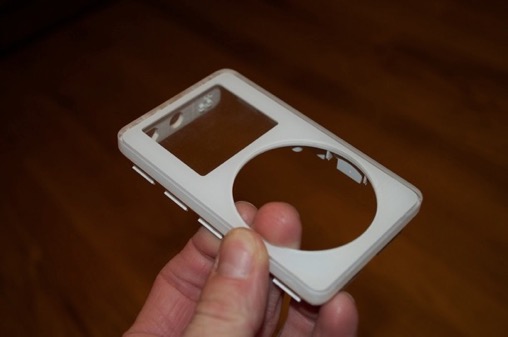
Now for the enclosure. The front is pretty scuffed up.
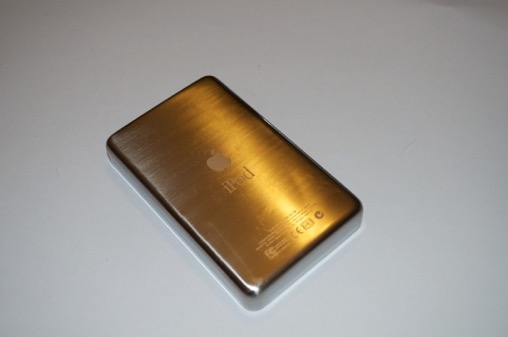
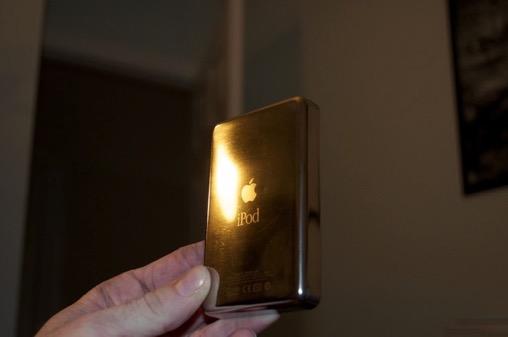
The back is a mess.
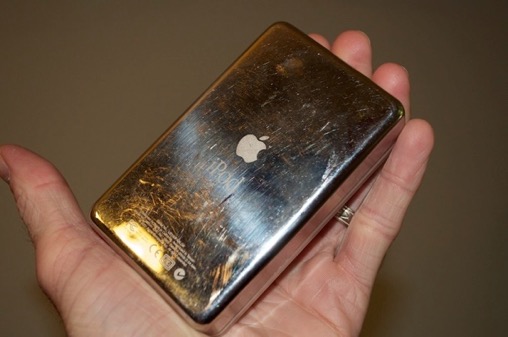
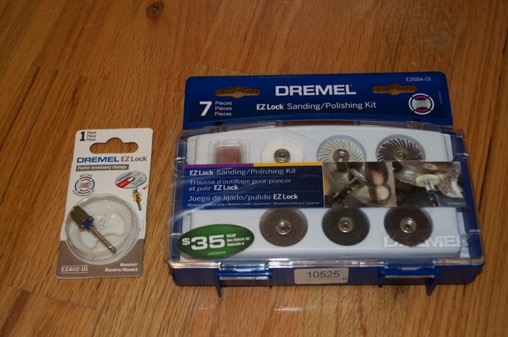
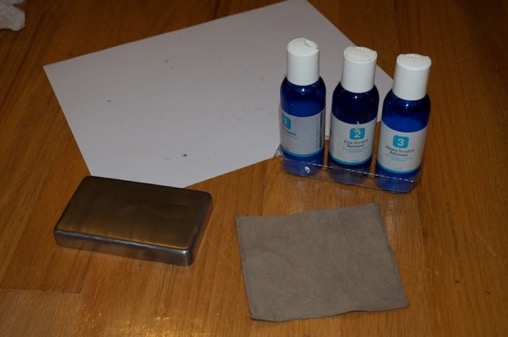
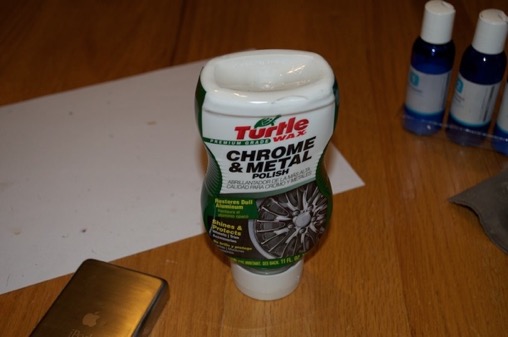
I picked up some metal polishing supplies and got to it.
Buff with some scratch remover.
Buff with some metal polish.
Buff.....
Buff.....
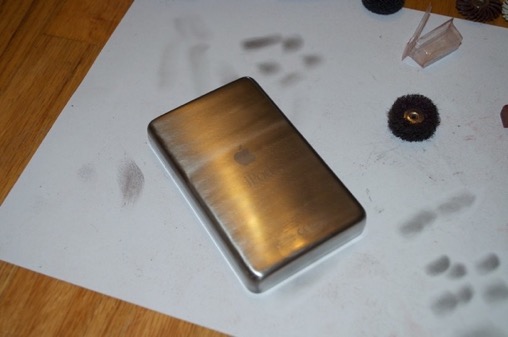
Buff.....
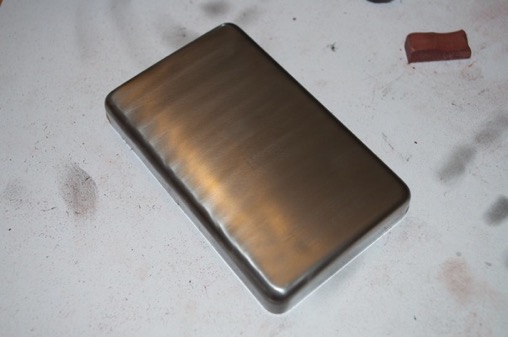
Almost there….
Not bad....
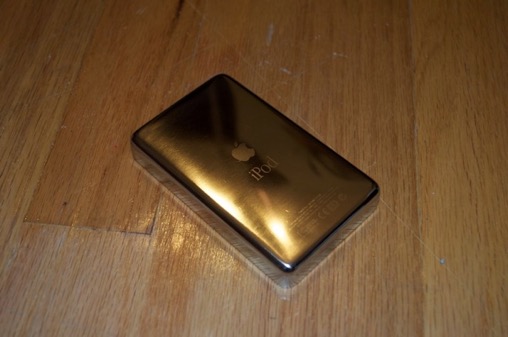
Now for the front. Buff, buff, buff......
Much better.
All that remains is reassembly.
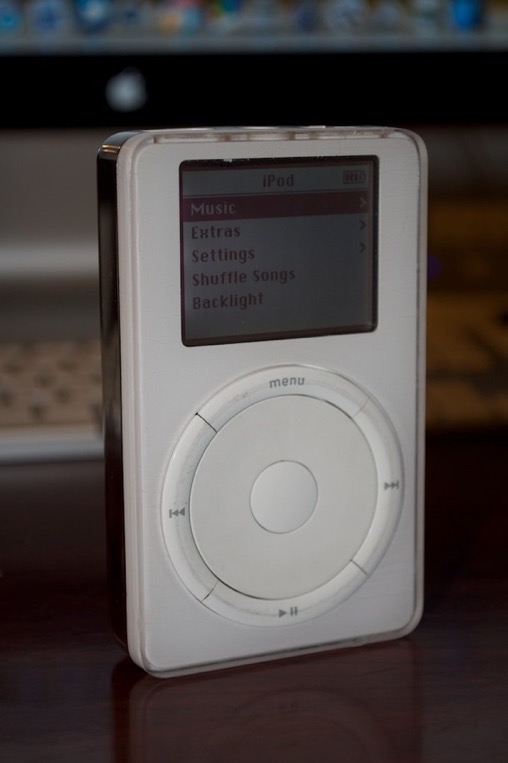
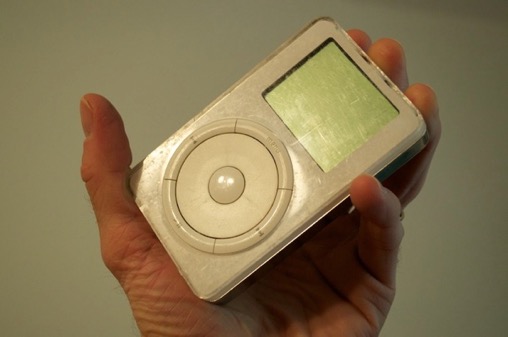
The scroll wheel could use some work, but I’ll leave it alone for now. It’s not a bad looking gen 1 iPod after all.